Online Exhibitions 101
Online exhibitions make for dynamic class projects, but they’re especially useful when in-person class might not be possible. In this video, Digital Liberal Arts Postdoc Fellow Aisling Quigley describes workflows for creating an online exhibition using several different tools.
Which tool will work best for your class depends on factors like the learning goals for your course, the particularities of your exhibition content, and the amount of time you and your students have. The time codes below link to the relevant parts of the video.
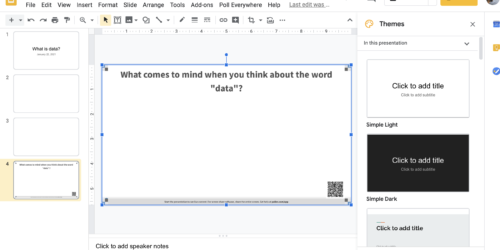
Option 1: PowerPoint or Google Slides [5:34] – Great if you want a low barrier to entry — virtually all students will be familiar with one or both of these applications, and have easy access to them.
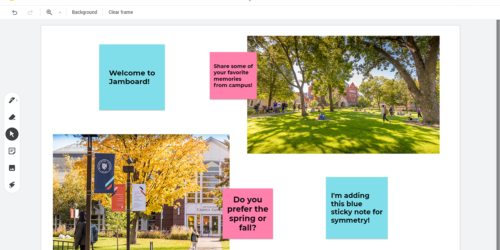
Option 2: Google Slides (collaboratively created) [13:22] – Great for group projects. Allows for easy, real-time collaboration just like in Google Docs or Sheets. Easy to share online.
Option 3: TimelineJS [15:54] – Great for public-facing exhibits with a strong historical component. Data-driven–essentially based on a spreadsheet. No built-in support for collaboration.
Option 4: Google Sites [33:08] – Great for public-facing exhibits, collaboration, and more complex designs. Essentially a sandbox, Sites allows a higher degree of control and customization than other options, which also means it has a slightly higher learning curve.
Regardless of tool, Aisling offers a few broad suggestions: keep it simple, decide on a theme or narrative early on (either as an instructor or together as a class), and focus on brief, accessible interpretive text for exhibits.