Sharing Your iPad Screen on a Mac – On Campus
If you have a Mac, there are several ways to share your iPad screen over Zoom. But if you’re on campus, the best way is to use a physical connection: the charger cable that comes with your iPad (and an adapter for connecting it to the new USB-C Mac Books). This how-to walks you through this kind of connection.
- Open Zoom on your laptop and start your meeting.
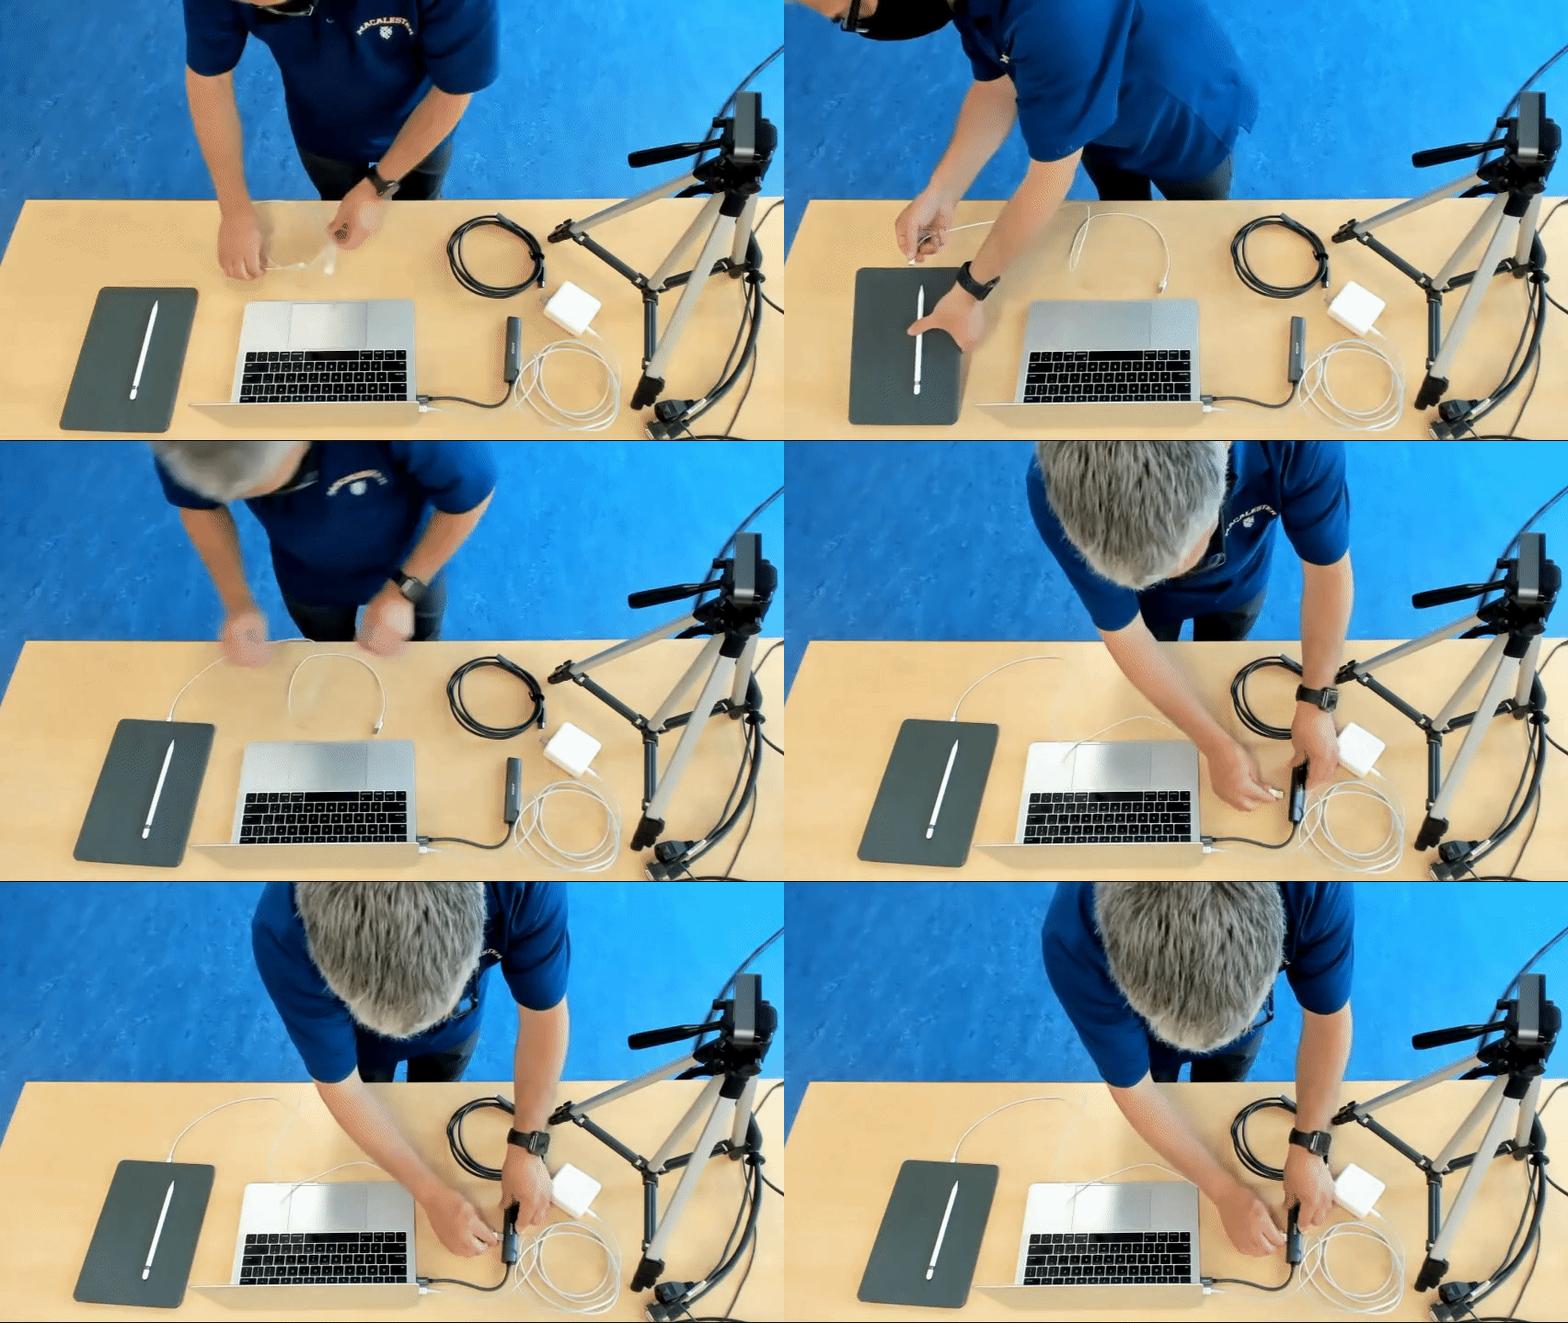
- Connect your iPad to your Mac Book via your charging cable (USB-C) and USB hub adapter.
- Click the green Share Screen button on the bottom of your Zoom Window.
- In the dialog box with screen sharing options, select iPhone/iPad via cable and then click the green Share button.

- If you’ve never connected your iPad to your laptop, you’ll be prompted to establish a trust relationship between the two devices via the Finder, and a on-screen prompt on your iPad. If you’re not prompted and the two devices aren’t communicating (or if would just like more info), you can find more here.
- Once the two devices are communicating, you’ll see the iPad screen on your laptop screen:
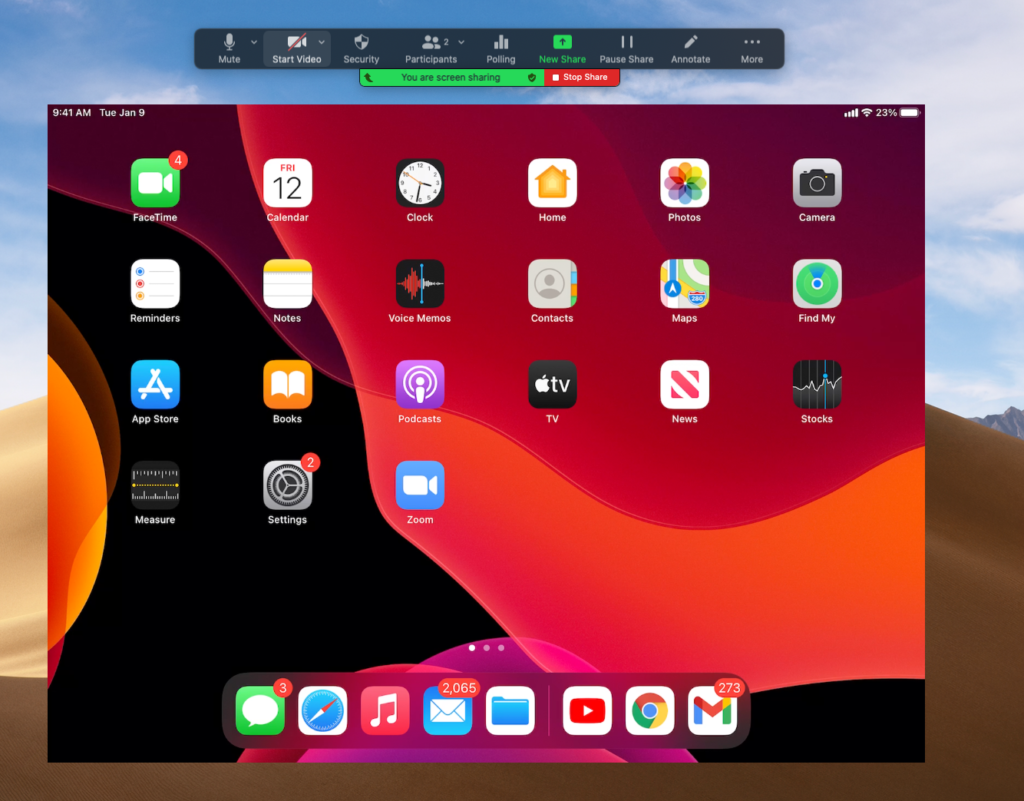
Now anything you do on the iPad will be visible to the students, including annotations you make with an Apple Pencil. As with any other kind of Zoom screen share — a browser window, an application, your whole desktop — you will continue to share until you click the red Stop button on the screen sharing controls.
