Timeline.js
As the name suggest, Timeline.js is a quick and easy way for students and faculty to create timelines online using only a spreadsheet interface.
Students can work as a group to create their timelines, and can embed them in other web-based tools, such as Google Sites, WordPress, or in Storymaps, or use them as presentation slides while sharing their work.
This short YouTube clip, created by Aisling Quigley, the Postdoctoral Fellow in the Digital Liberal Arts, offers a demonstration on how to use Timeline.js to create an online exhibition. The following tutorial walks through the steps of creating a Timeline.js that can be used in classrooms and meeting spaces or embedded on a website. For a quick example, see this Timeline.js that Aisling created about the history of data and humanities computing (not comprehensive!). She used this timeline as her “slides” for two class sessions on the history of the digital humanities. More examples are available on the Timeline.js website.
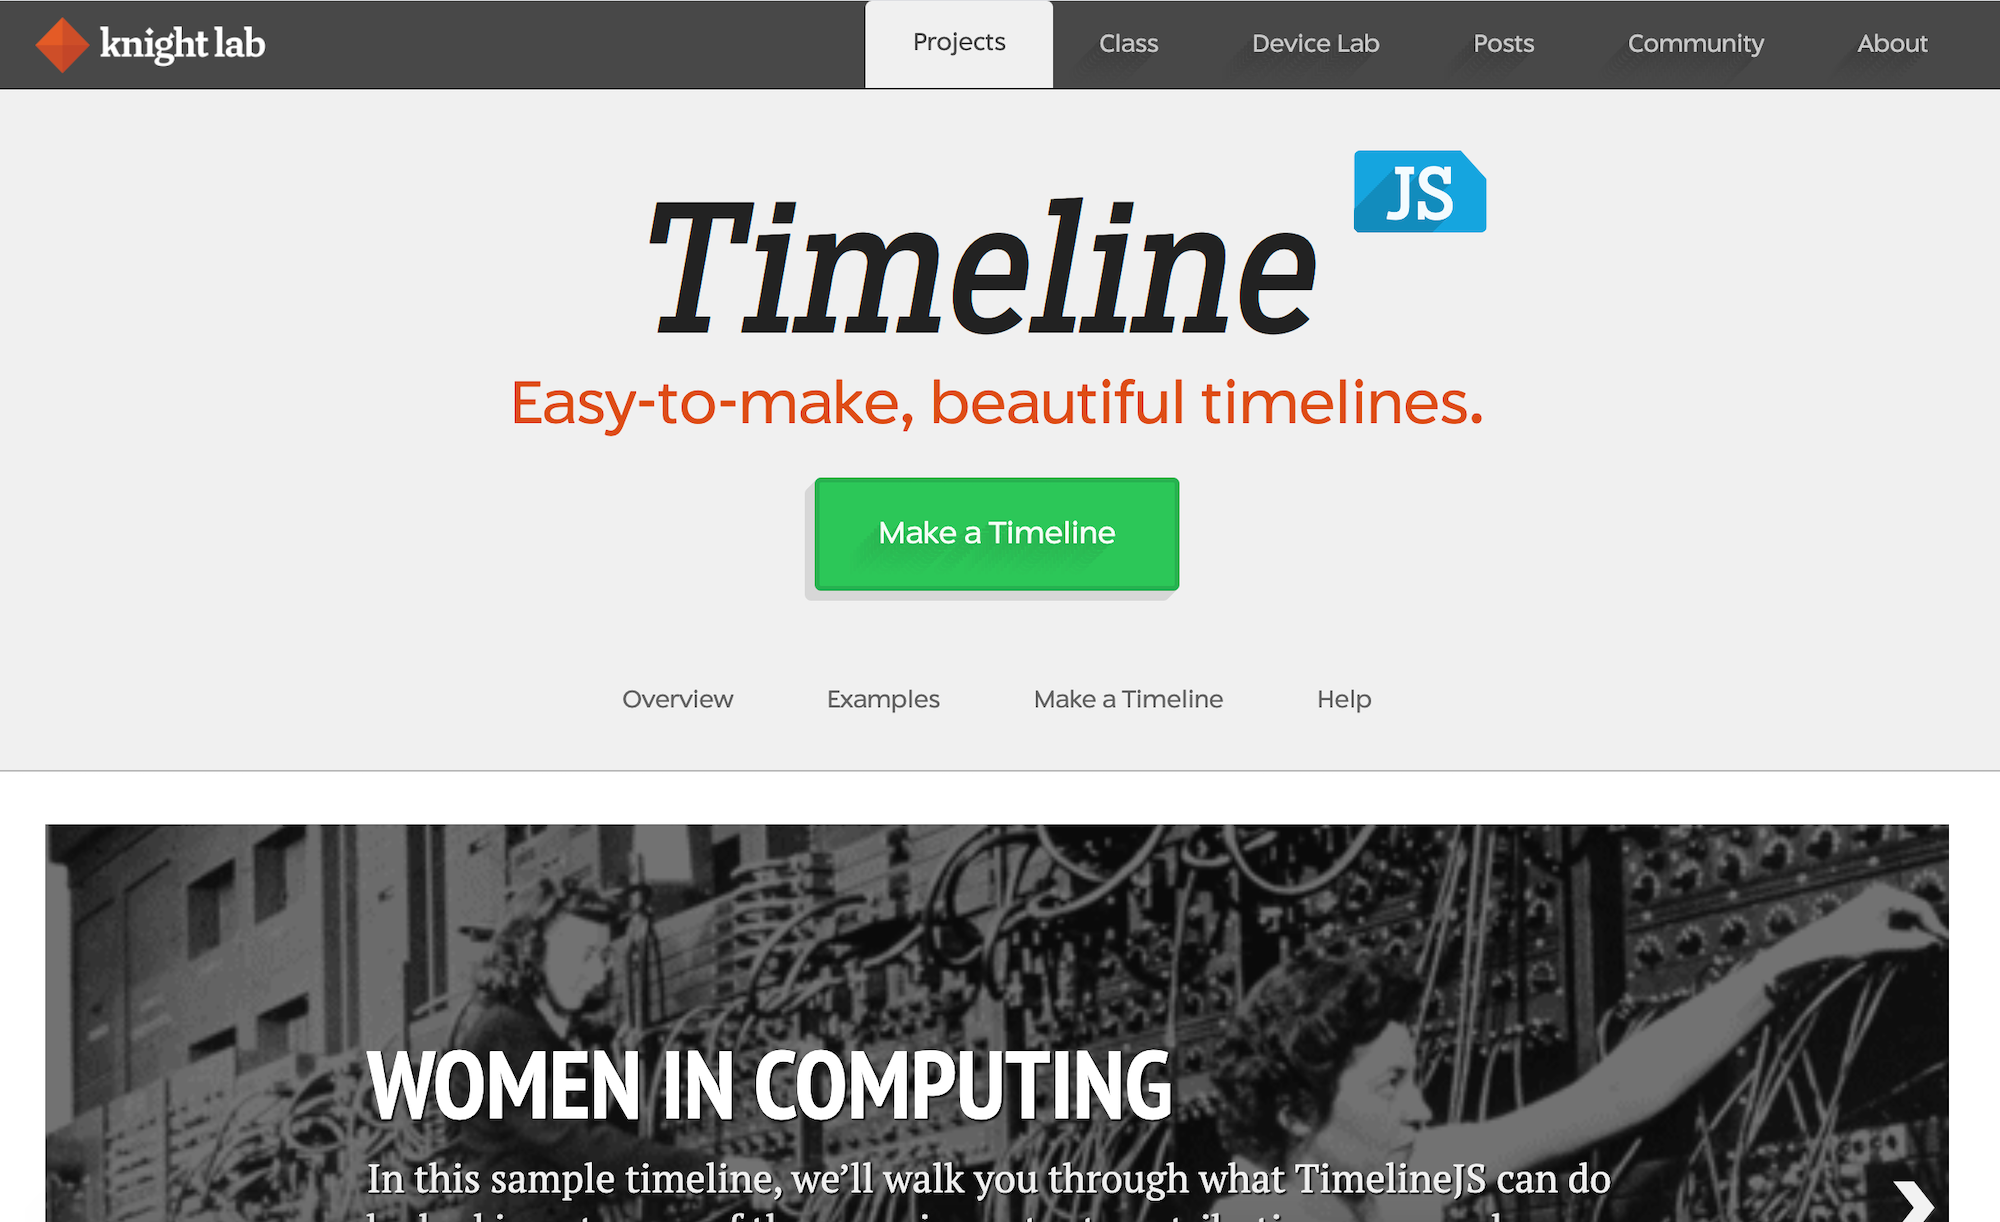
Step 1: Accessing the Timeline.js Template
- Go to https://timeline.knightlab.com/.
- Click on the “Make a Timeline” button.
- From here, click on “Get the Spreadsheet Template.”

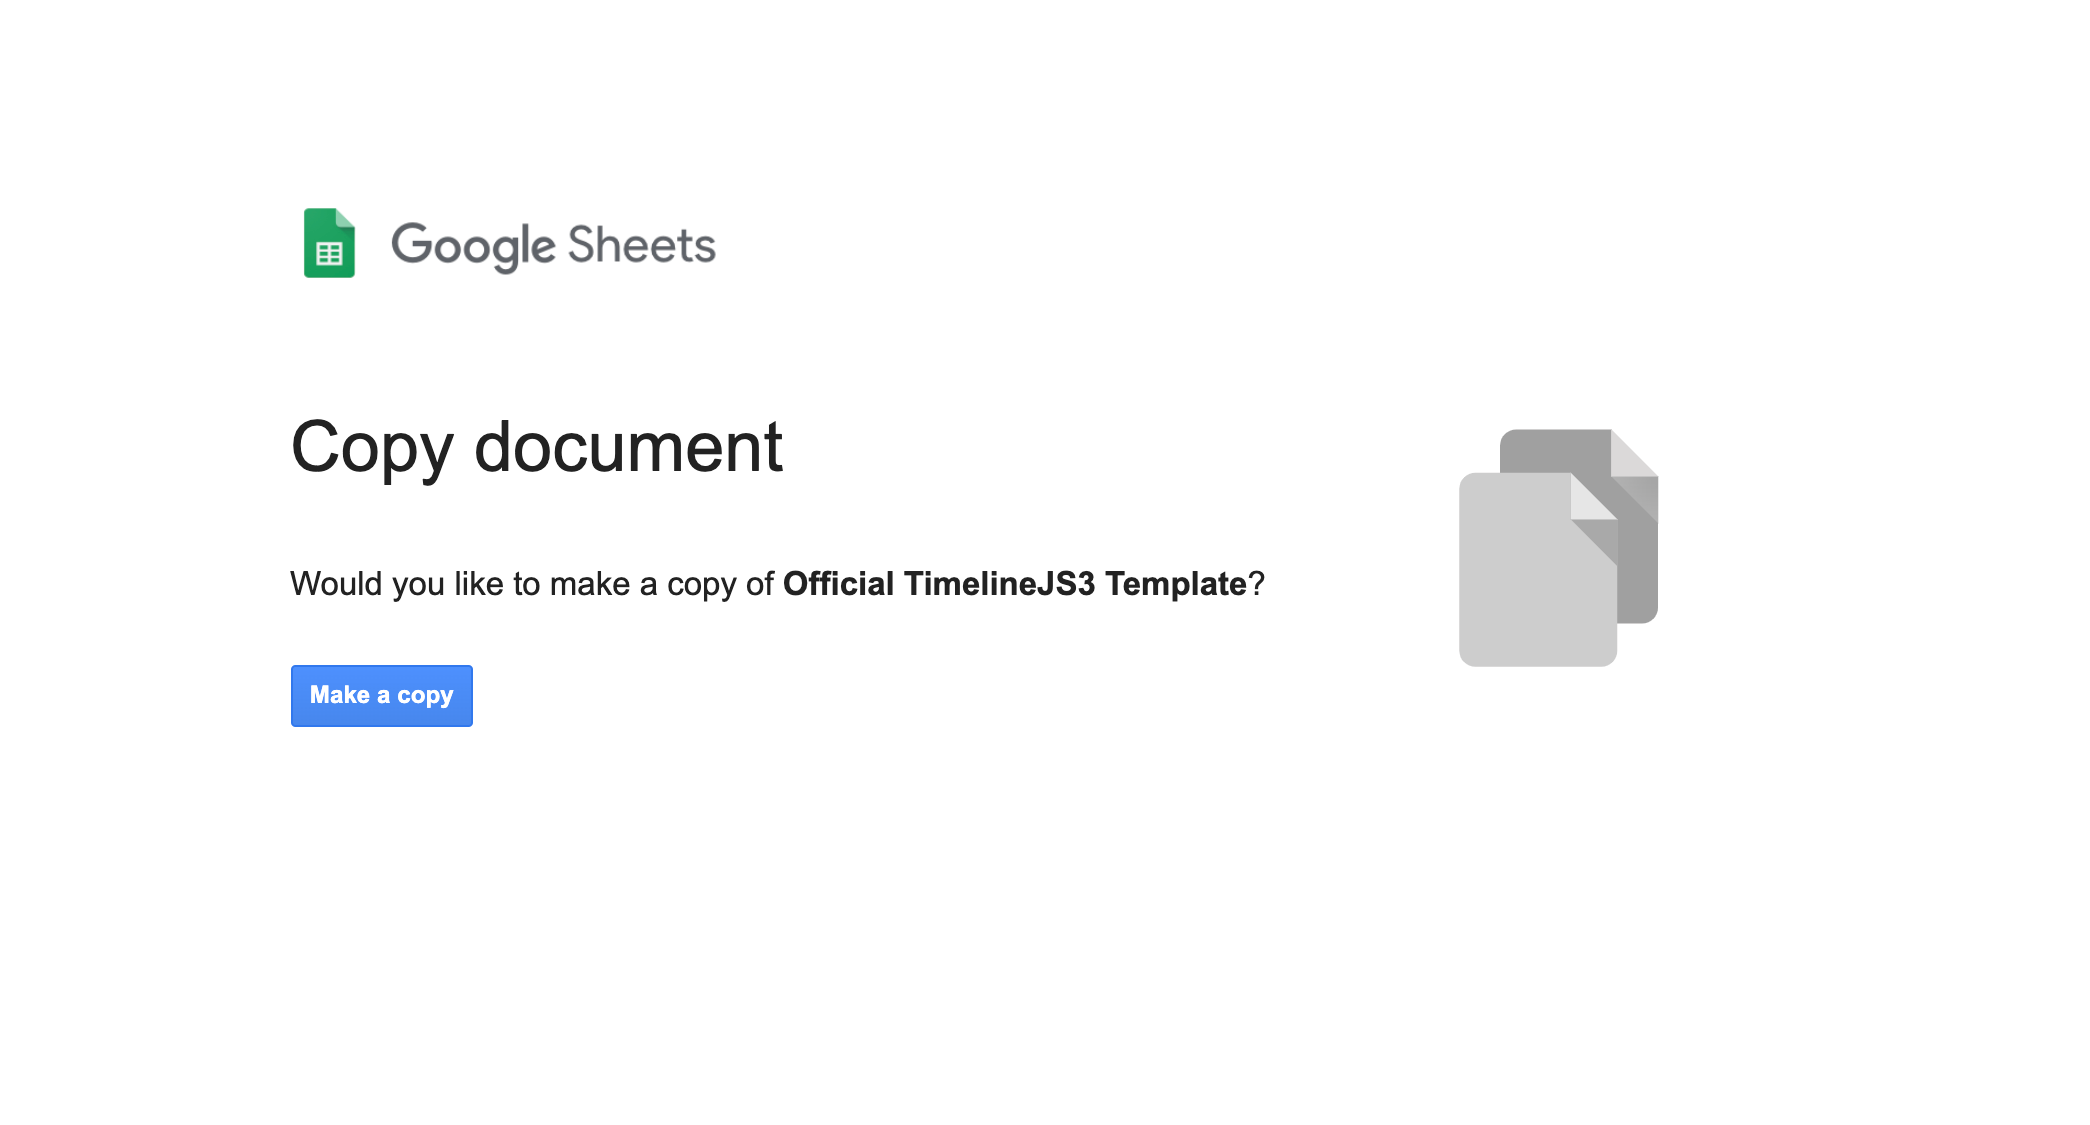
- From the next screen, click on “Make a Copy” to save a copy of the template to your Google Drive.
Step 2: Publish your Timeline
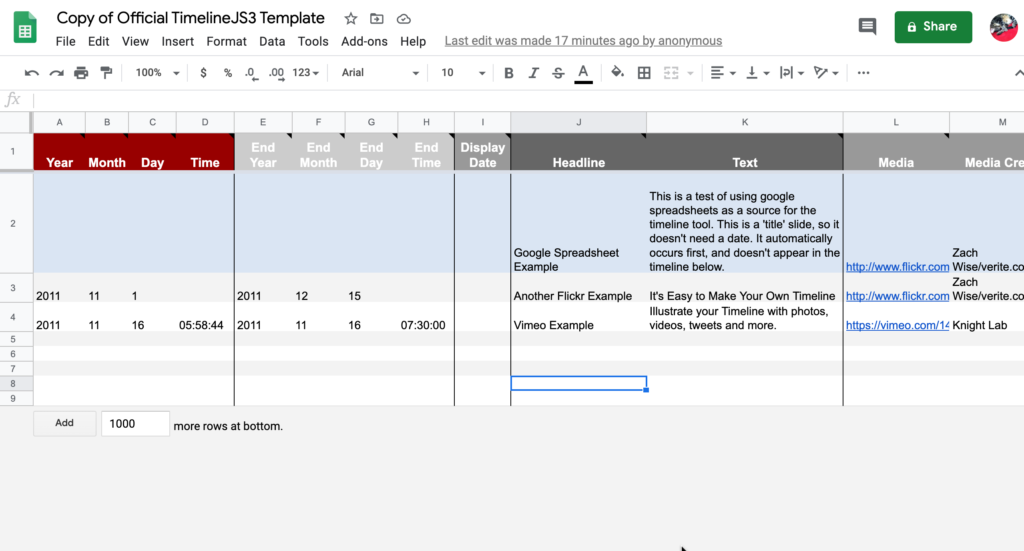
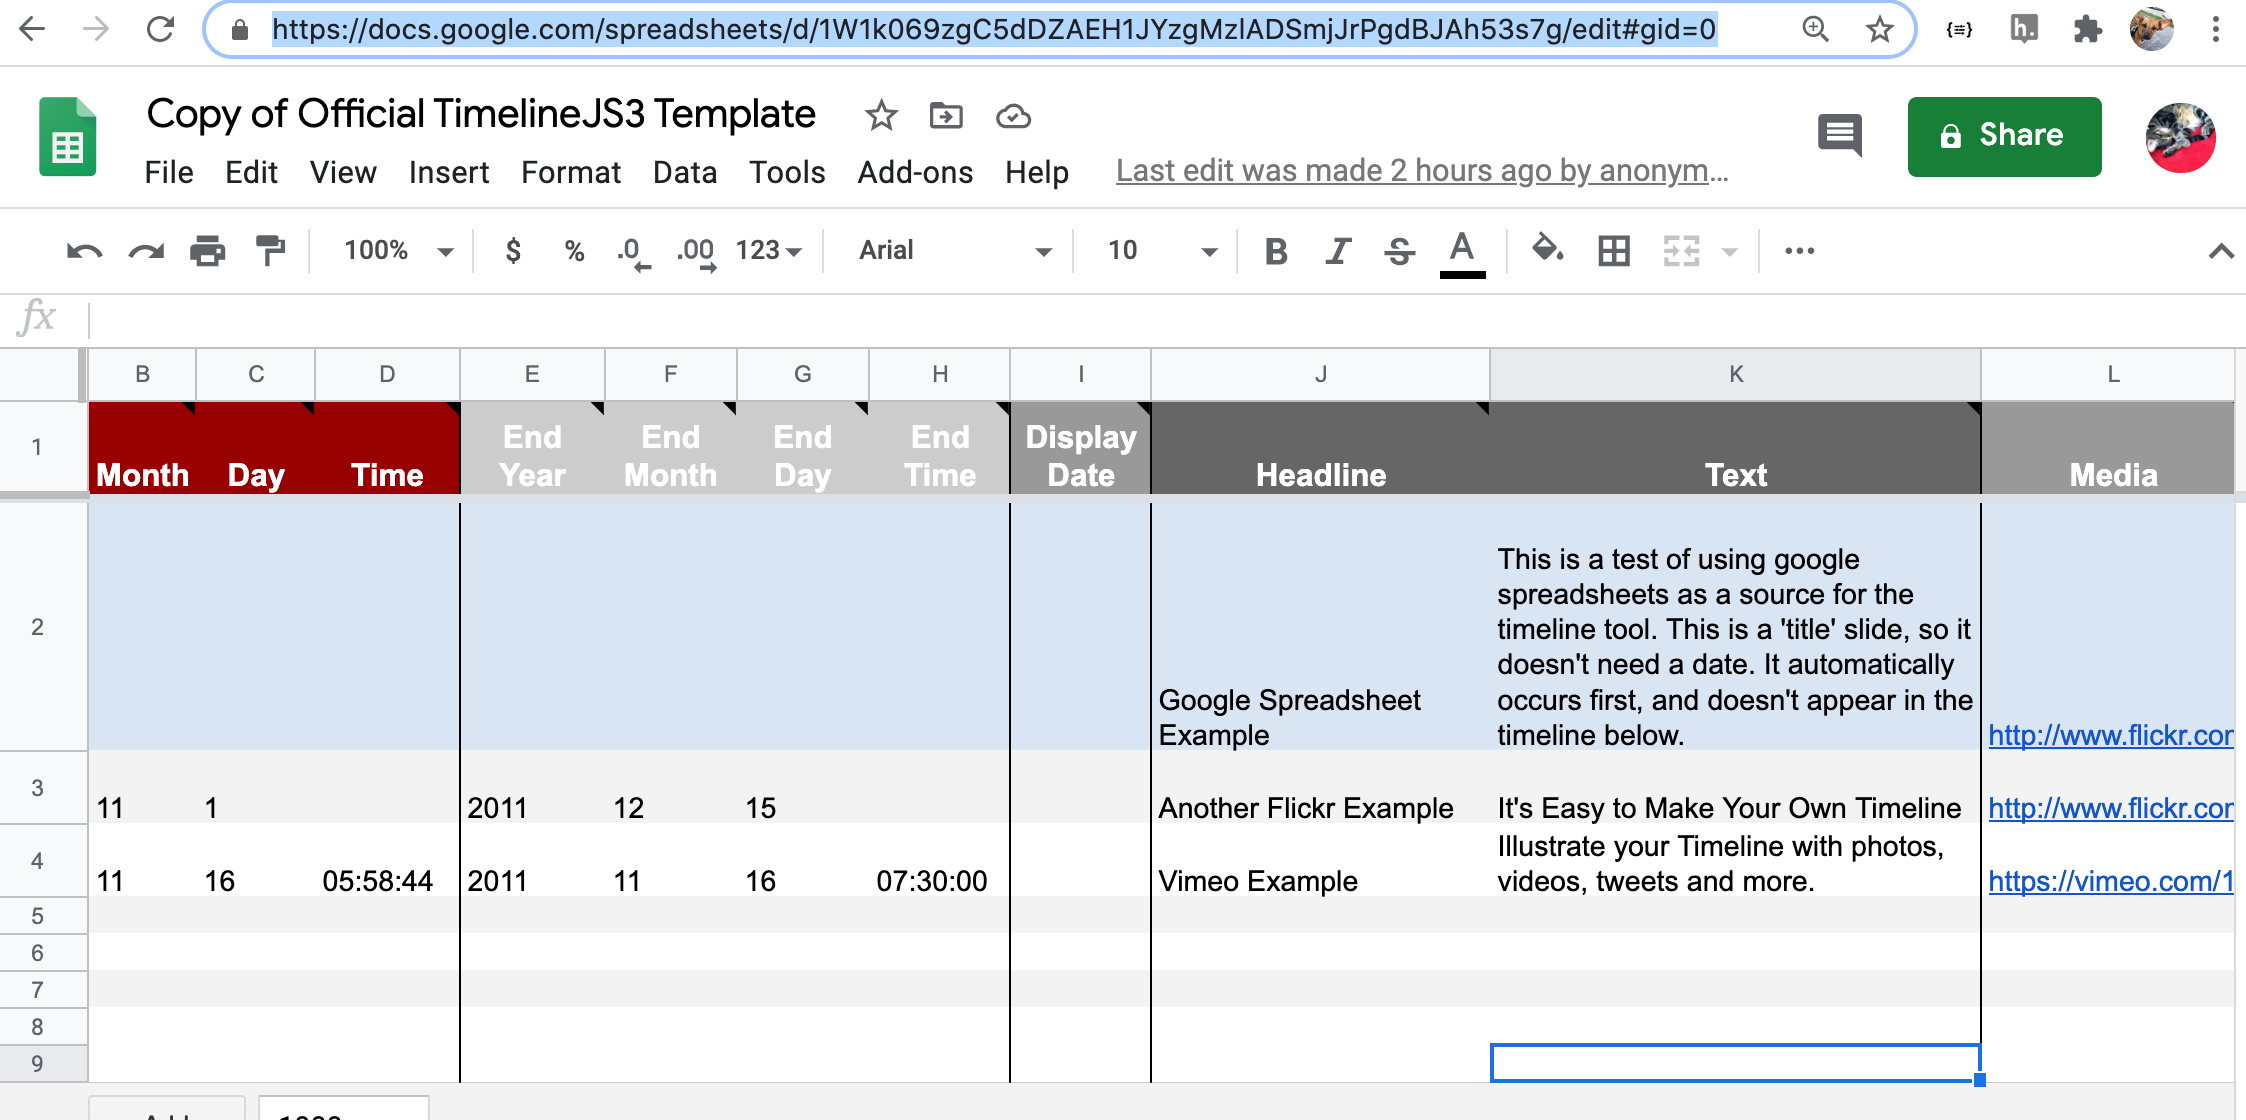
Your timeline template is a Google Sheet with a few columns and rows that have already been populated. Even though we haven’t added our content to the timeline yet, I like to be able to preview my timeline as I edit. This means that I’ll publish the timeline first, and then add content.
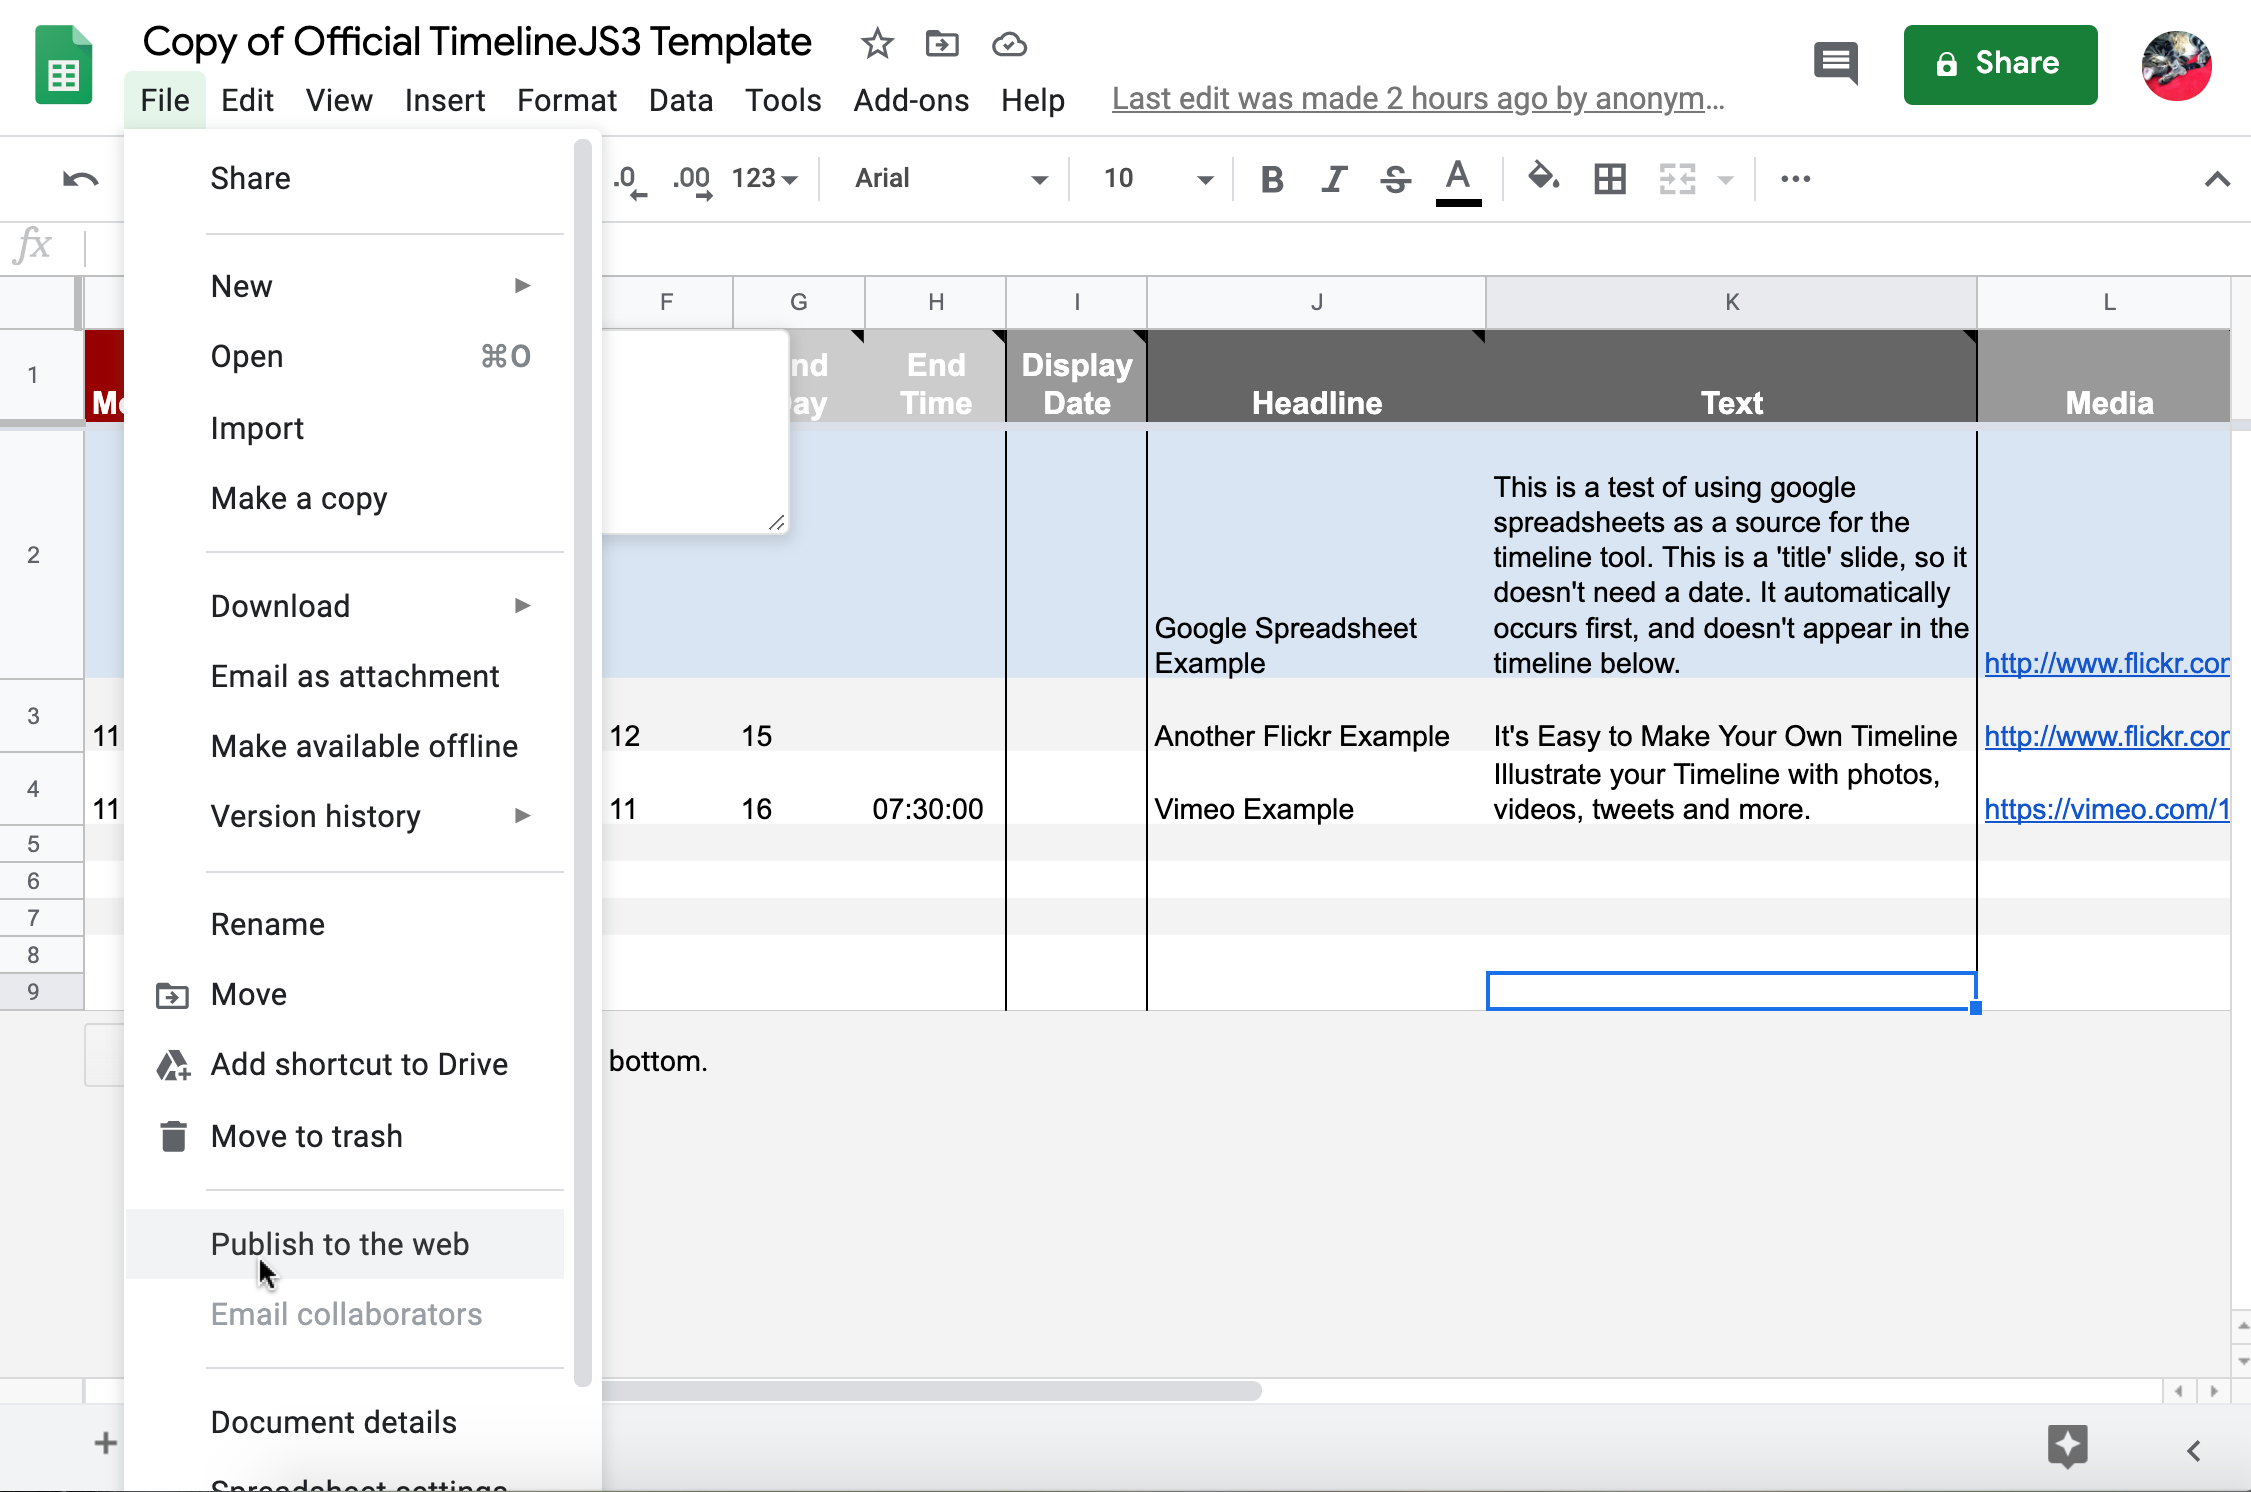
- Click on “File” and “Publish to the web.“
- In the next window, click on the “Entire Document“ button to see a drop-down option. Select “od1” and then click the green “Publish” button.
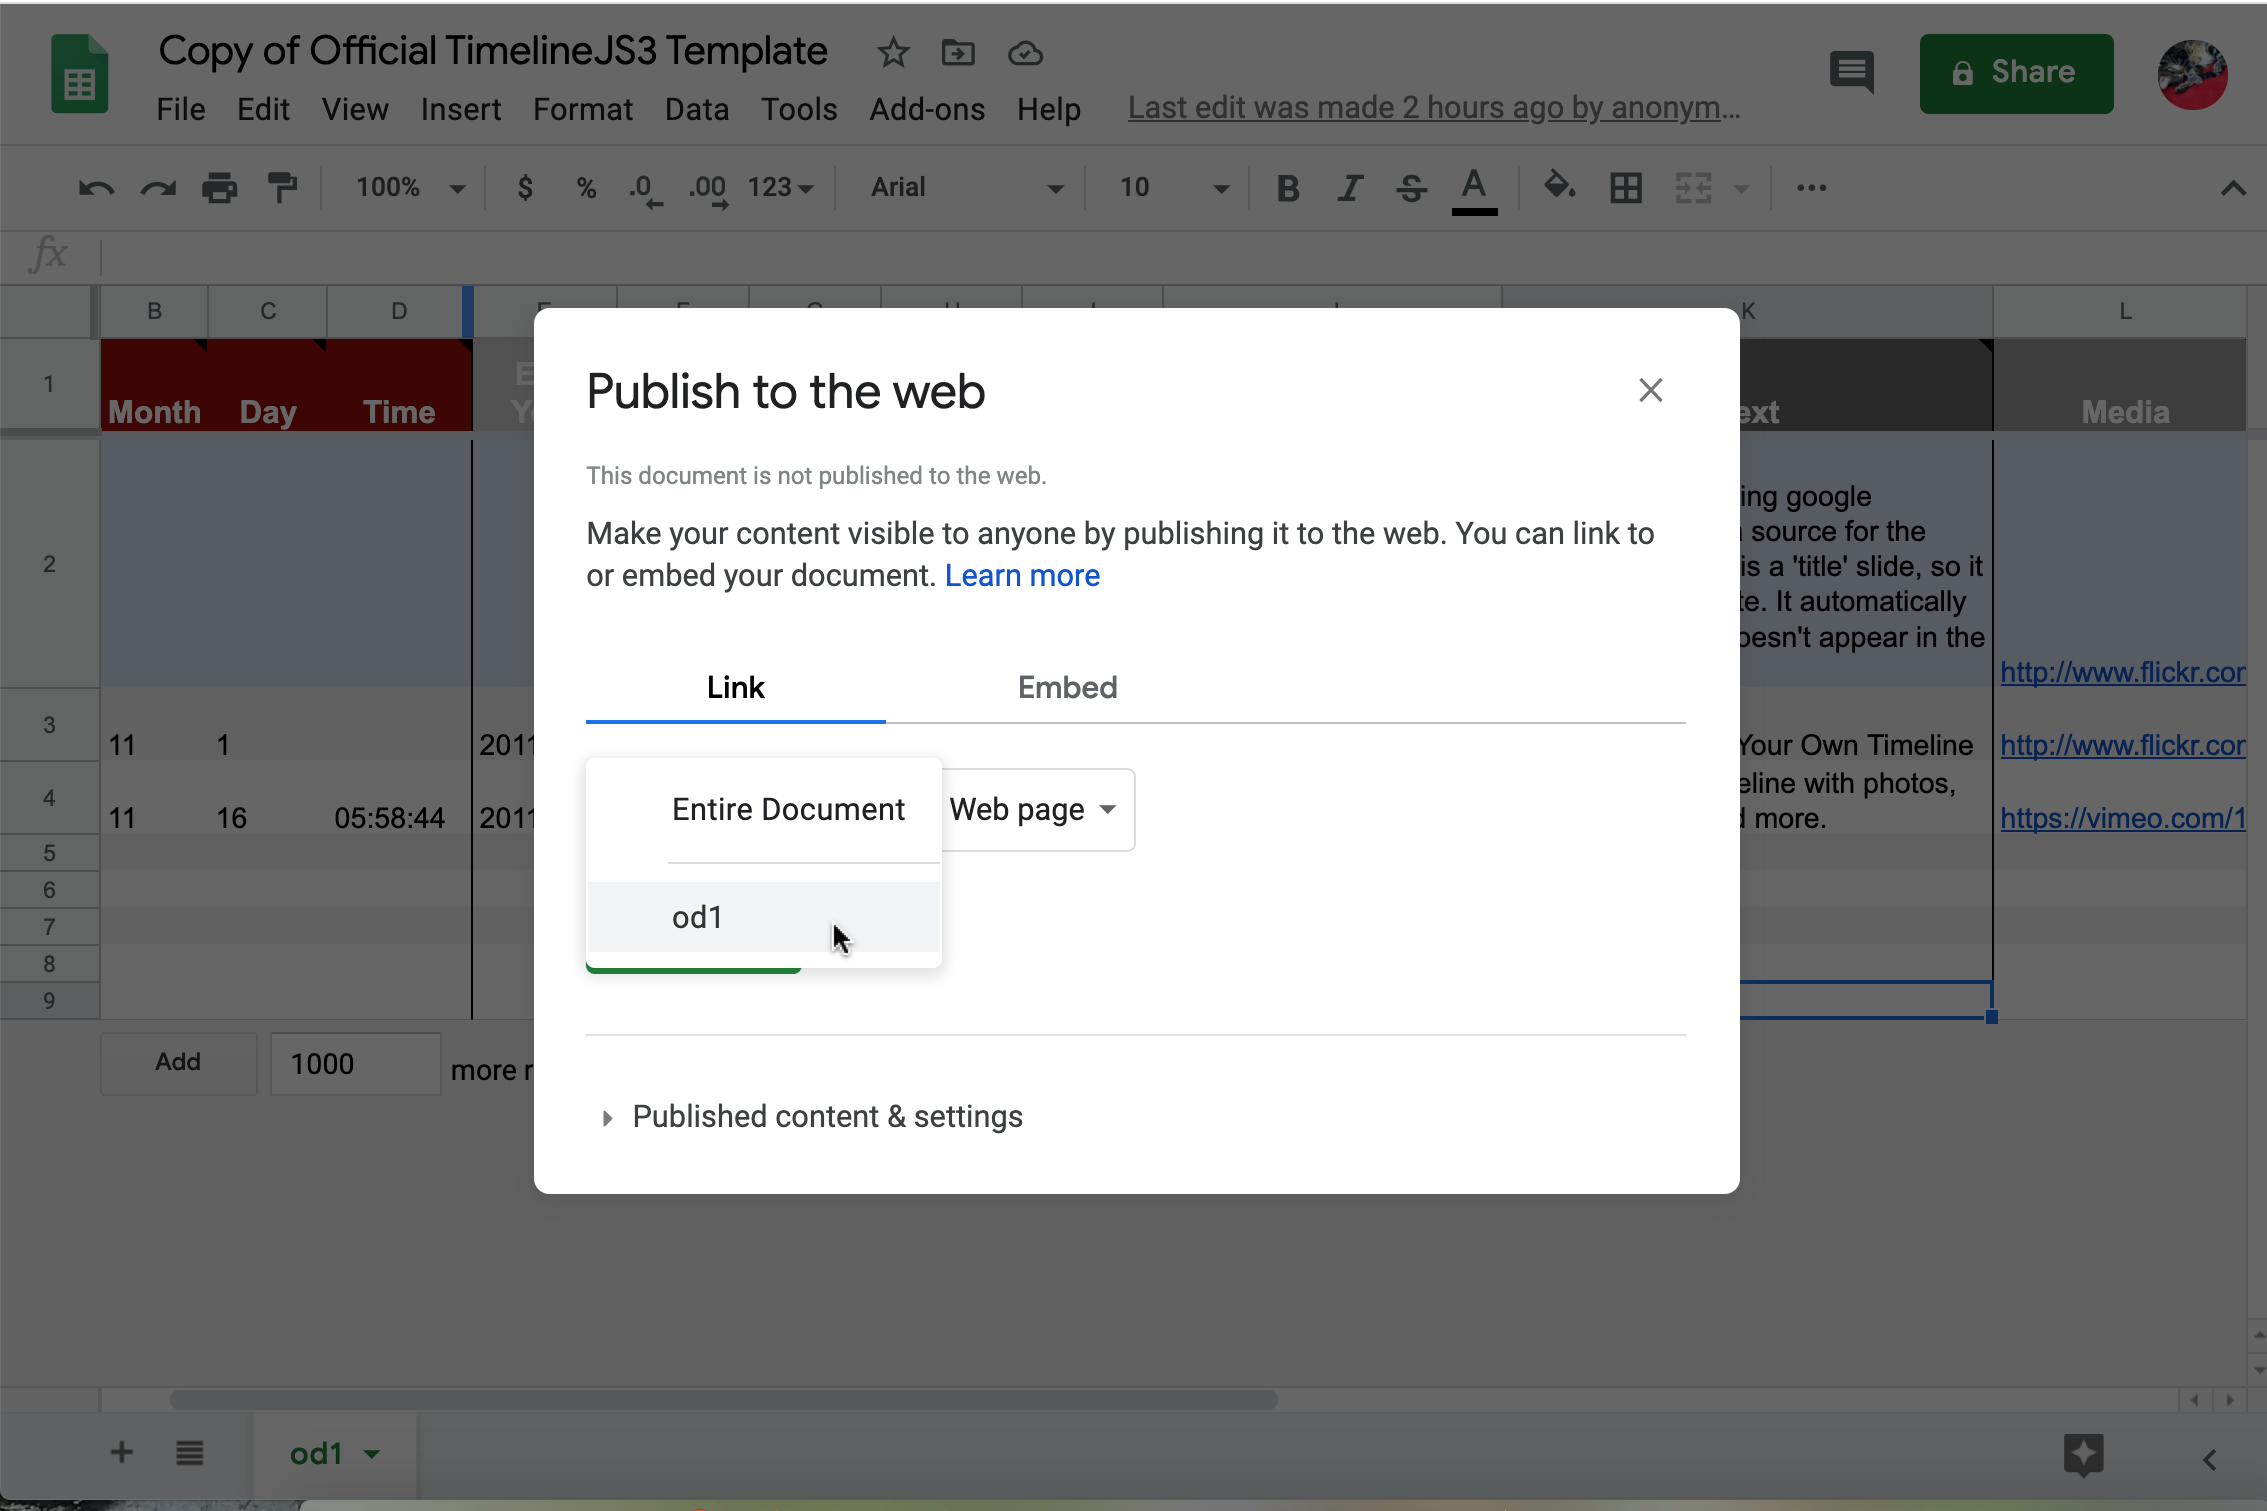
- The pop-up will ask, “Are you sure you want to make this selection?” Click the blue “OK” button.

- The timeline is now published to the web. However, you DO NOT want to copy and past the link that will appear in the box in the center of your screen. Close that box by clicking on the “x” in the right-hand corner.
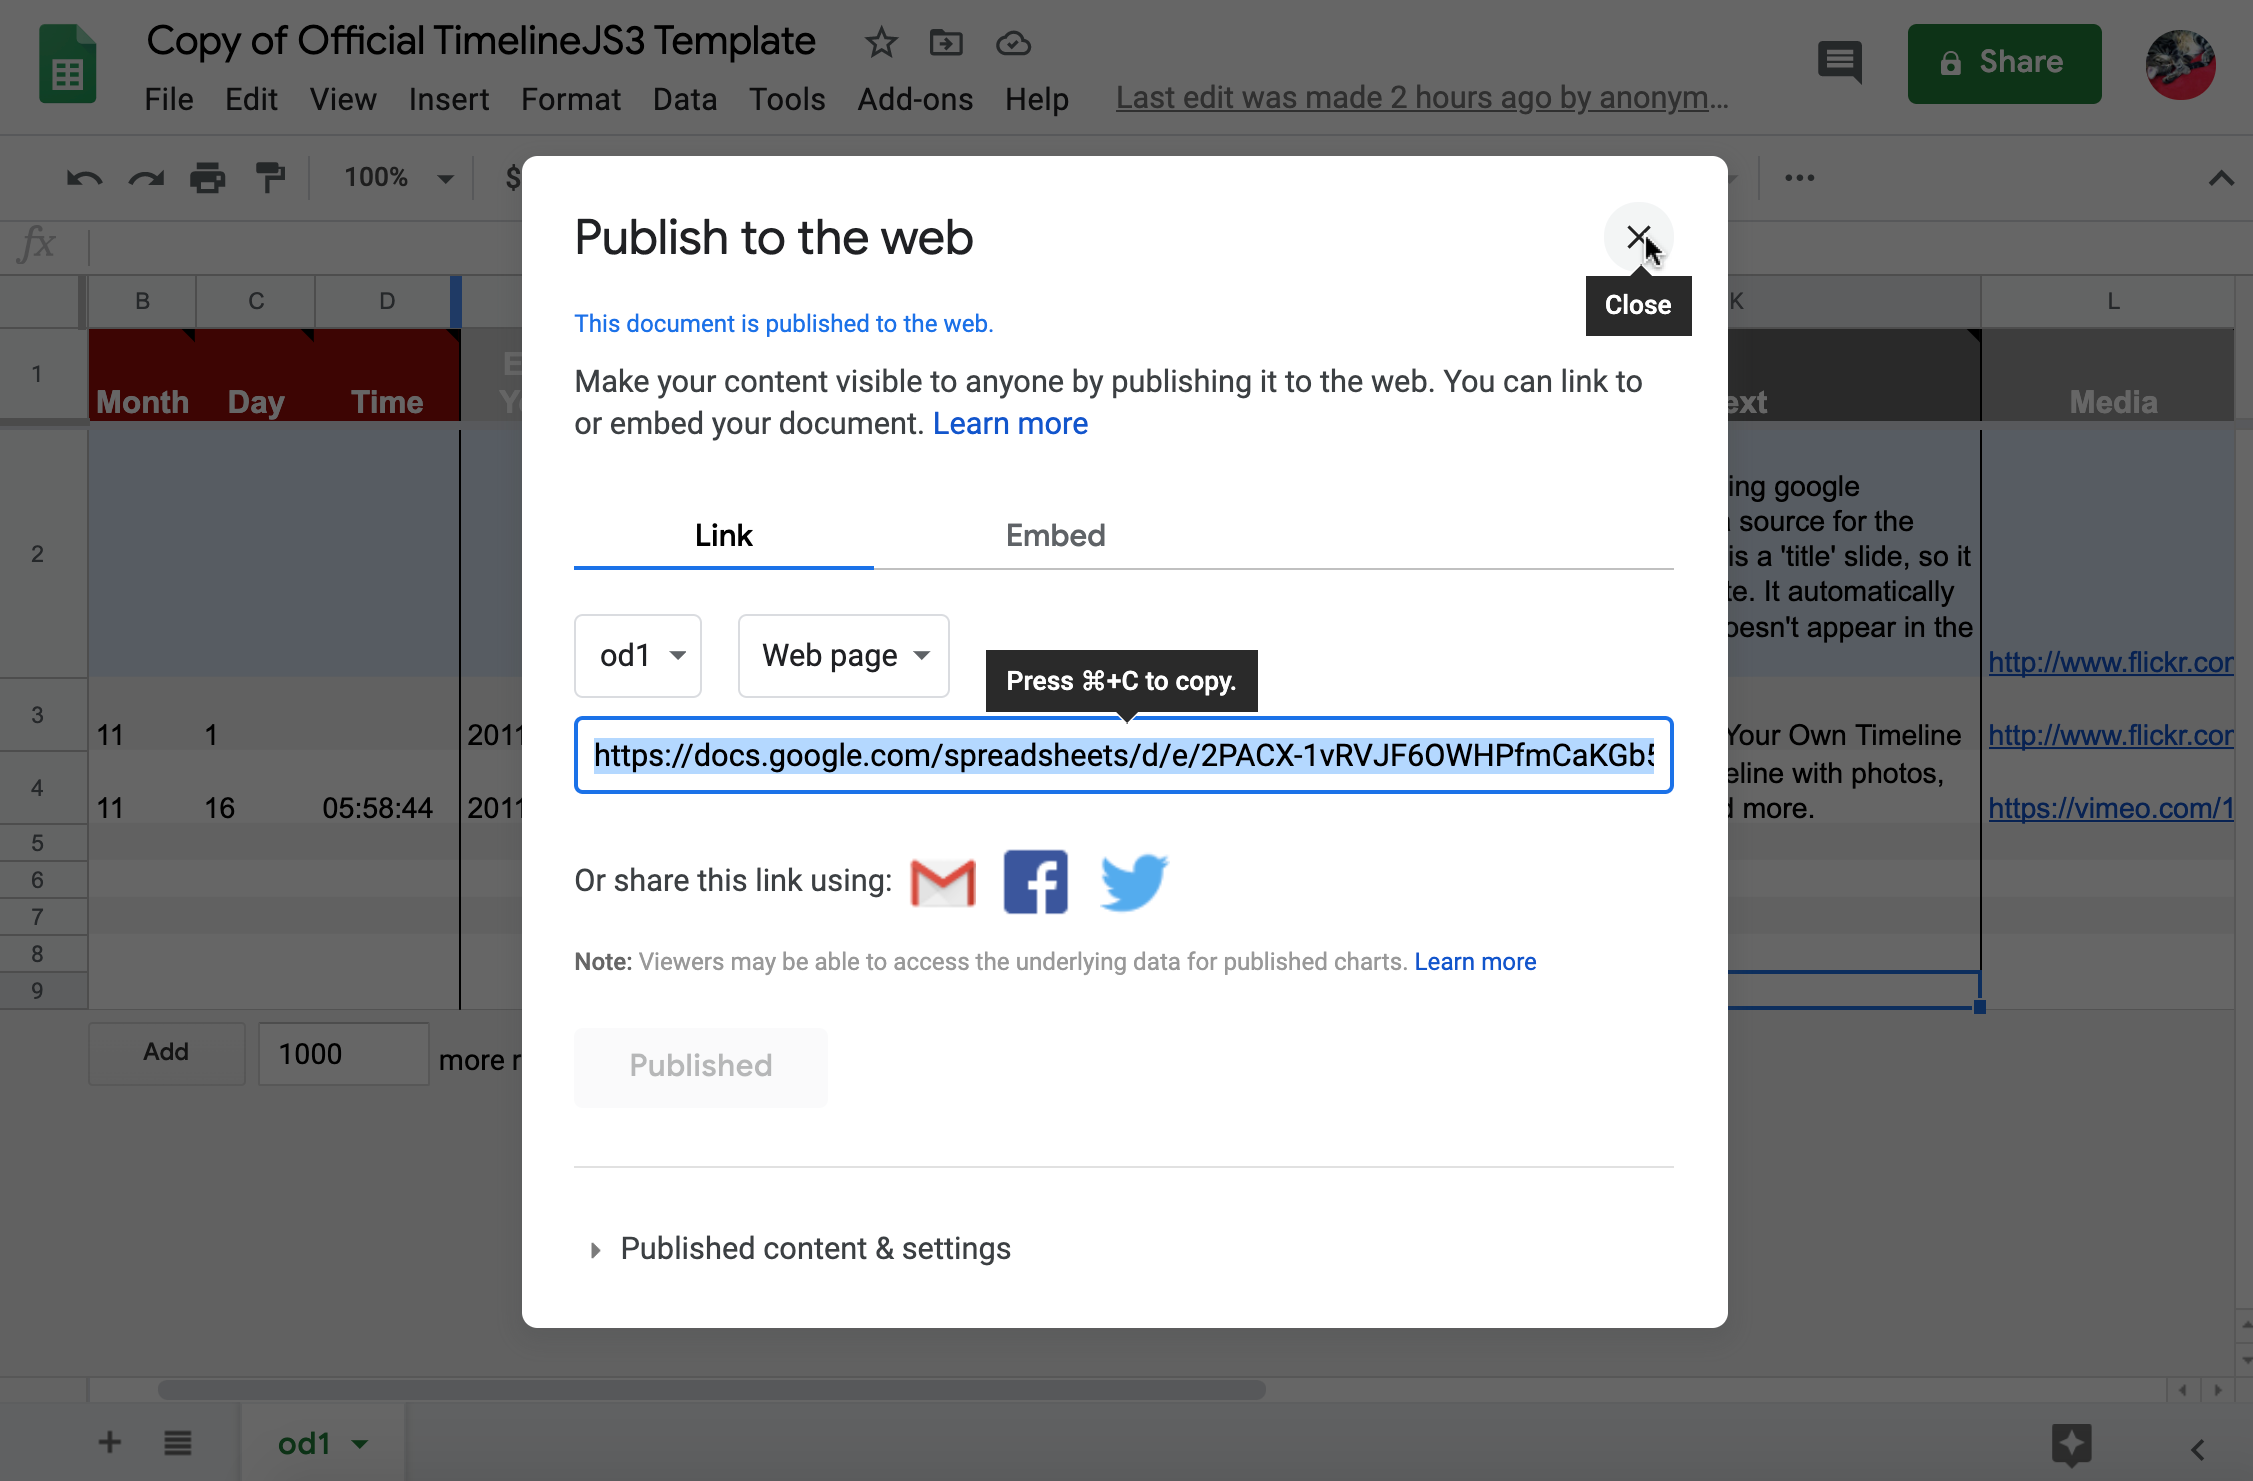
- Instead, copy the URL that appears in your browser’s address bar.
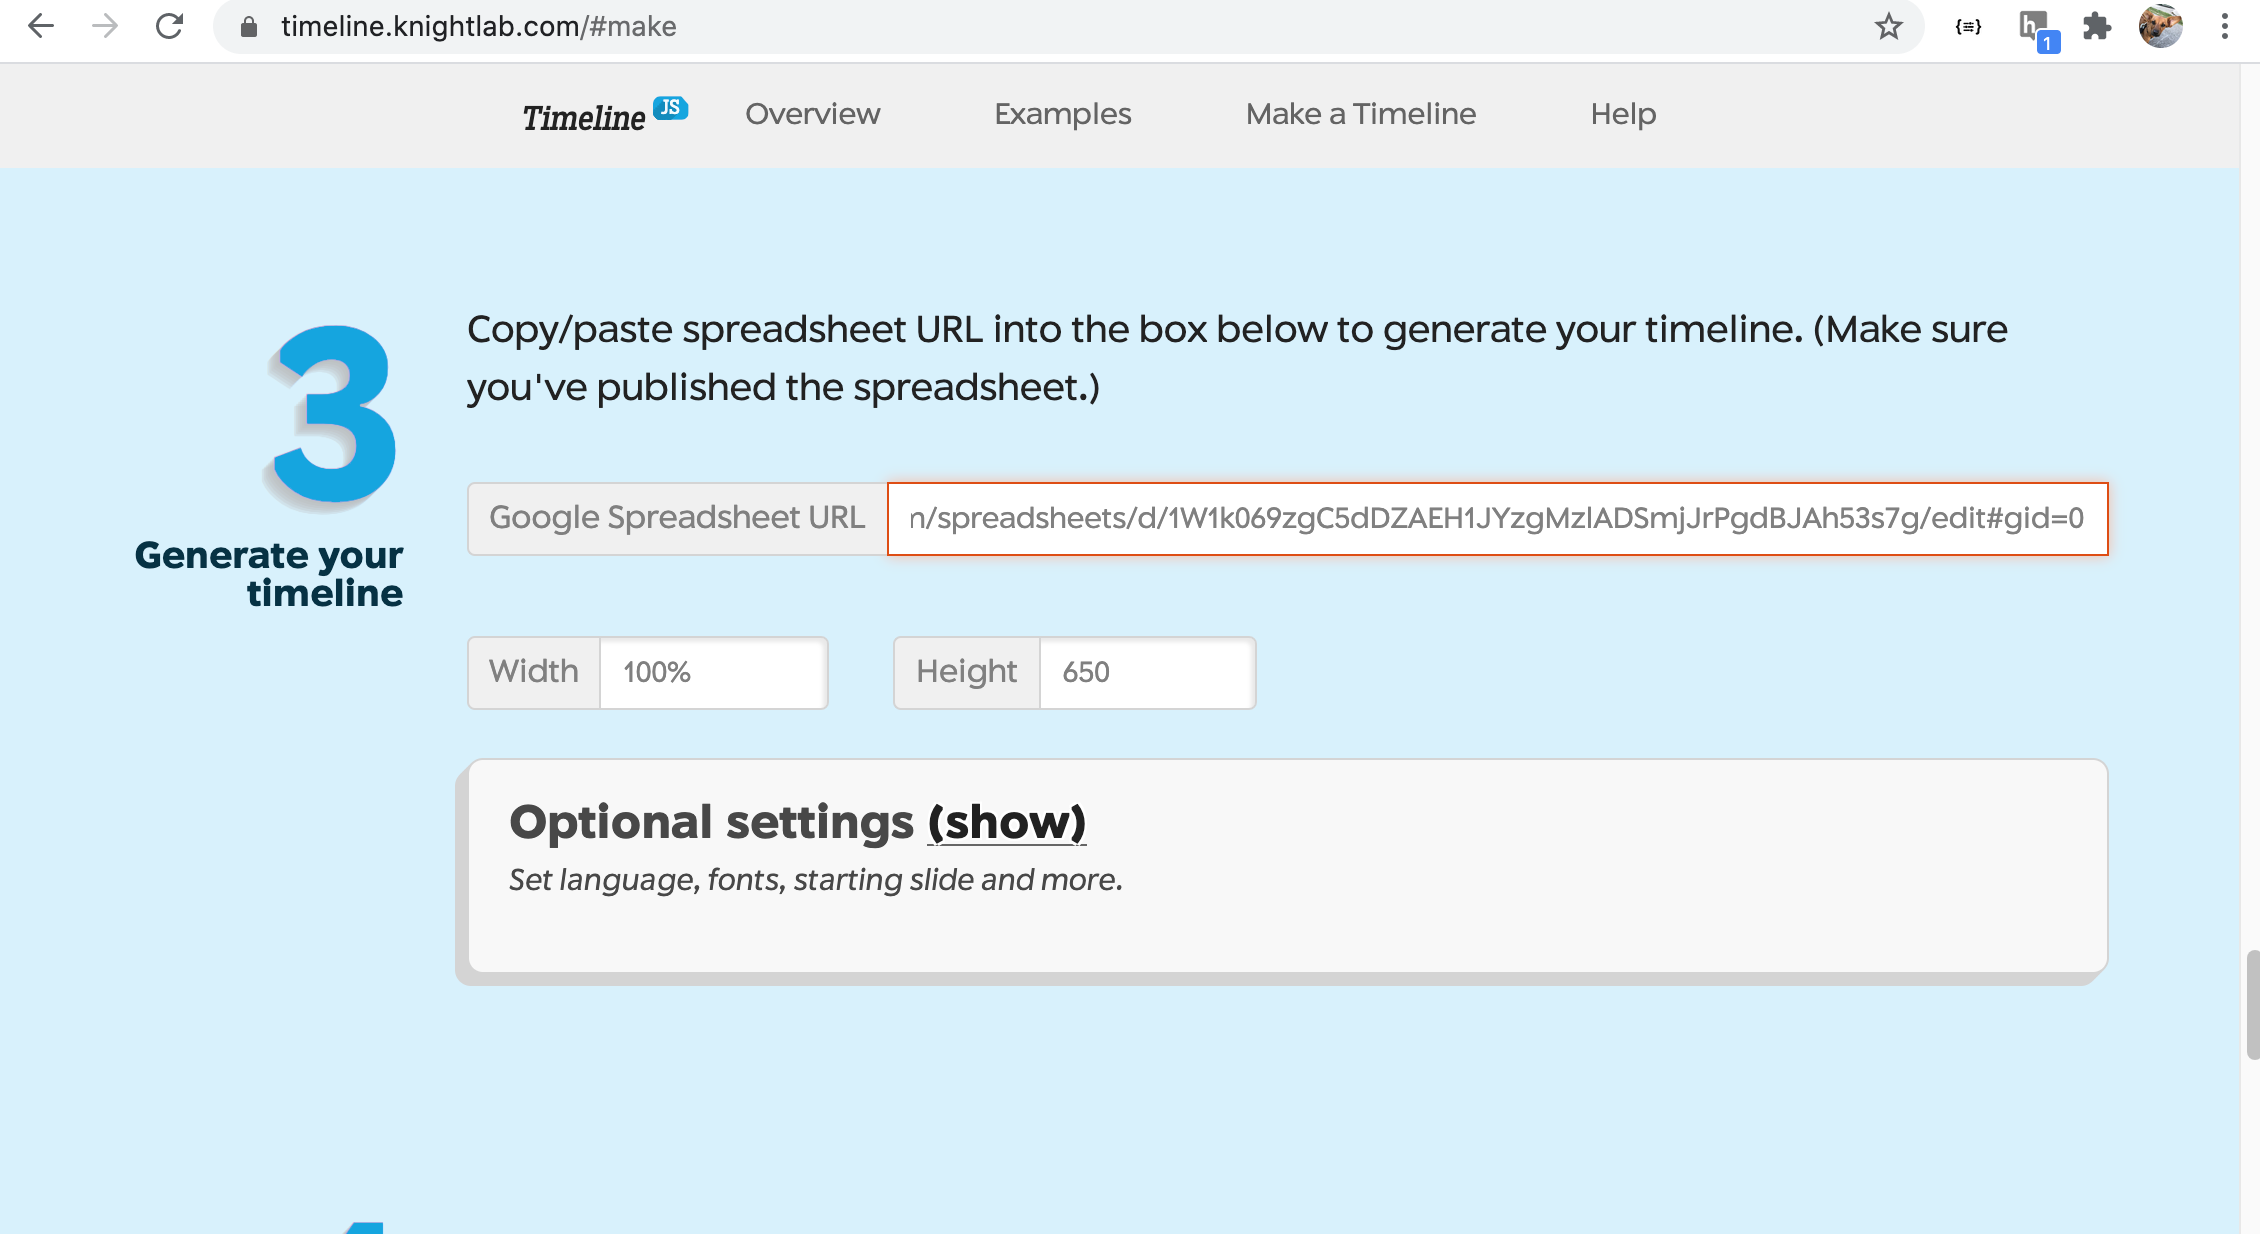
Step 3: Preview your Timeline
- We’re going to go back to where we started at https://timeline.knightlab.com/#make. Once there, paste the URL into the space provided that says “Google Spreadsheet URL.”
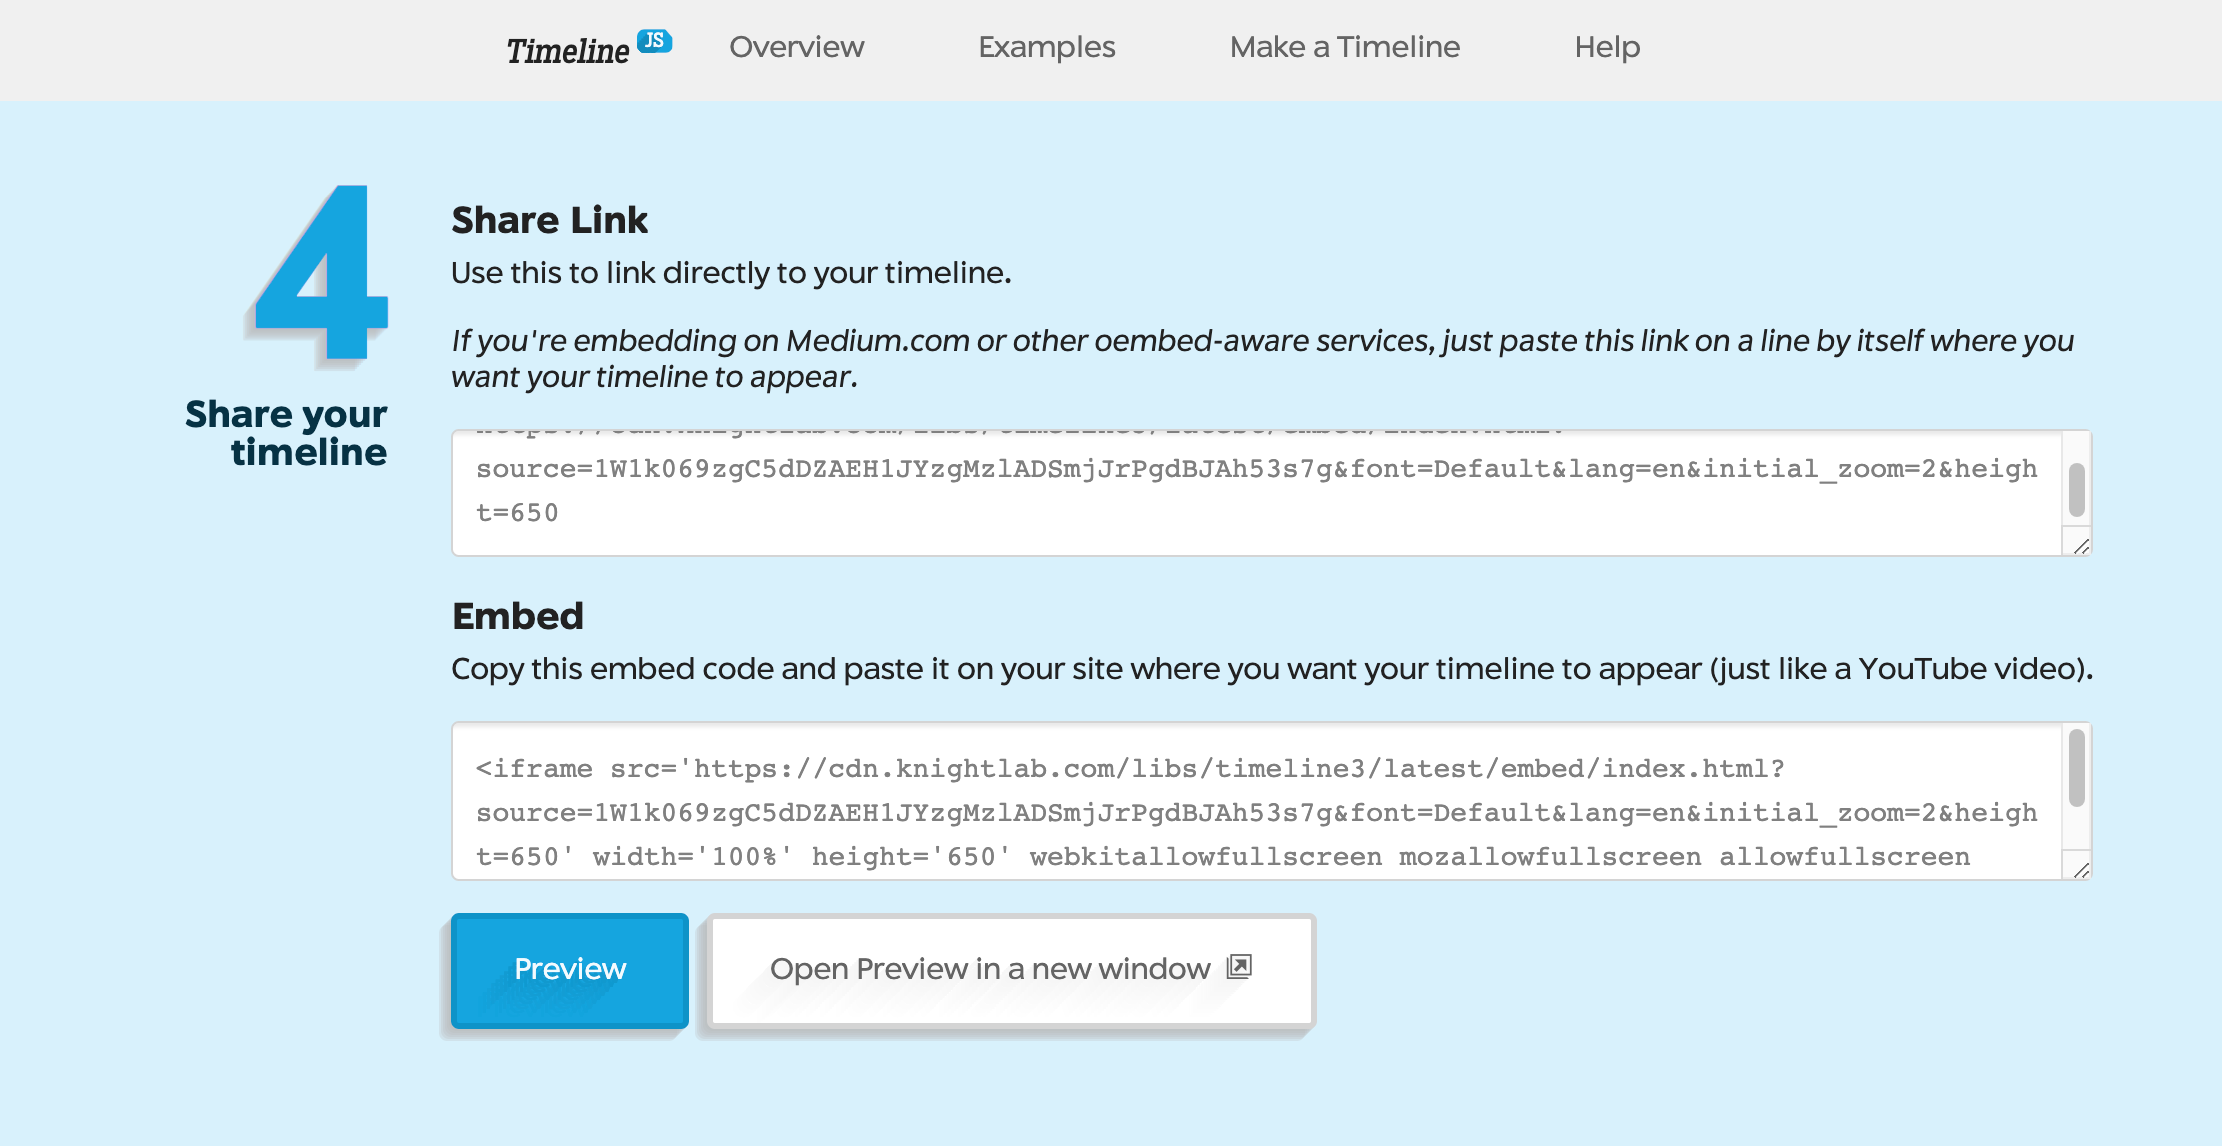
- When you scroll down to step 4 on the Timeline.js homepage, you’ll see that the “Share Link” and “Embed” boxes have been autofilled with the URL. You can now click on “Preview: do view the timeline.
- The preview screen will look like this:
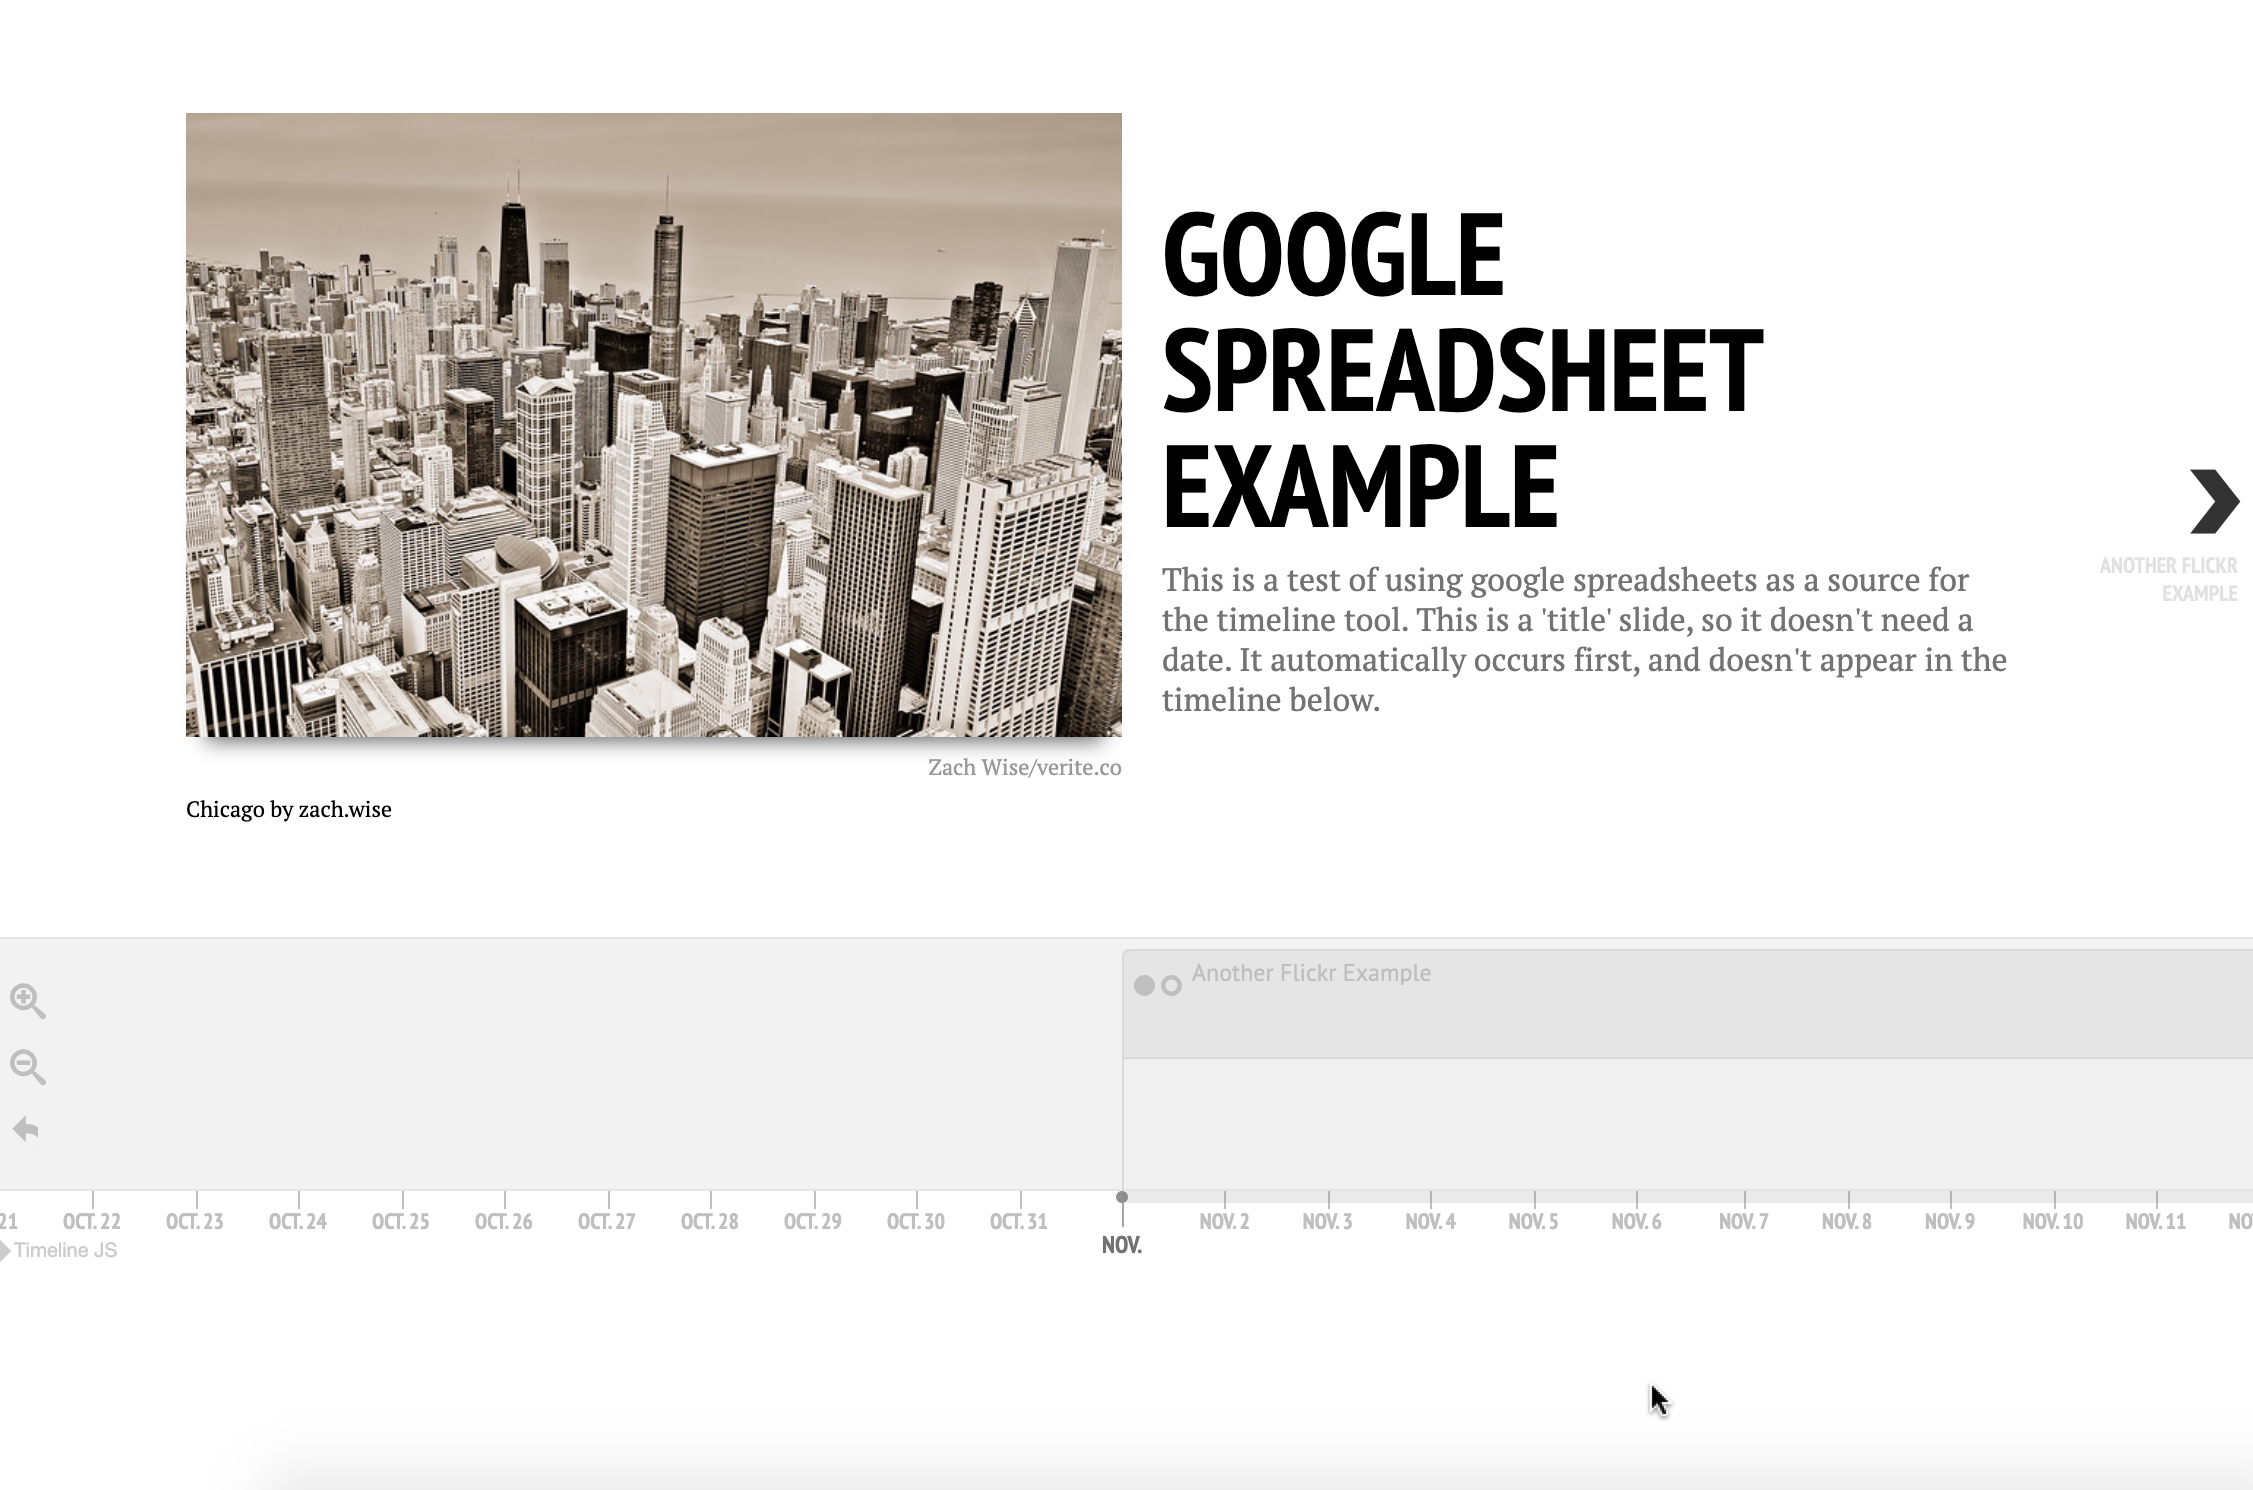
- Very cool! But not your content, yet. This preview is helpful because it shows how the spreadsheet translates to the timeline view. Now, you can make edits to the spreadsheet and see how they impact the frontend view.
Step 4: Updating your Timeline
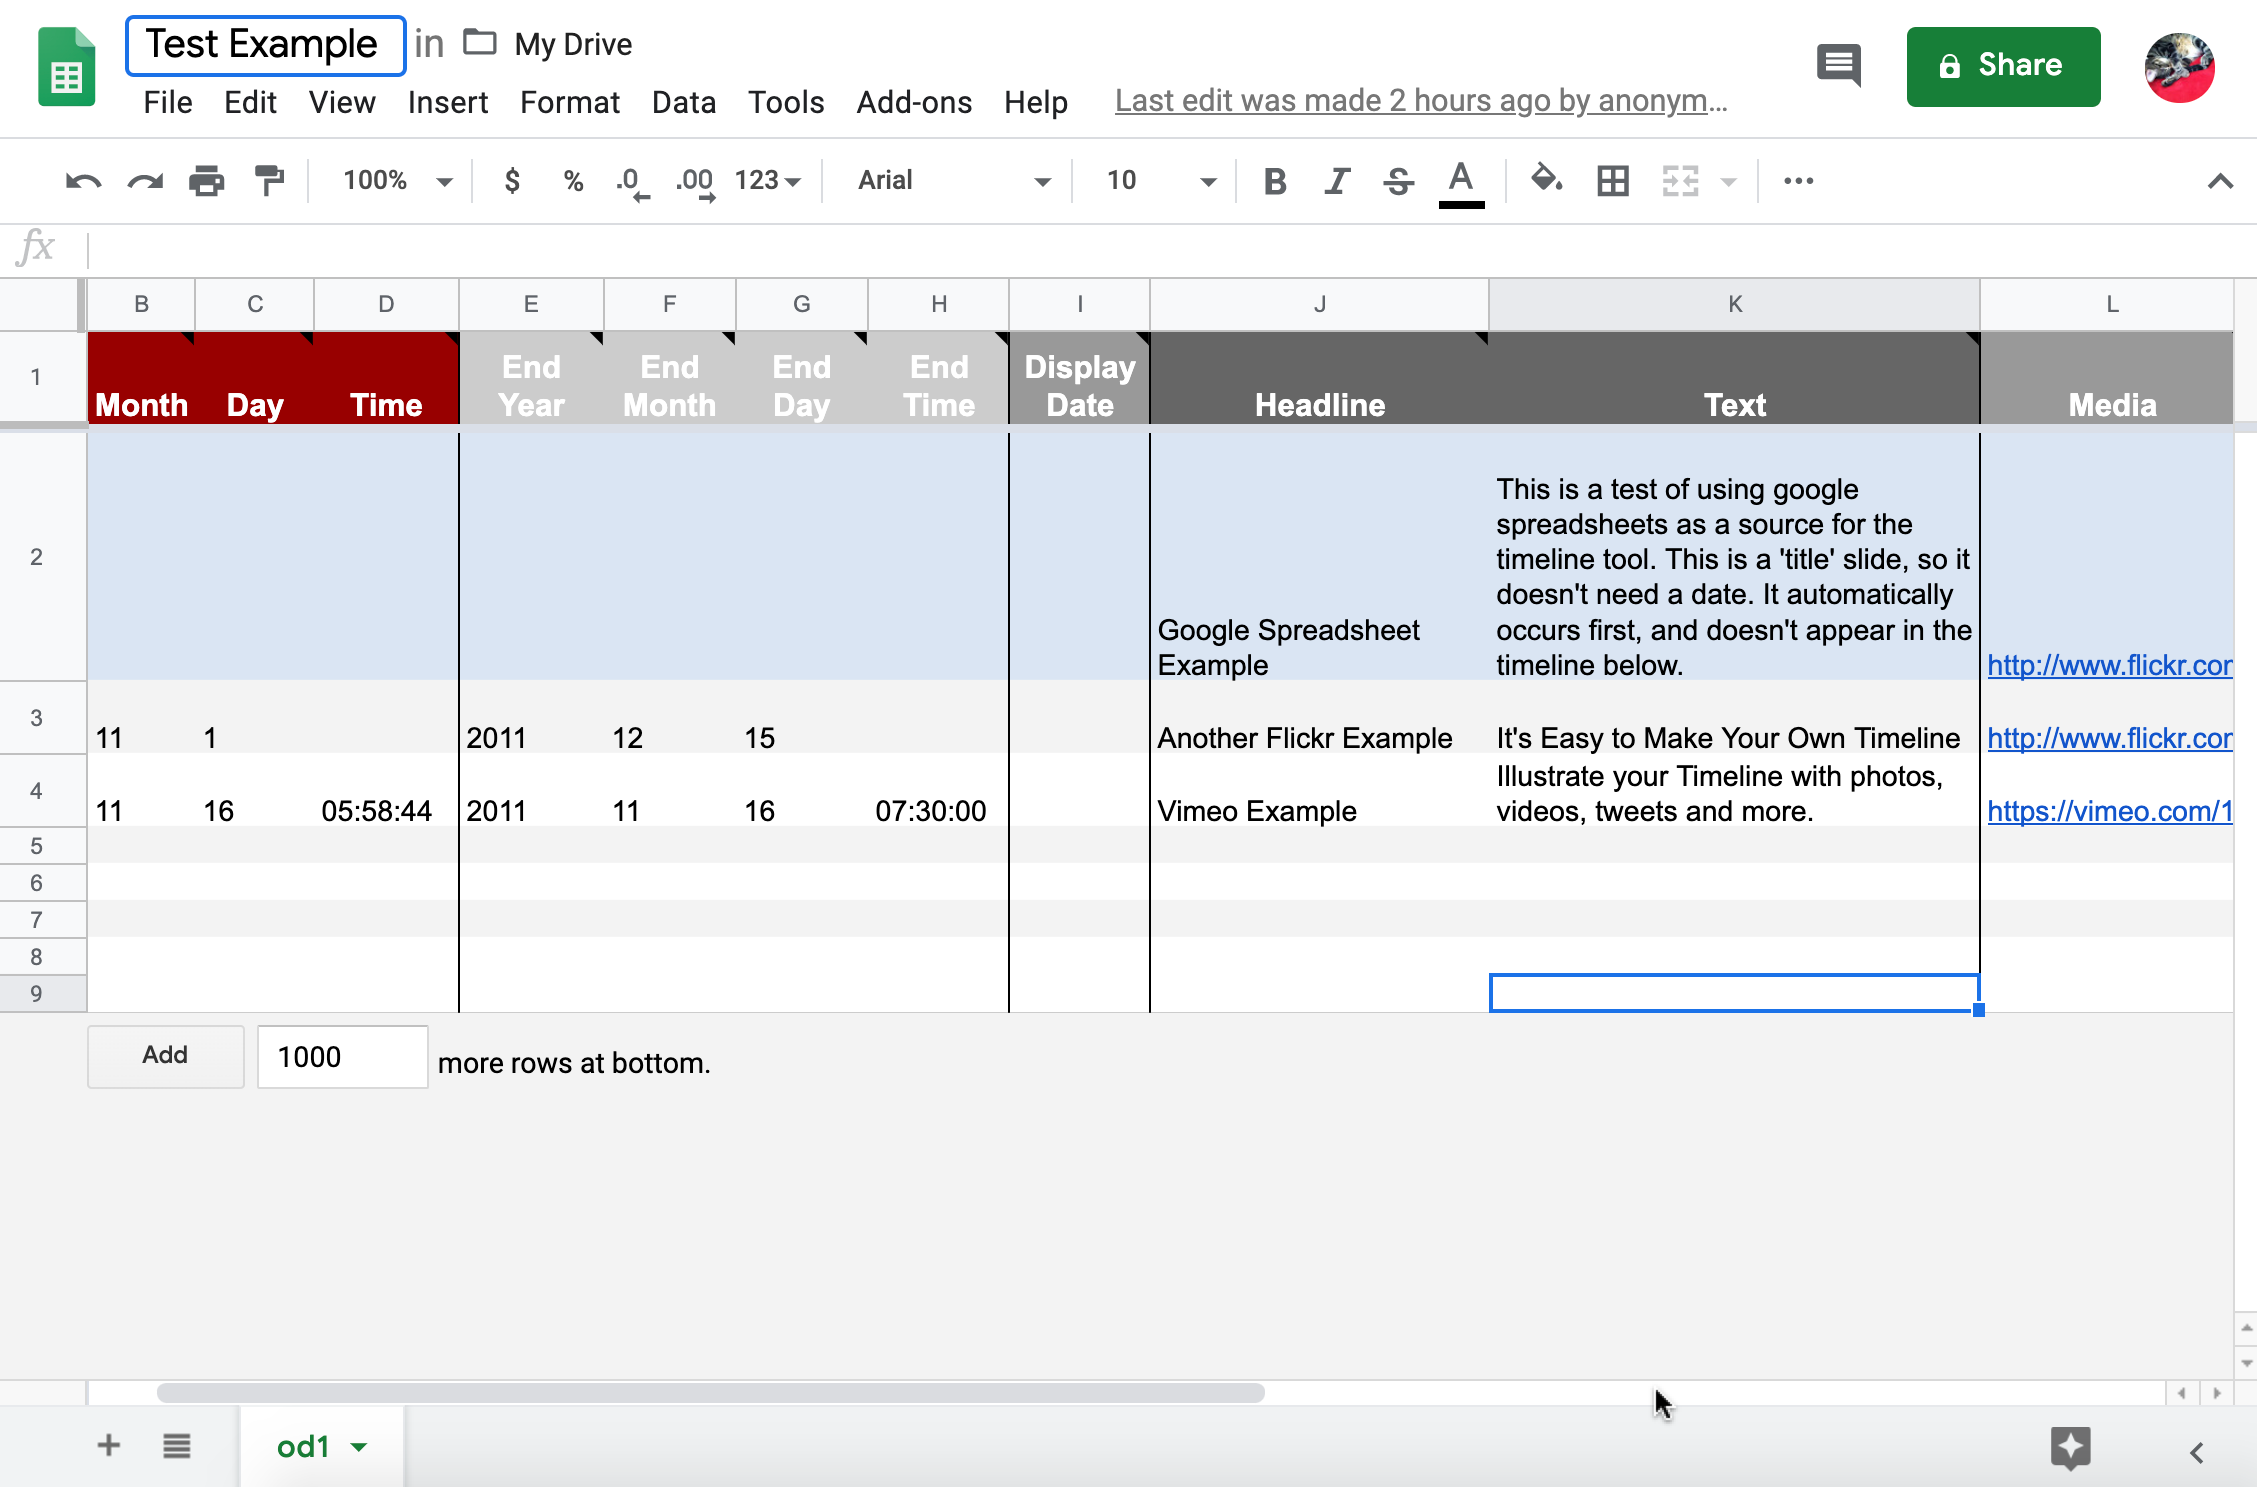
Now let’s go back to our Google Sheet. Here we can actually put in our content and reload our Timeline preview to see how the changes look.
- First, I want to edit the title of my spreadsheet so that I can make it my own. To do this, I click the title in the upper-left of the screen and type in my title, “Test Example,” for the purposes of this tutorial.
- Now, I’m going to go in and edit the second row of the spreadsheet. I know from looking at the timeline preview and from the “Type” column (column P) of the spreadsheet that this first row contains the title slide of the timeline. So if I click on the Headline box containing “Google Spreadsheet Example,” and edit that text to say “Timelines are helpful!”, I will be editing the Headline on the intro page of the timeline.
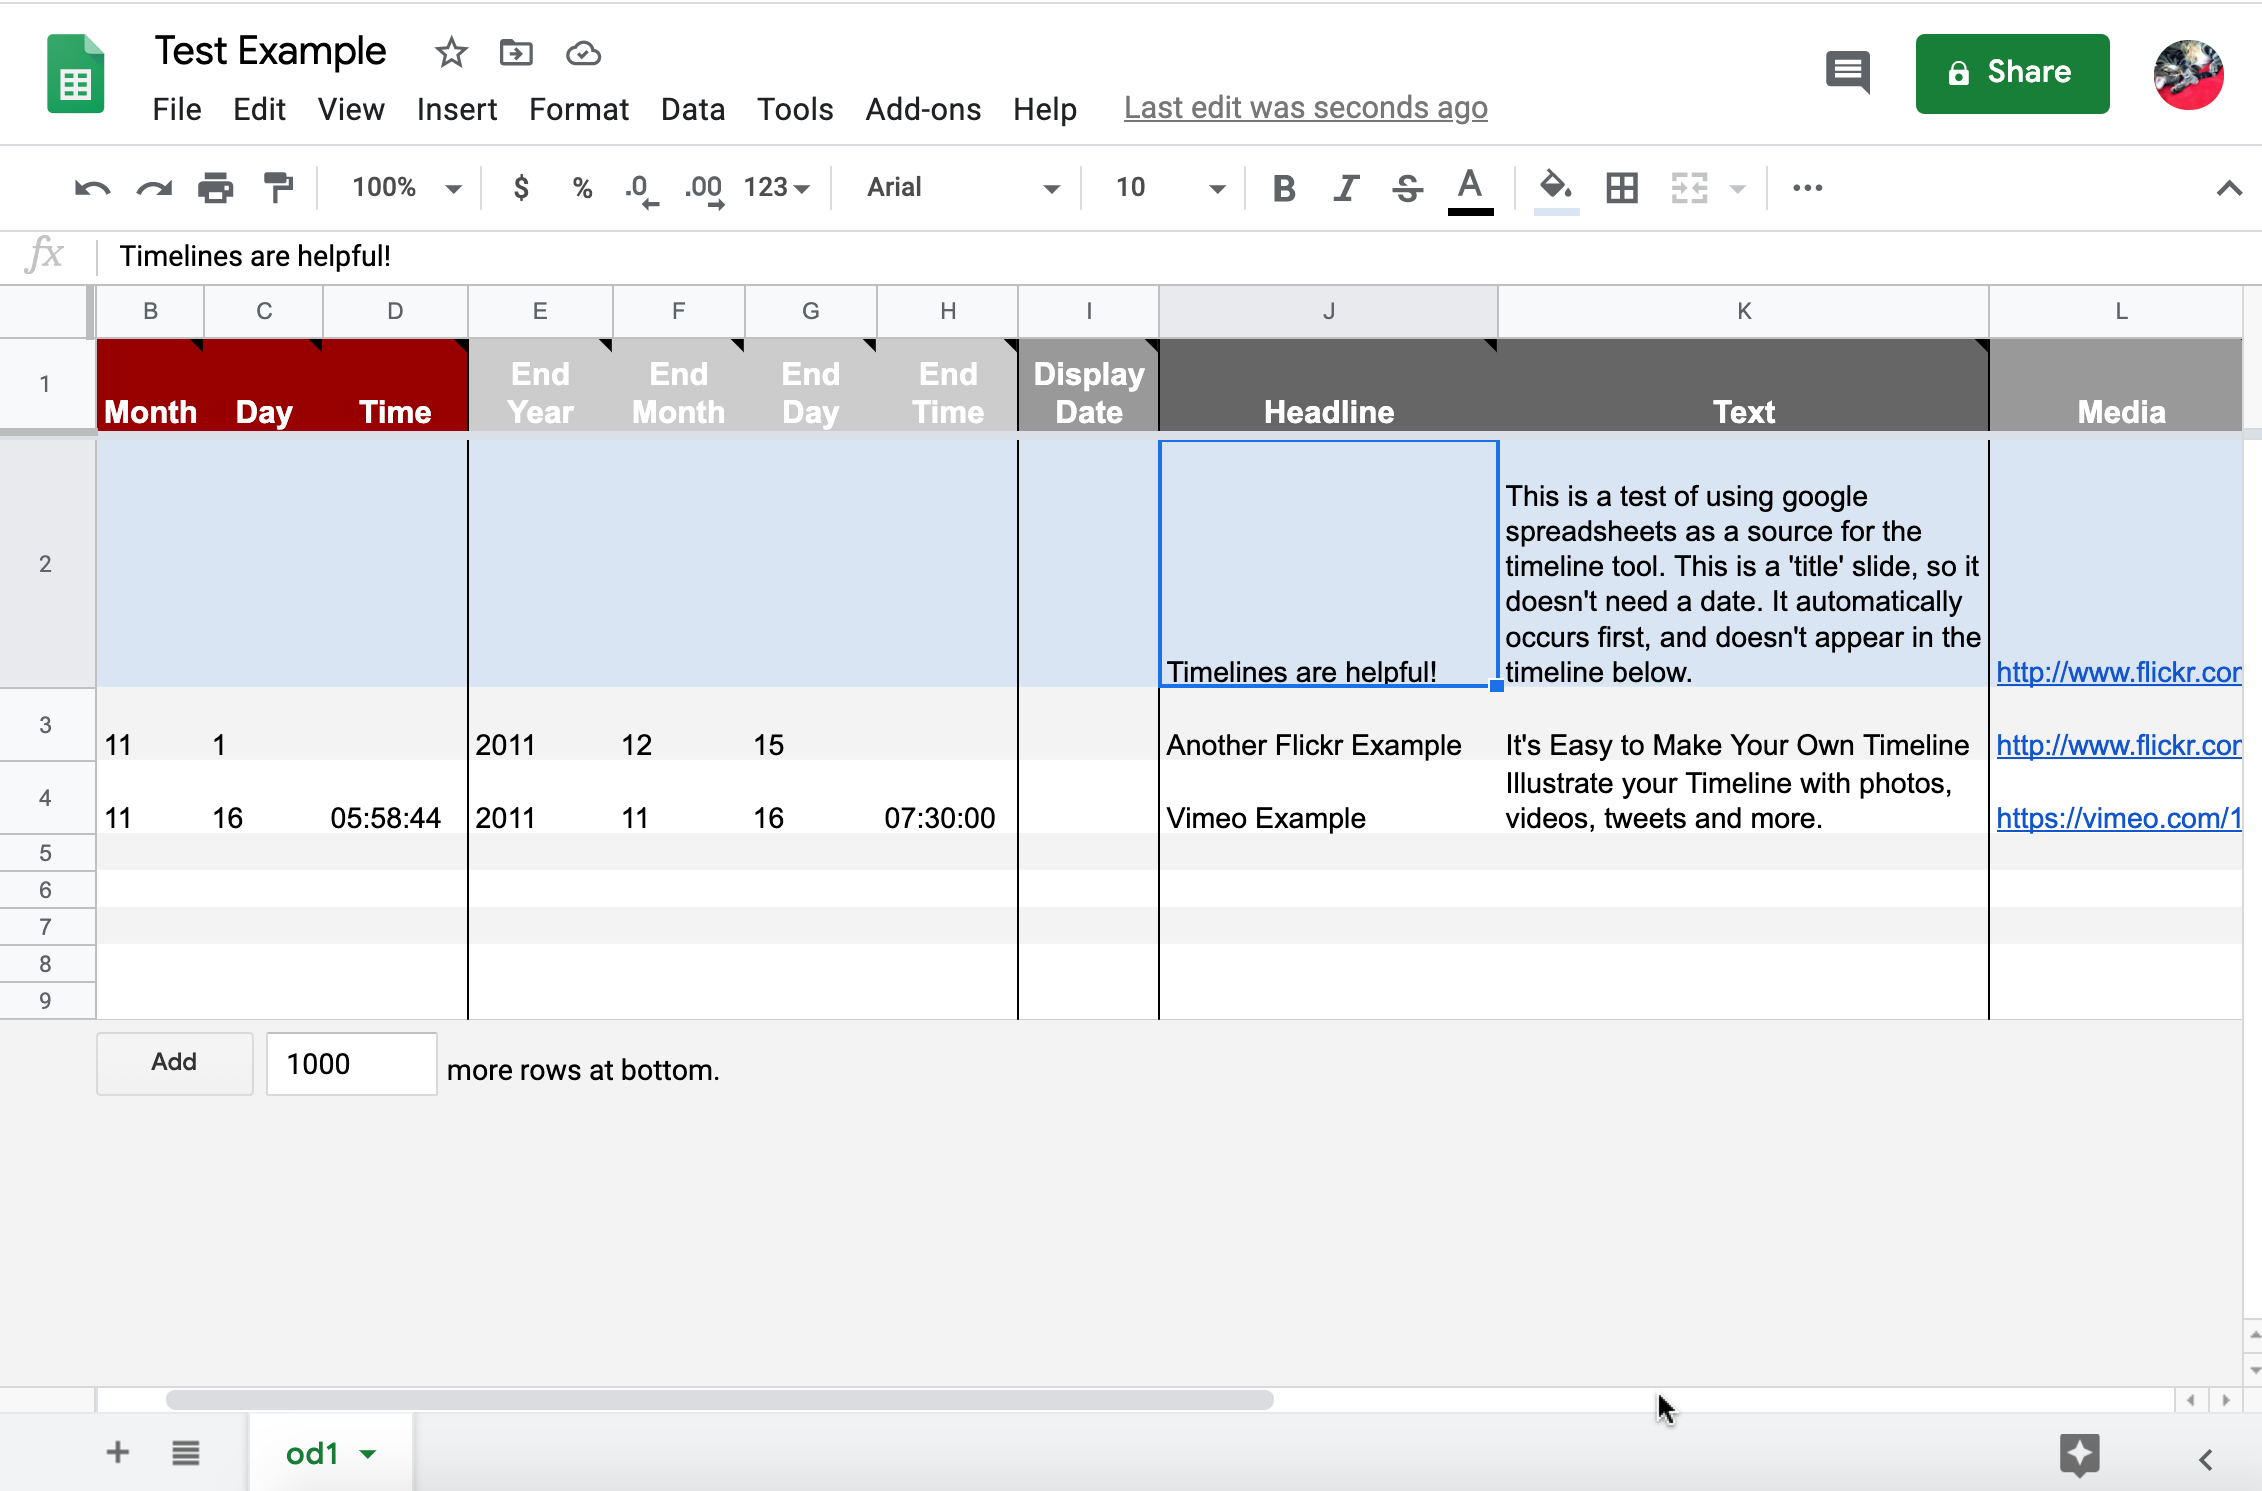
- If I reload the Timeline preview page that we were looking at in Step 3, it will reflect this change.

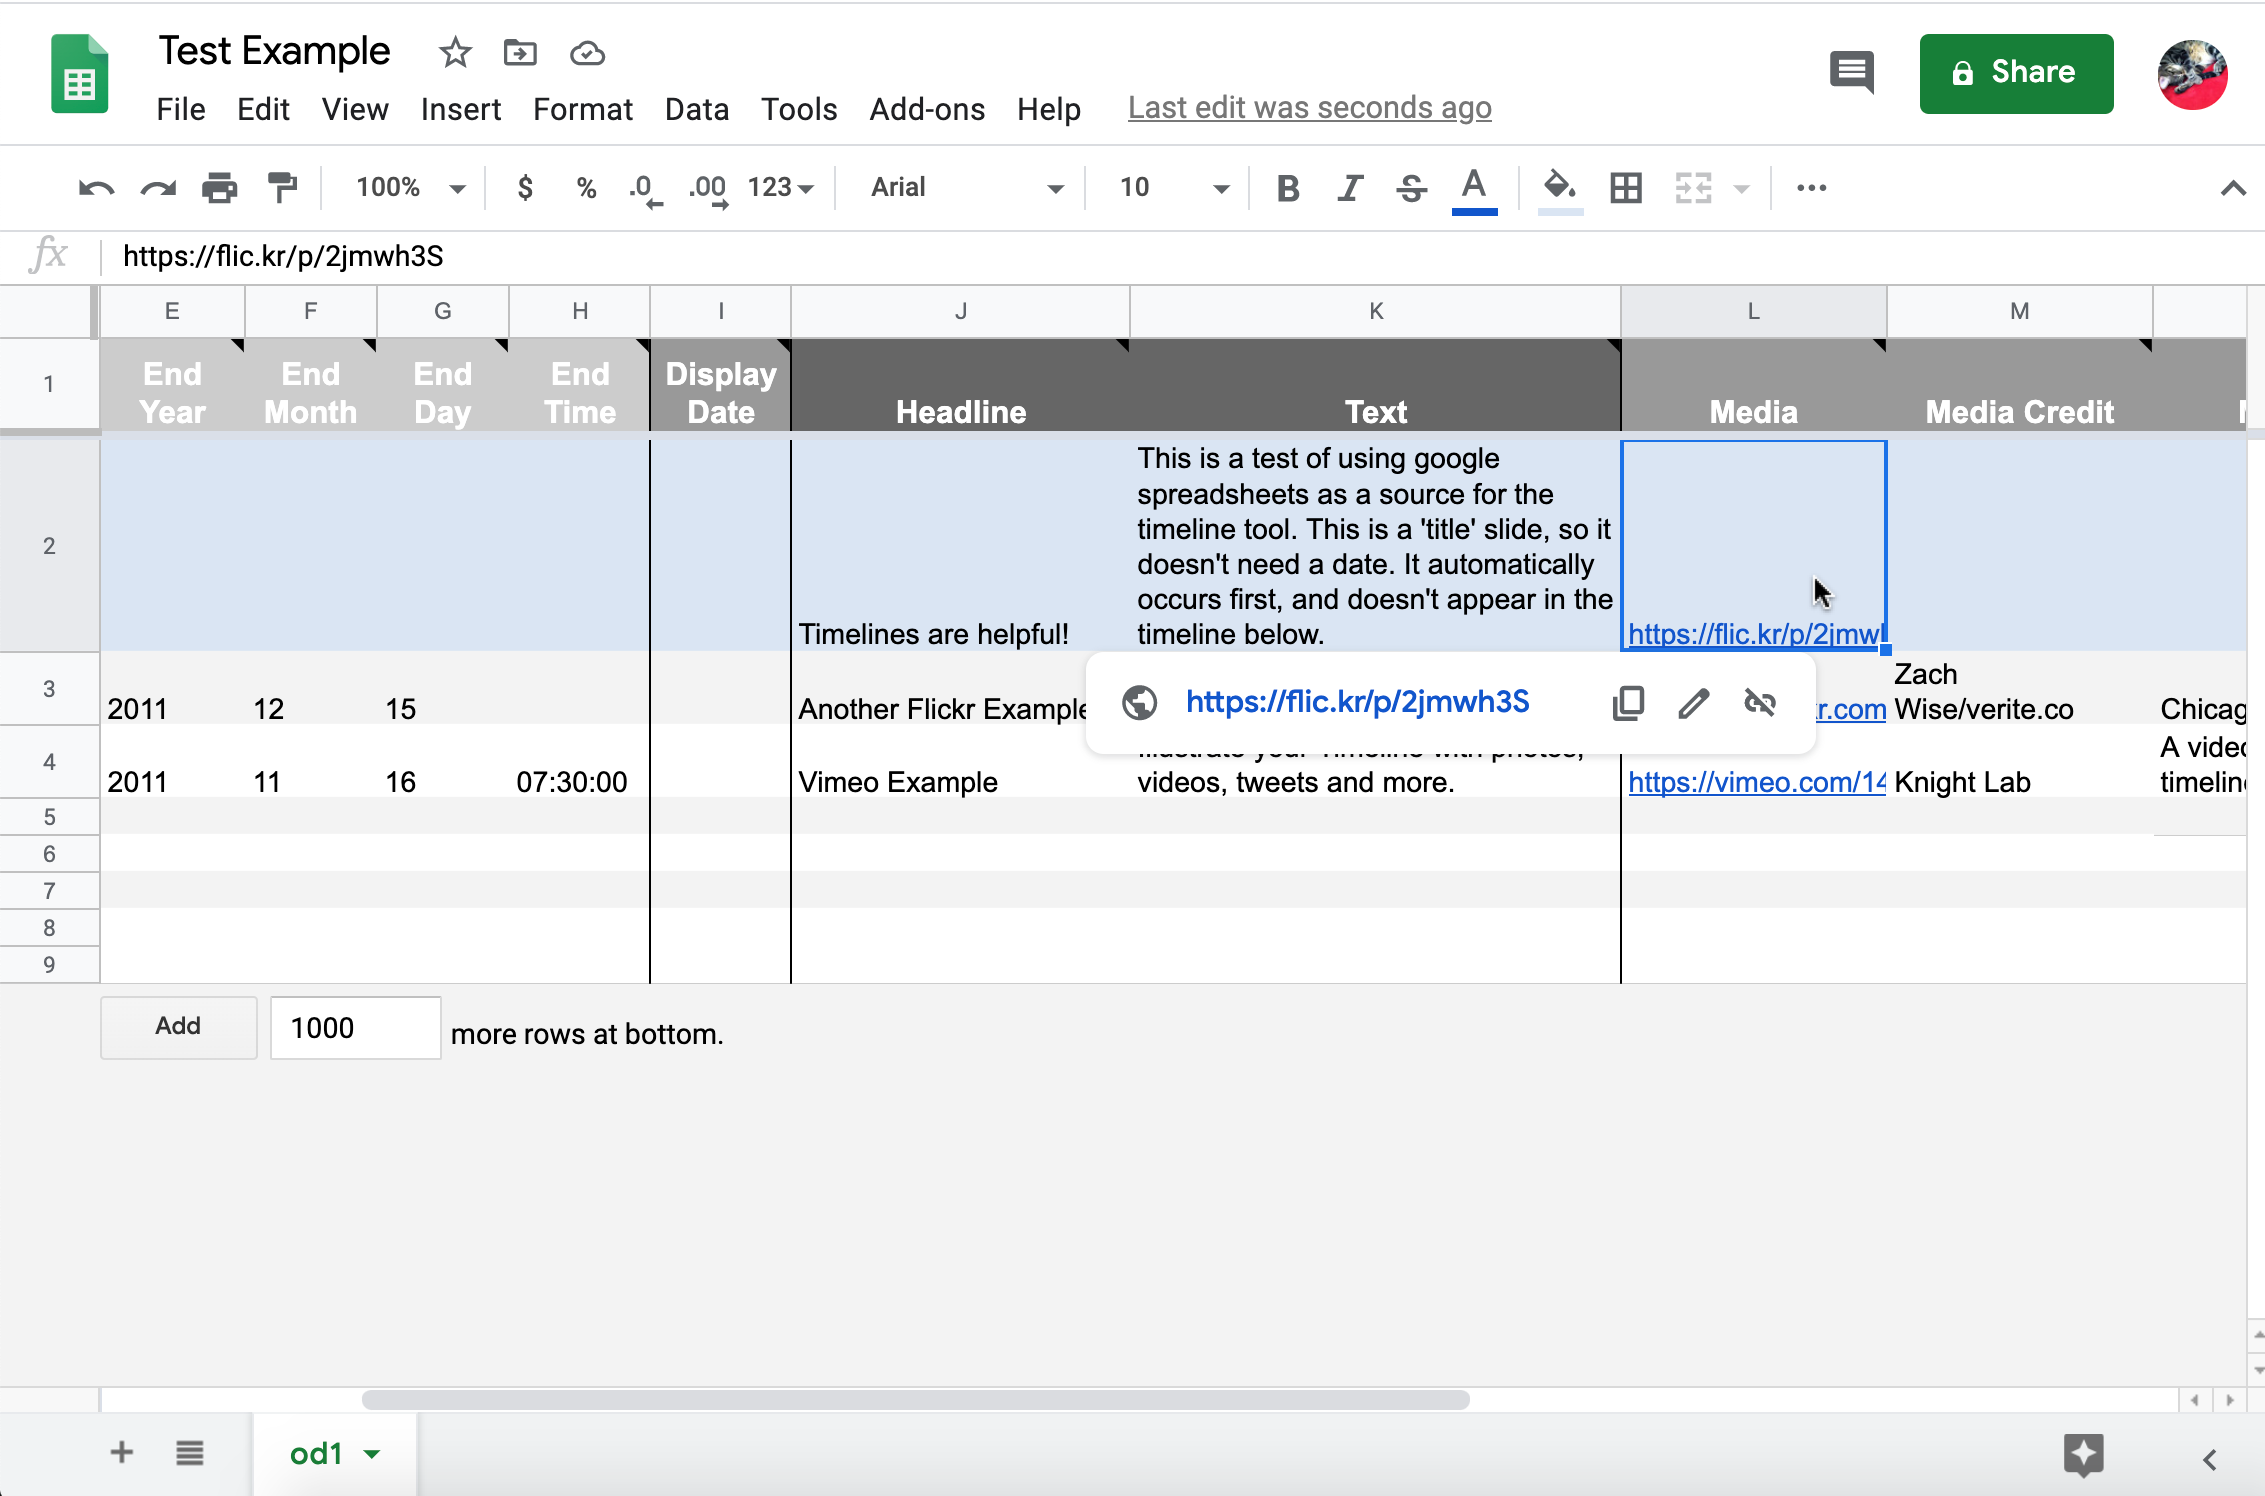
- Great! Now that I know how this works, I can continue editing the rows in the spreadsheet to reflect the dates, text, and media that I want to include on the timeline. For example, if I want to change the image on the first slide, I will click on the Media box in the second row of the spreadsheet.
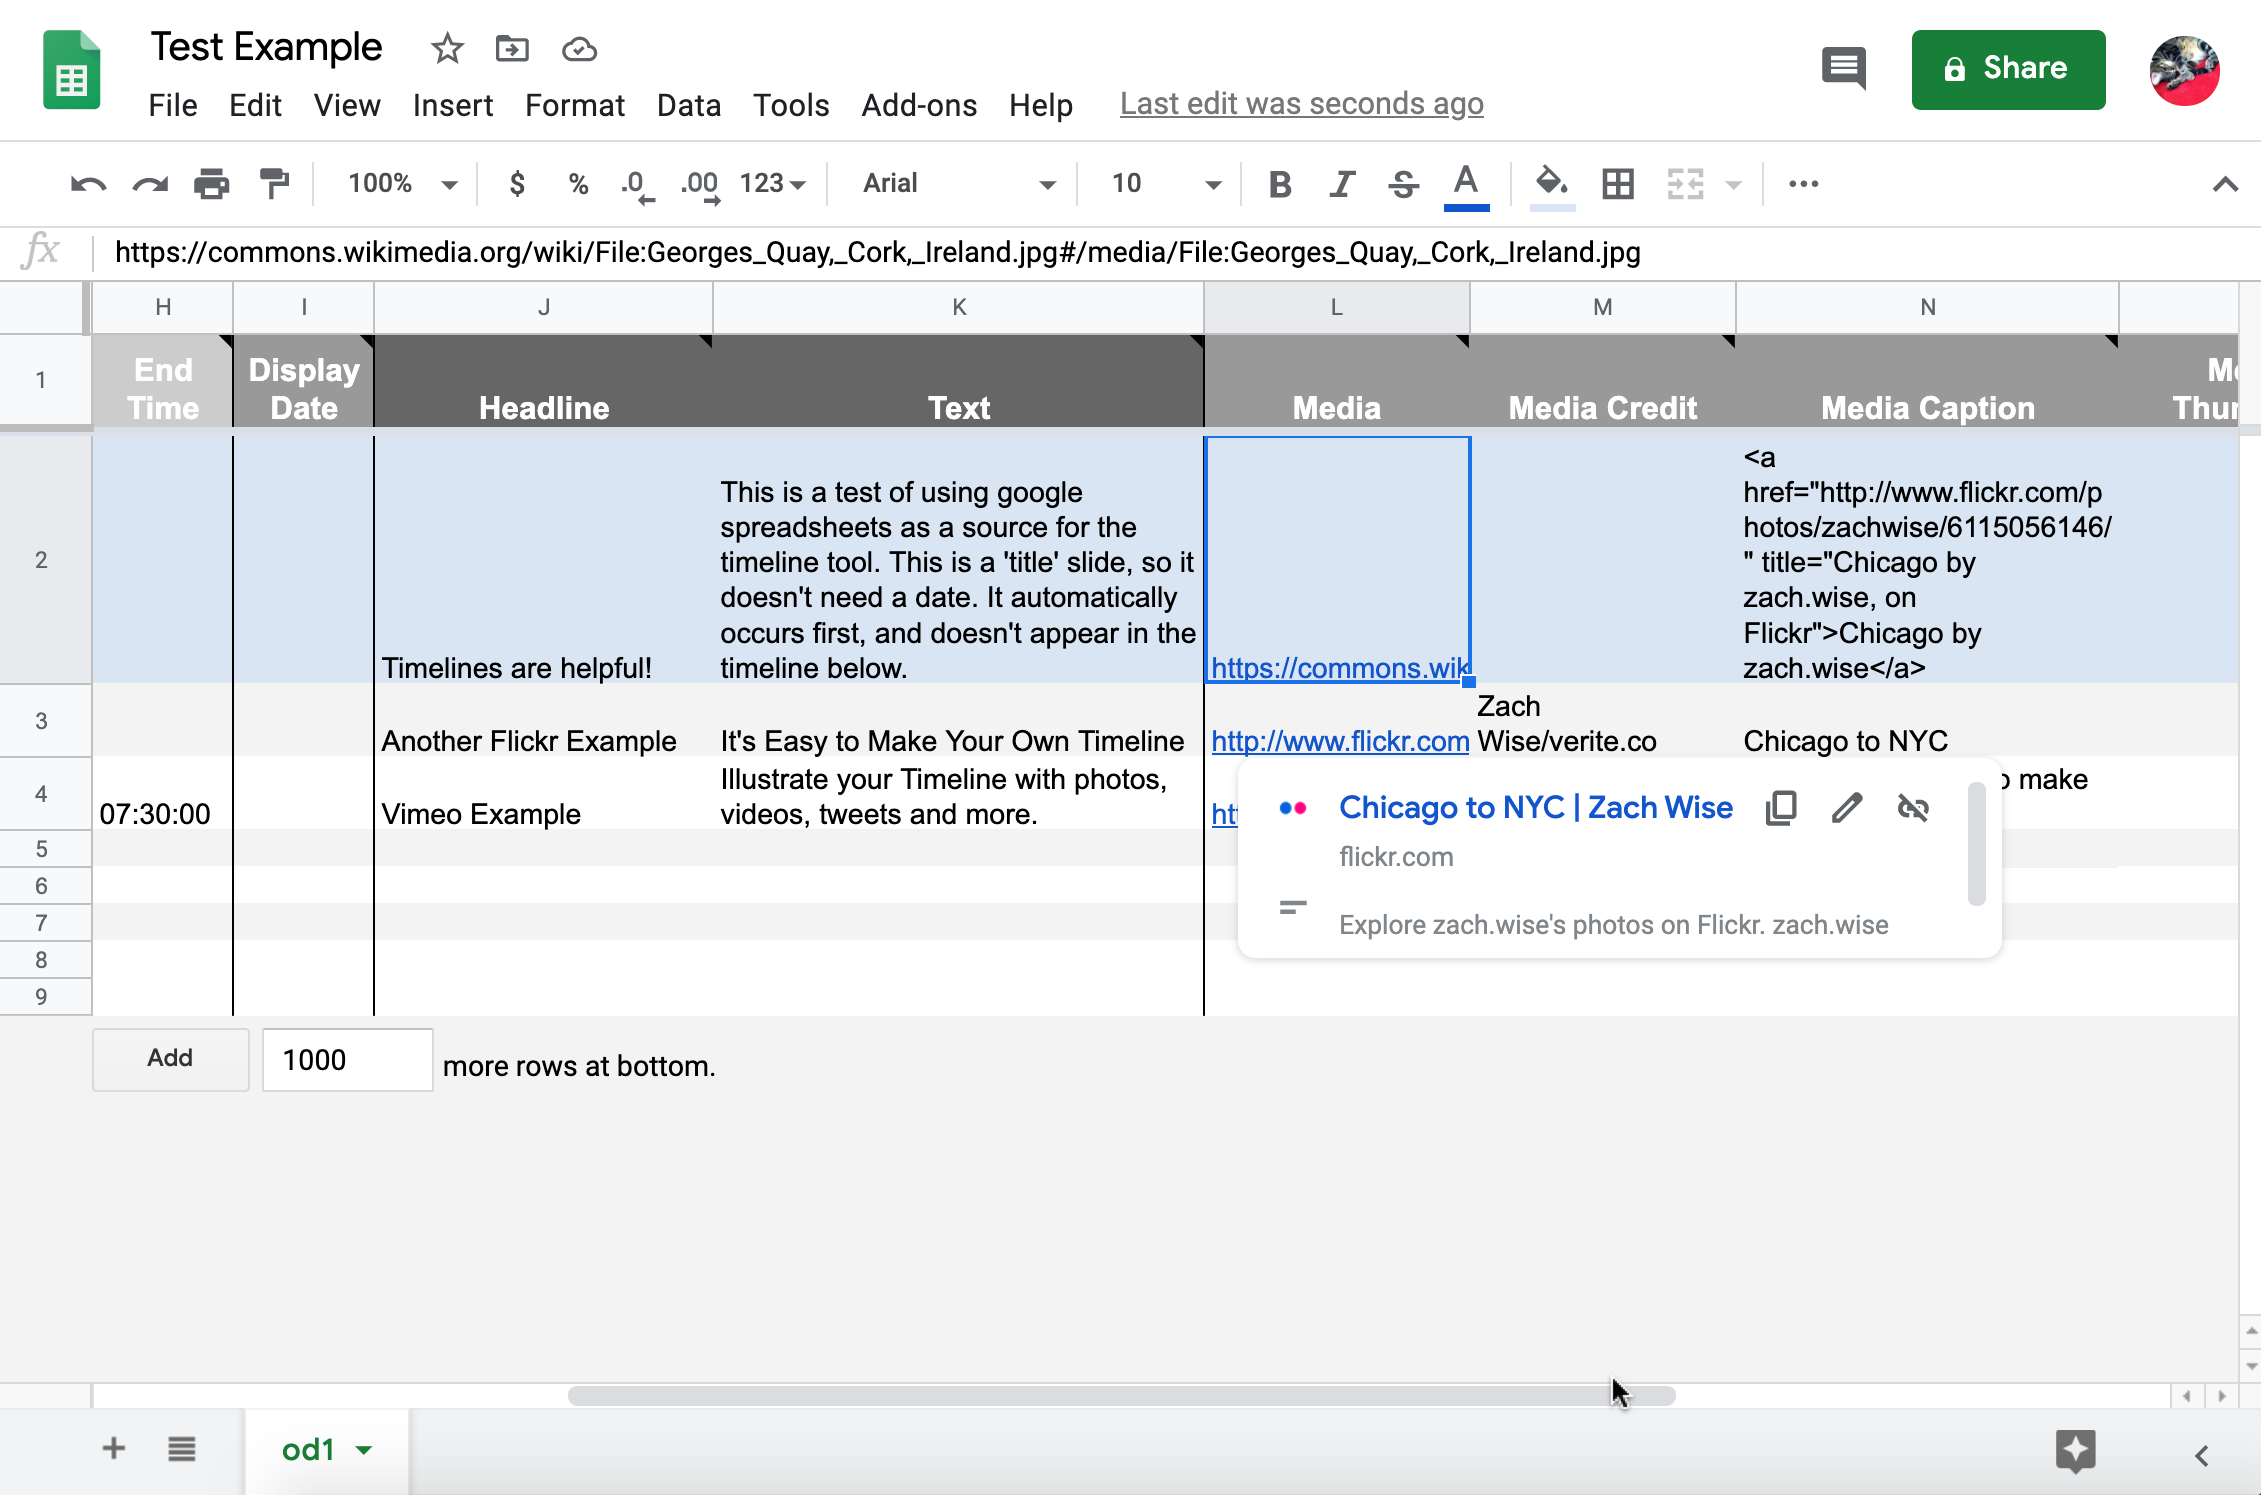
When I click on the Media box, I can see the link to the file that is already in the spreadsheet. To change this, I delete the link and replace it with a link to the image I actually want to use.
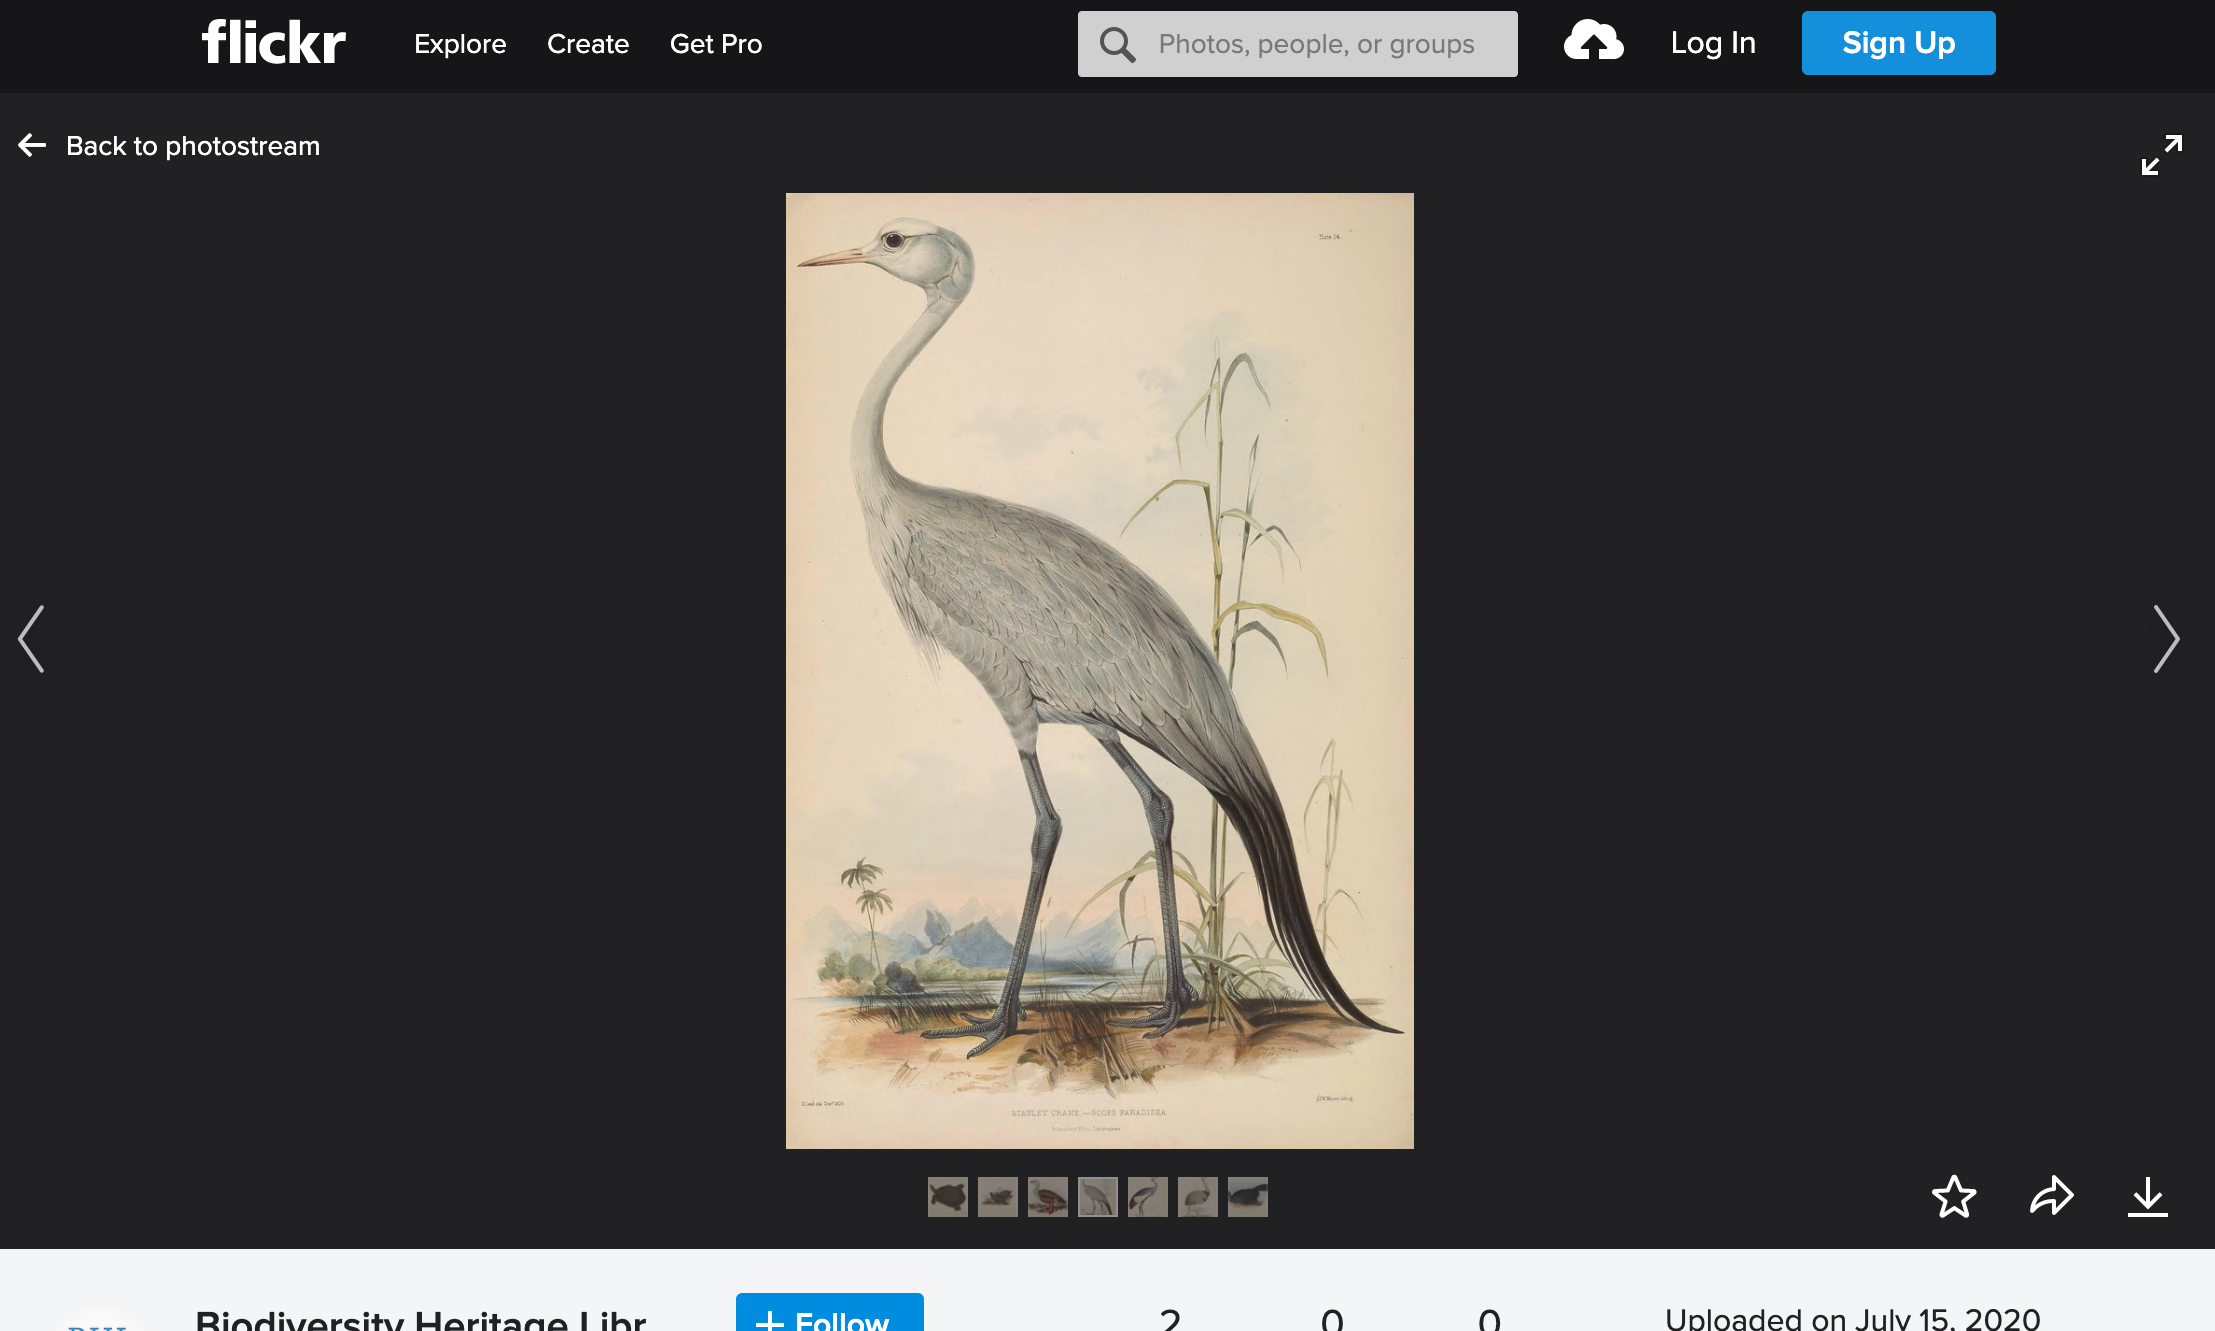
- I found this image in Flickr’s Creative Commons collection, so I know I can use it on a public timeline. I copy the image link.

- Fantastic! Now I can copy the link into the spreadsheet and see how it looks on the homepage of the timeline.
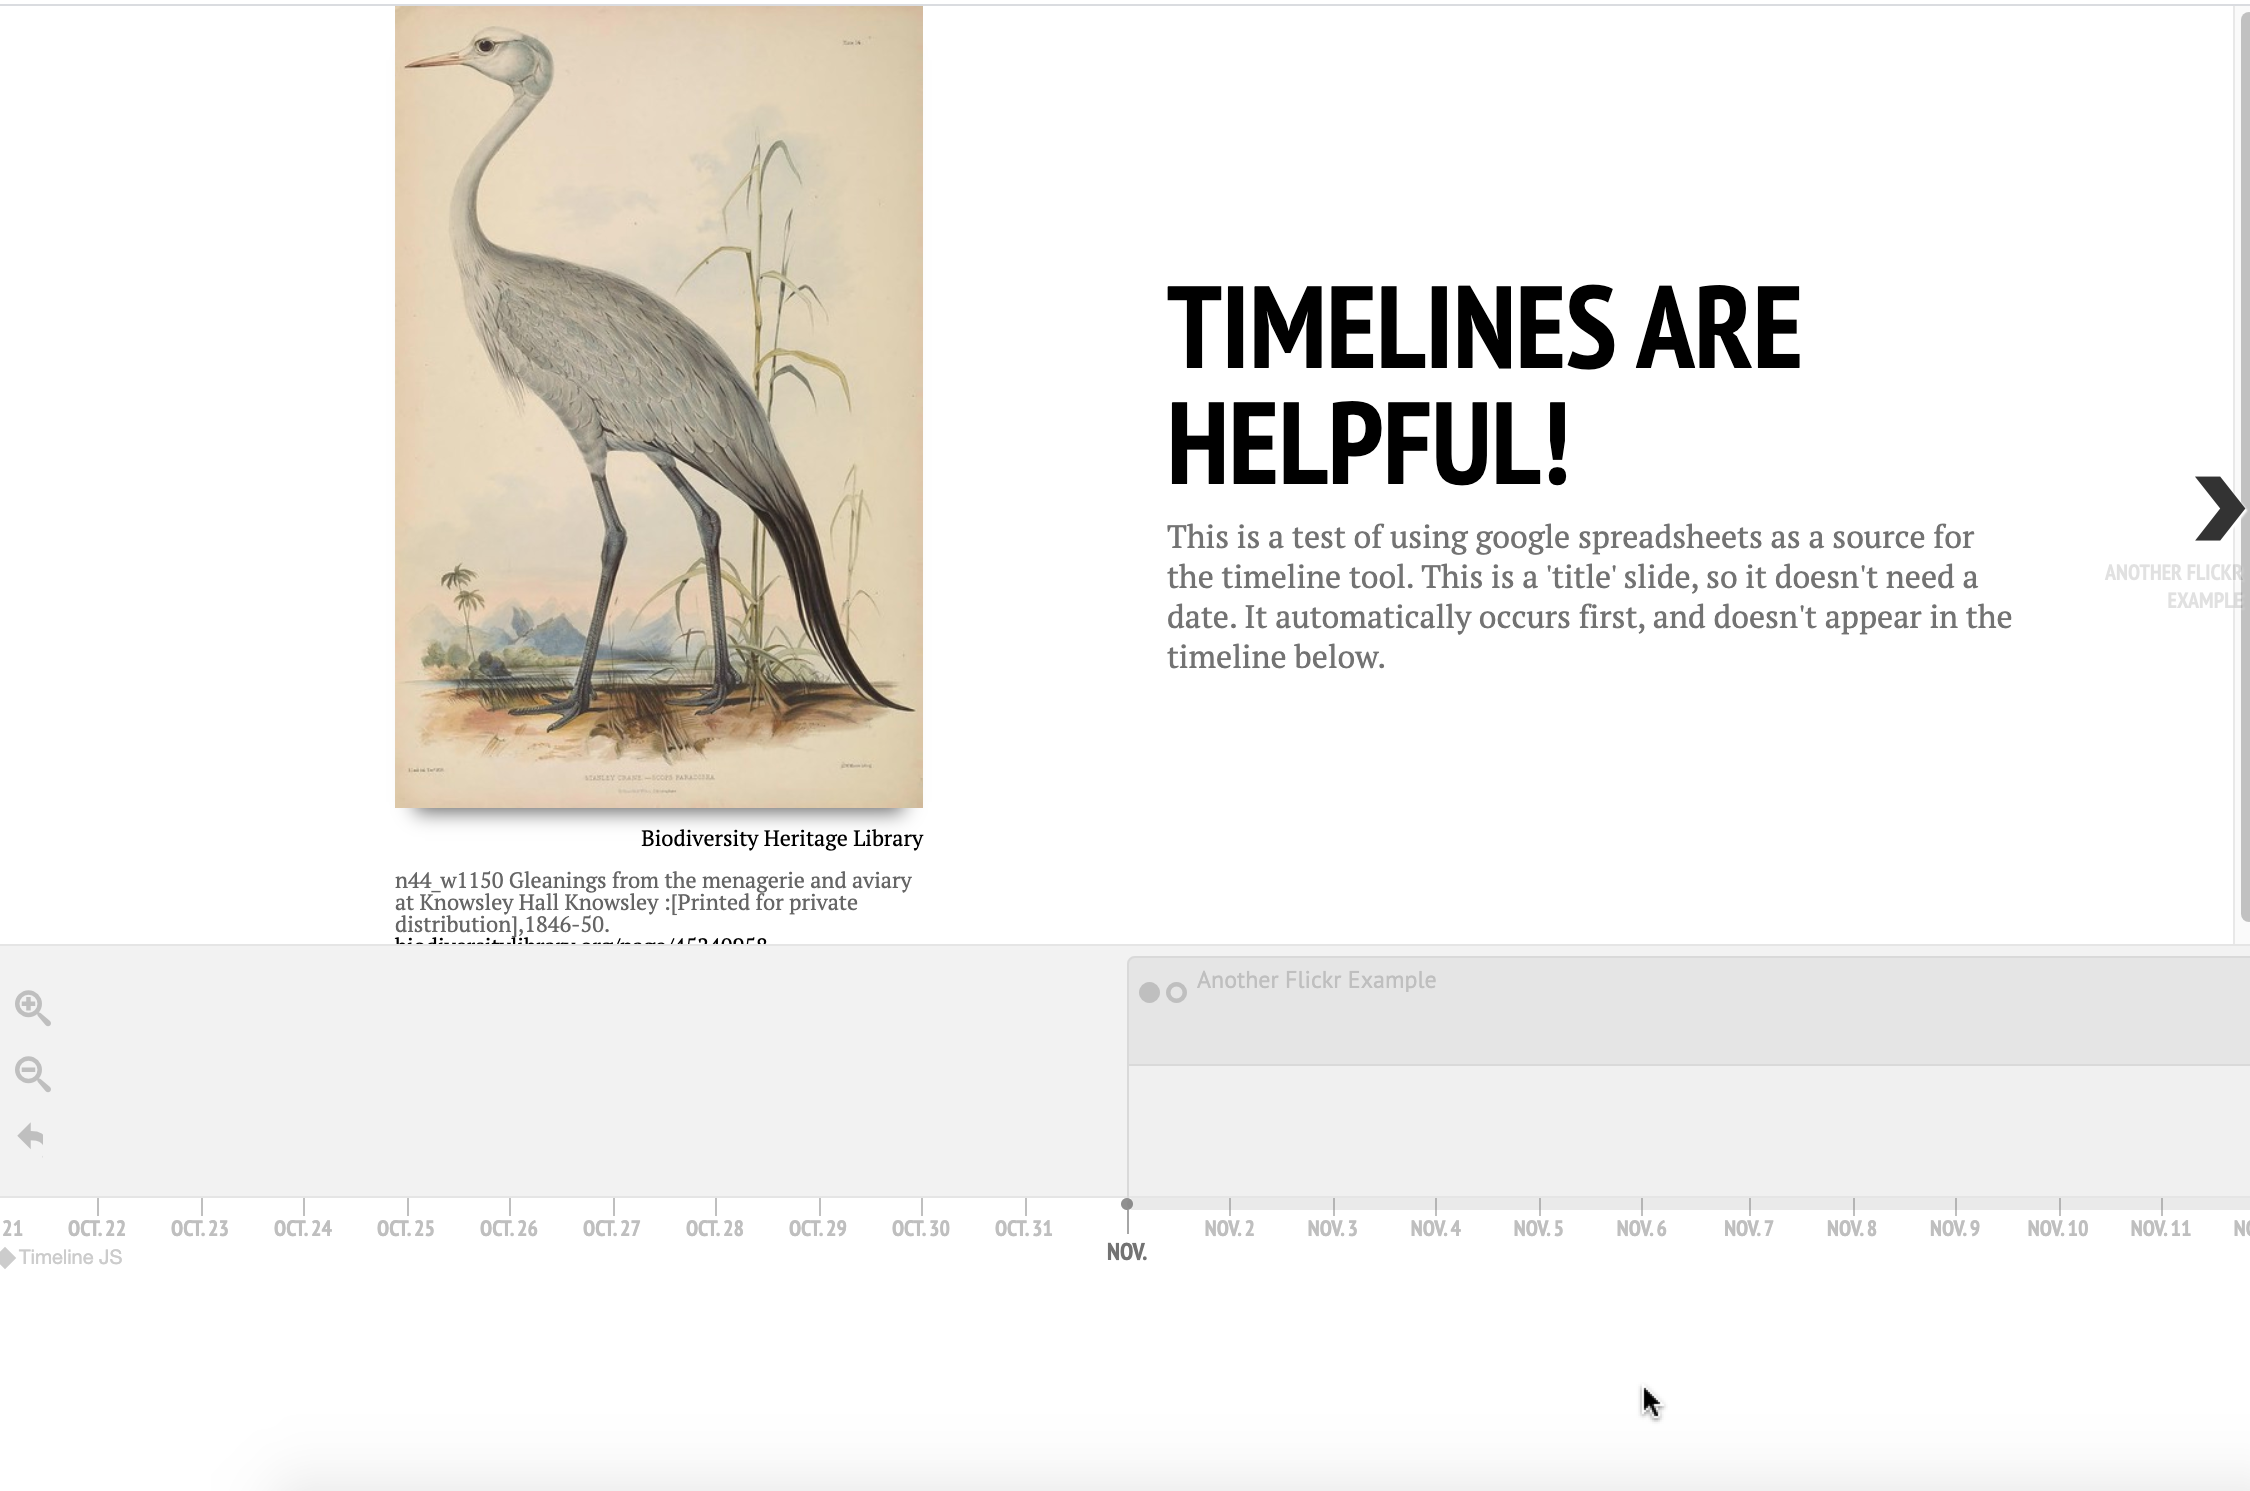
- Yay, it works! You can now go in and edit the timeline to your heart’s content.