Slack
Slack works a lot like Google Chat (formerly Google Hangouts), but in a closed environment. Especially when you have students and colleagues working remotely, Slack is an easy way to keep in touch without cluttering your email inbox. This tutorial will step you through the process of creating a communal workspace where users can chat or share documents and links.
Note: Macalester does not have an institutional Slack account. The features highlighted below are available with a free account.
Step 1: Set up a Slack Account
- If you haven’t done so already, visit https://slack.com/ and click on the “Try for Free” button.

- Unless you are joining a workspace that has already been created, click on “+Create a Slack Workspace.” This will be the dedicated space where your class or team can convene to chat, share documents, etc.

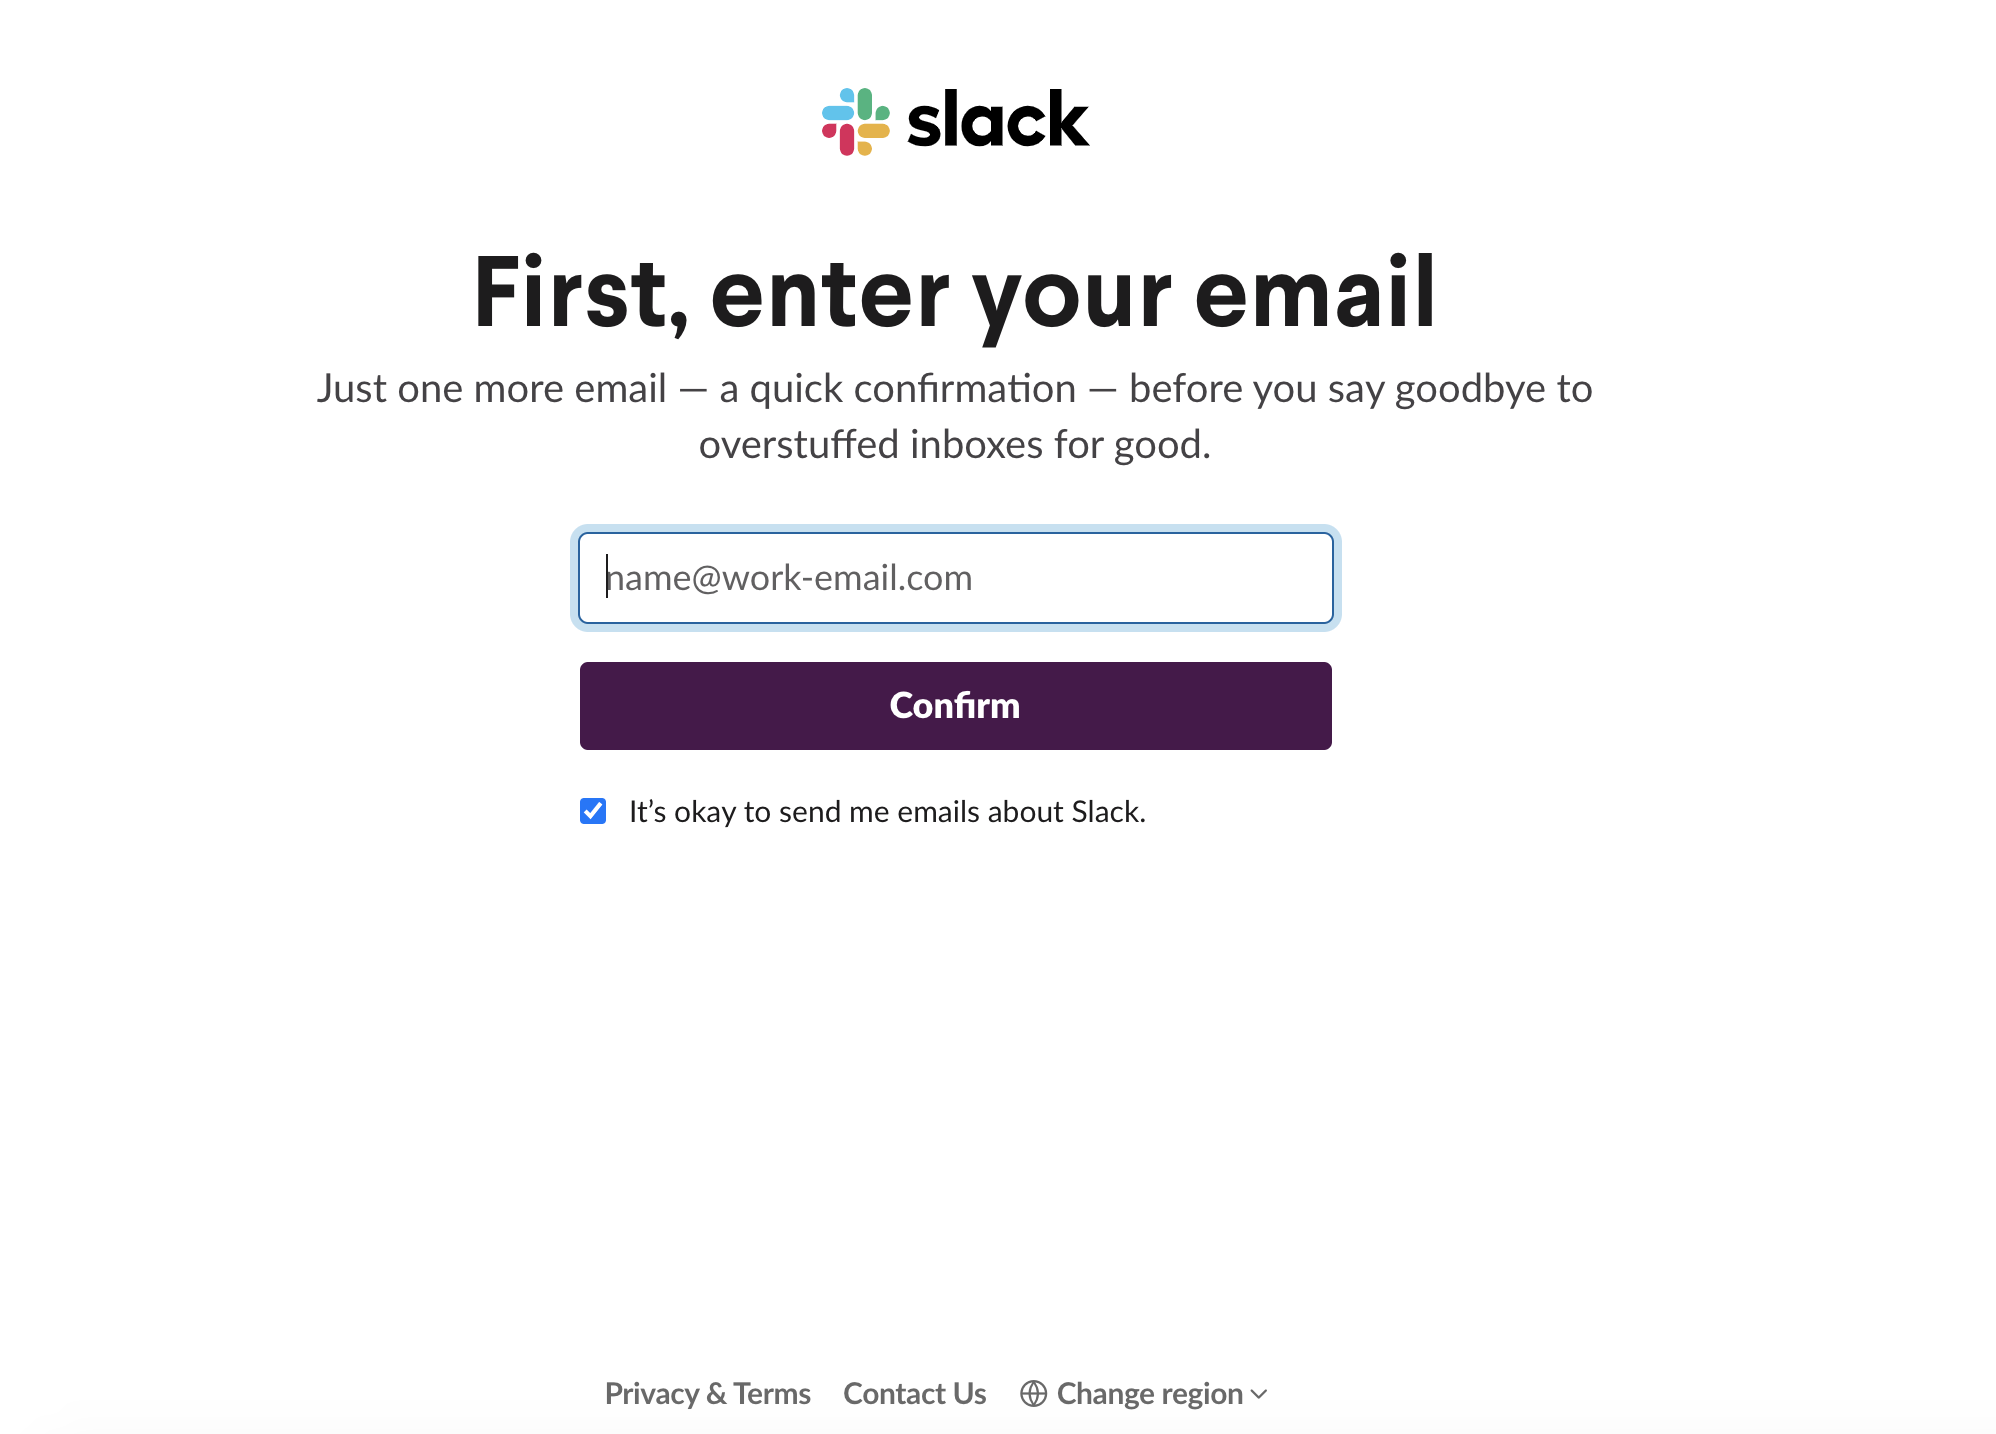
- Next, you will be asked to confirm your email by entering your email address and then filling in the 6 digit code sent to your inbox.
- It’s official! You now have an account and a Slack Workspace.
Step 2: Set up your Workspace
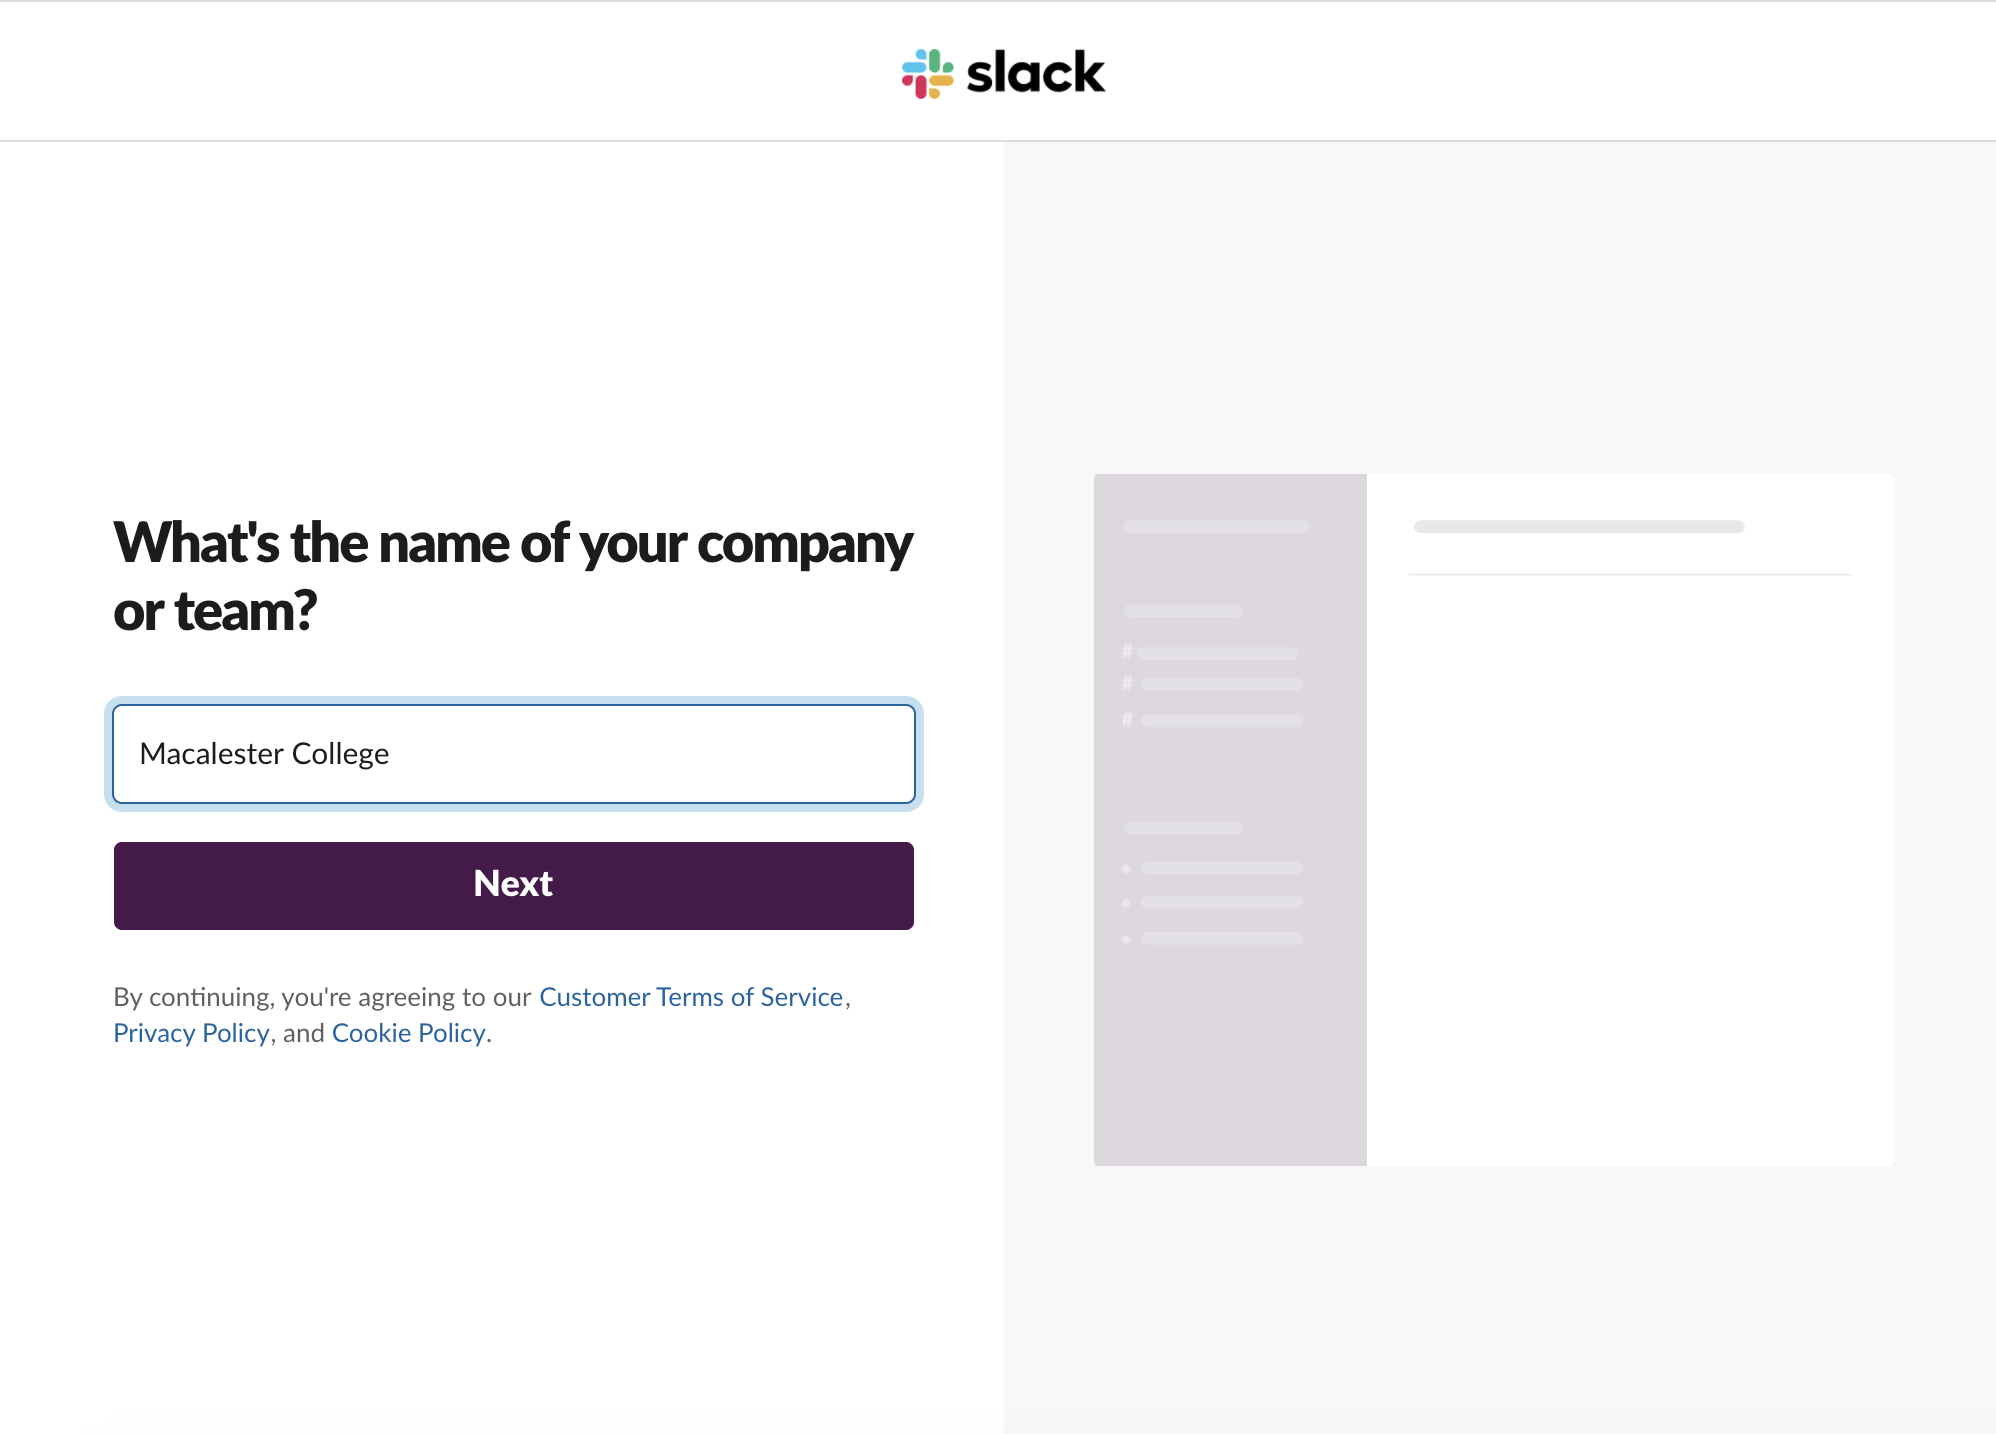
- Next you will be asked to enter your company or team name and about a project your team will be working on. For example, I entered “digital projects,” but can change this later.

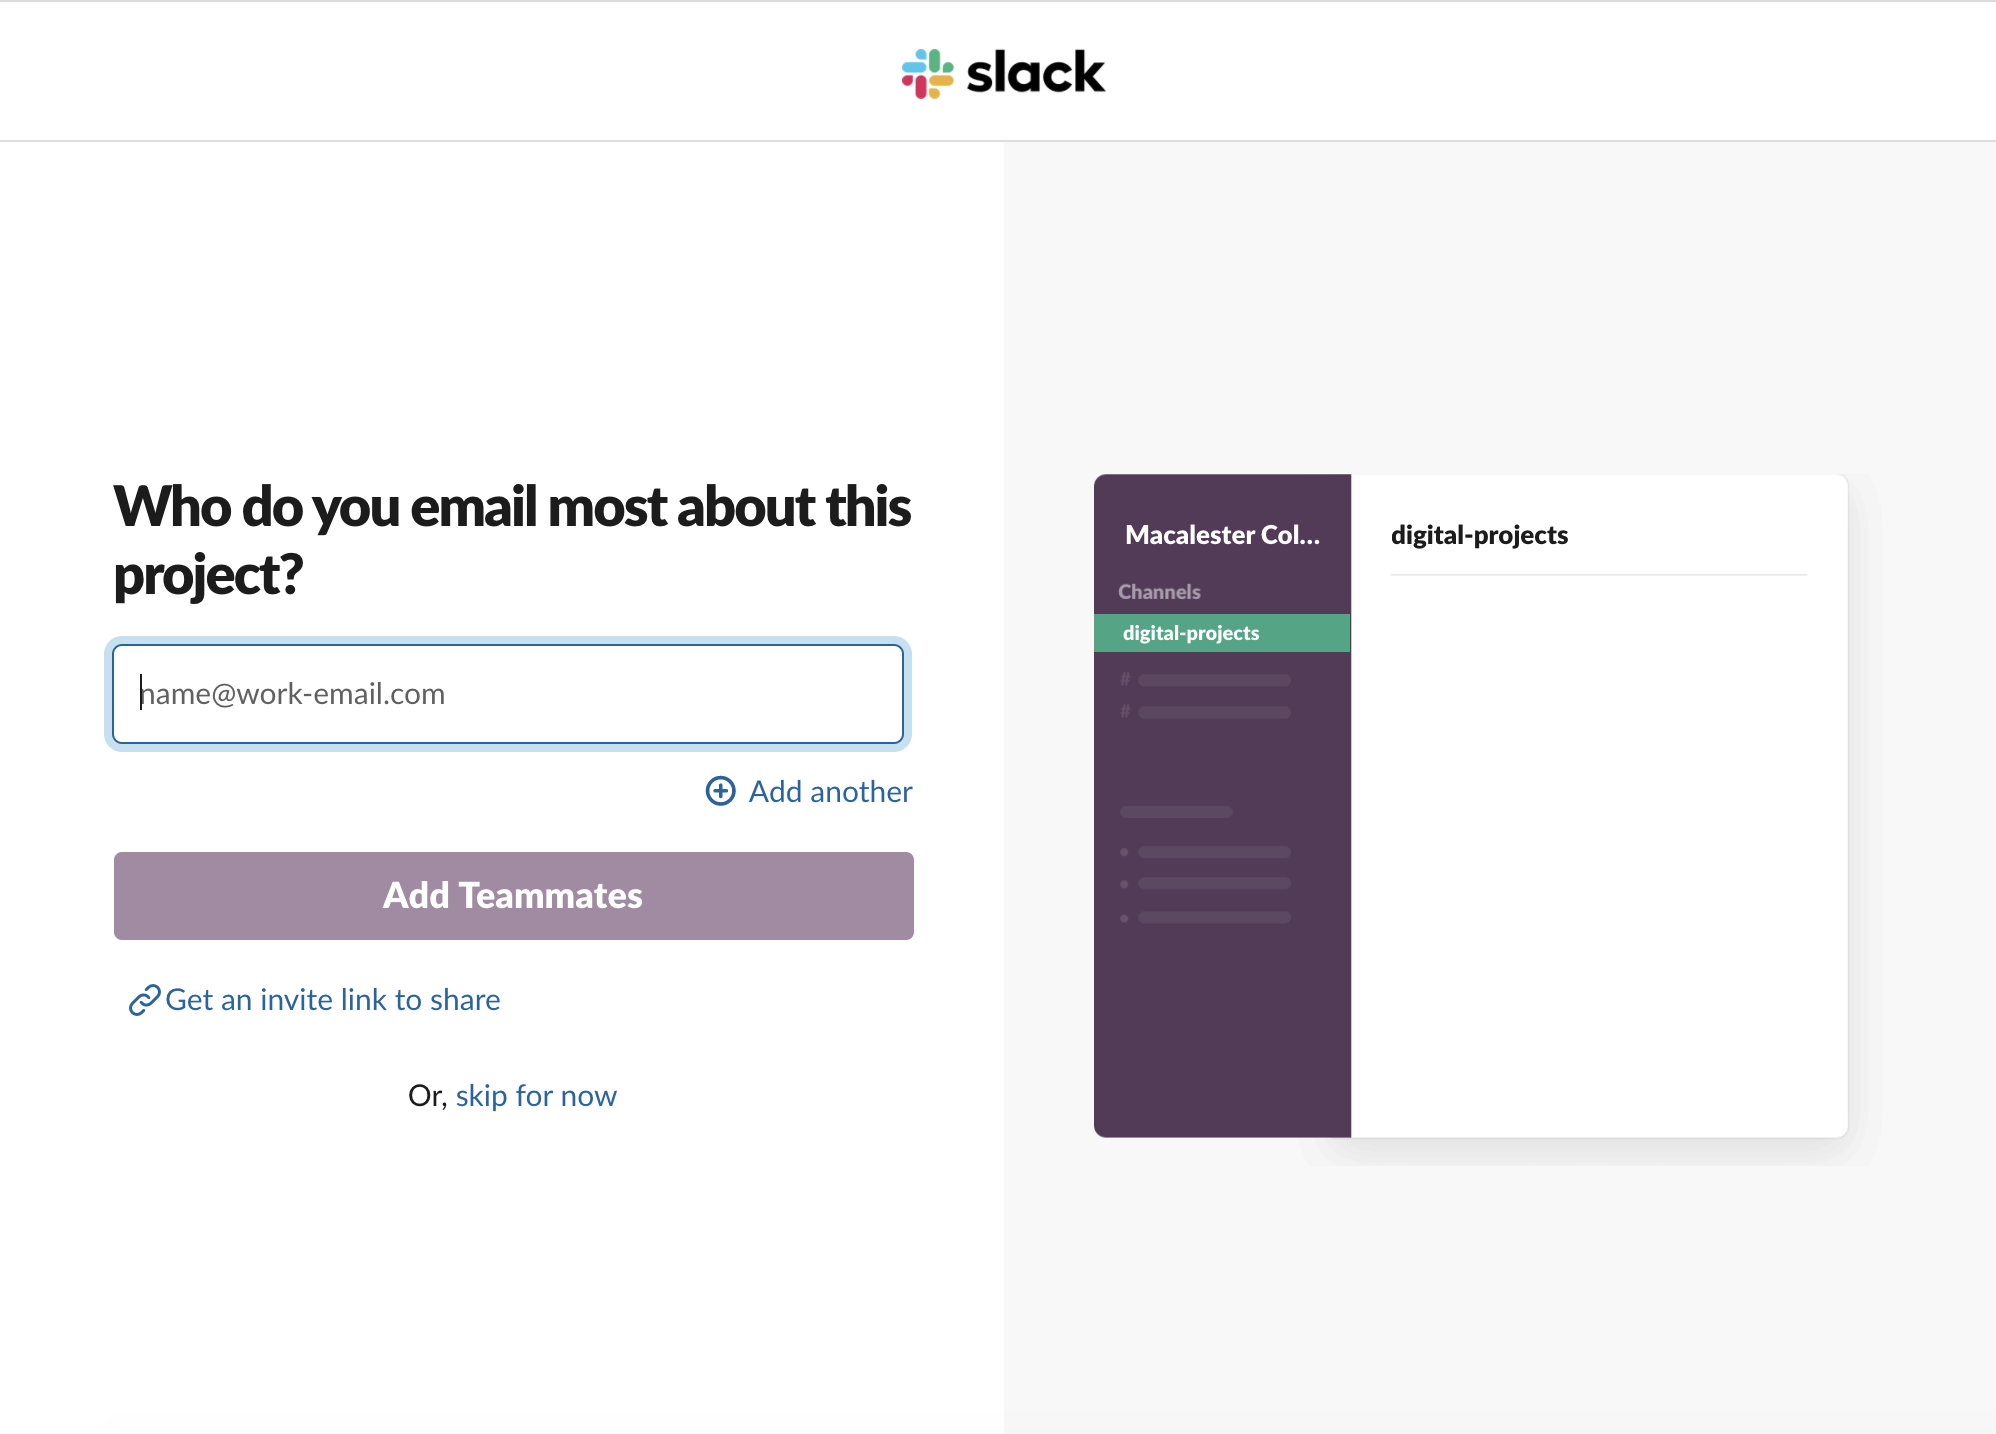
- You can select “teammates” to add to your workspace at this point, but I prefer to skip this step for now and add people once I’ve set up more of the space. It’s up to you how you prefer to proceed. You’re now ready to see your workspace!
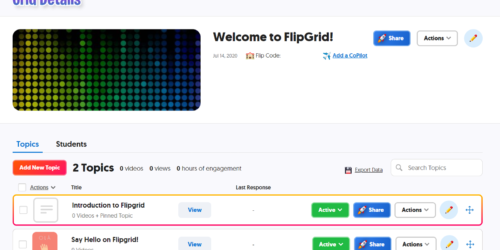
- Your workspace will look something like this:
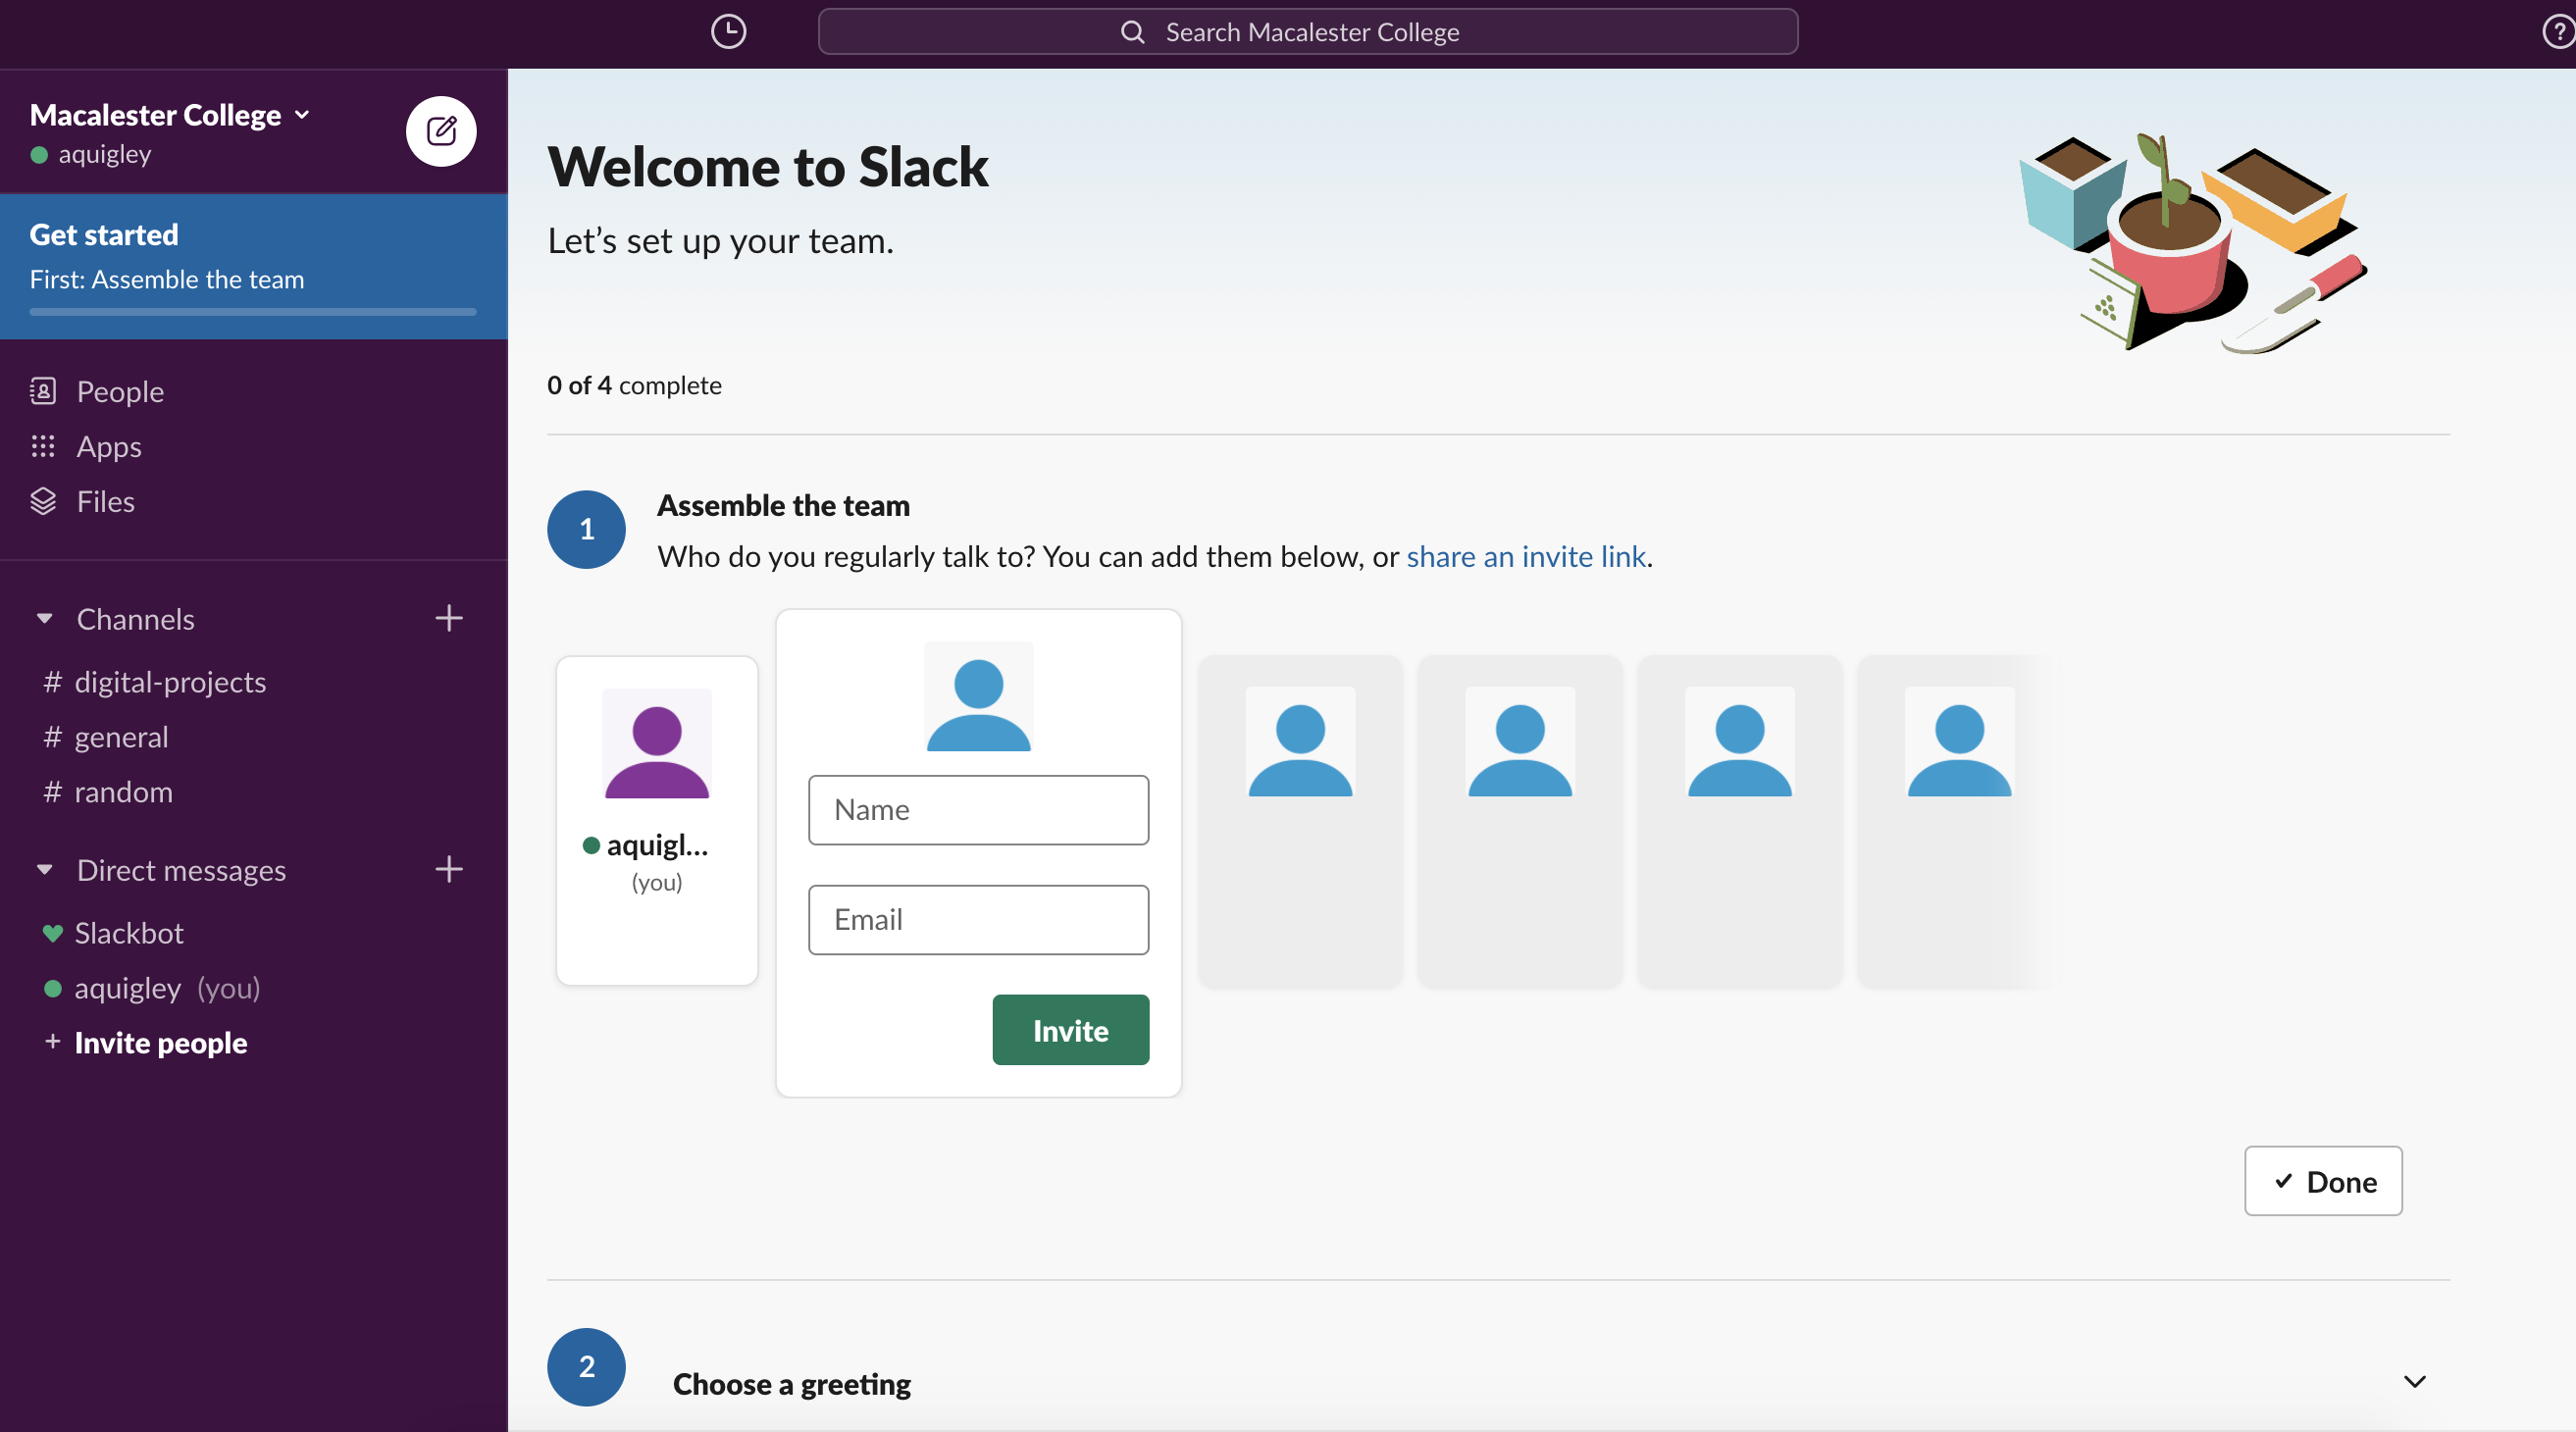
- Here, again, is an opportunity to add team members. I am still going to wait till I have a little bit more set up in my space, but you can see that I can always add people by clicking on “Invite people” highlighted in the navigation bar.
- You’ll also notice that the project I entered on one of the welcome pages, “digital projects” (vague, I know!), is now listed under the “Channels” section of the left navigation bar. Channels are a helpful way to organize discussion sections or conversations.
Step 3: Inviting Collaborators
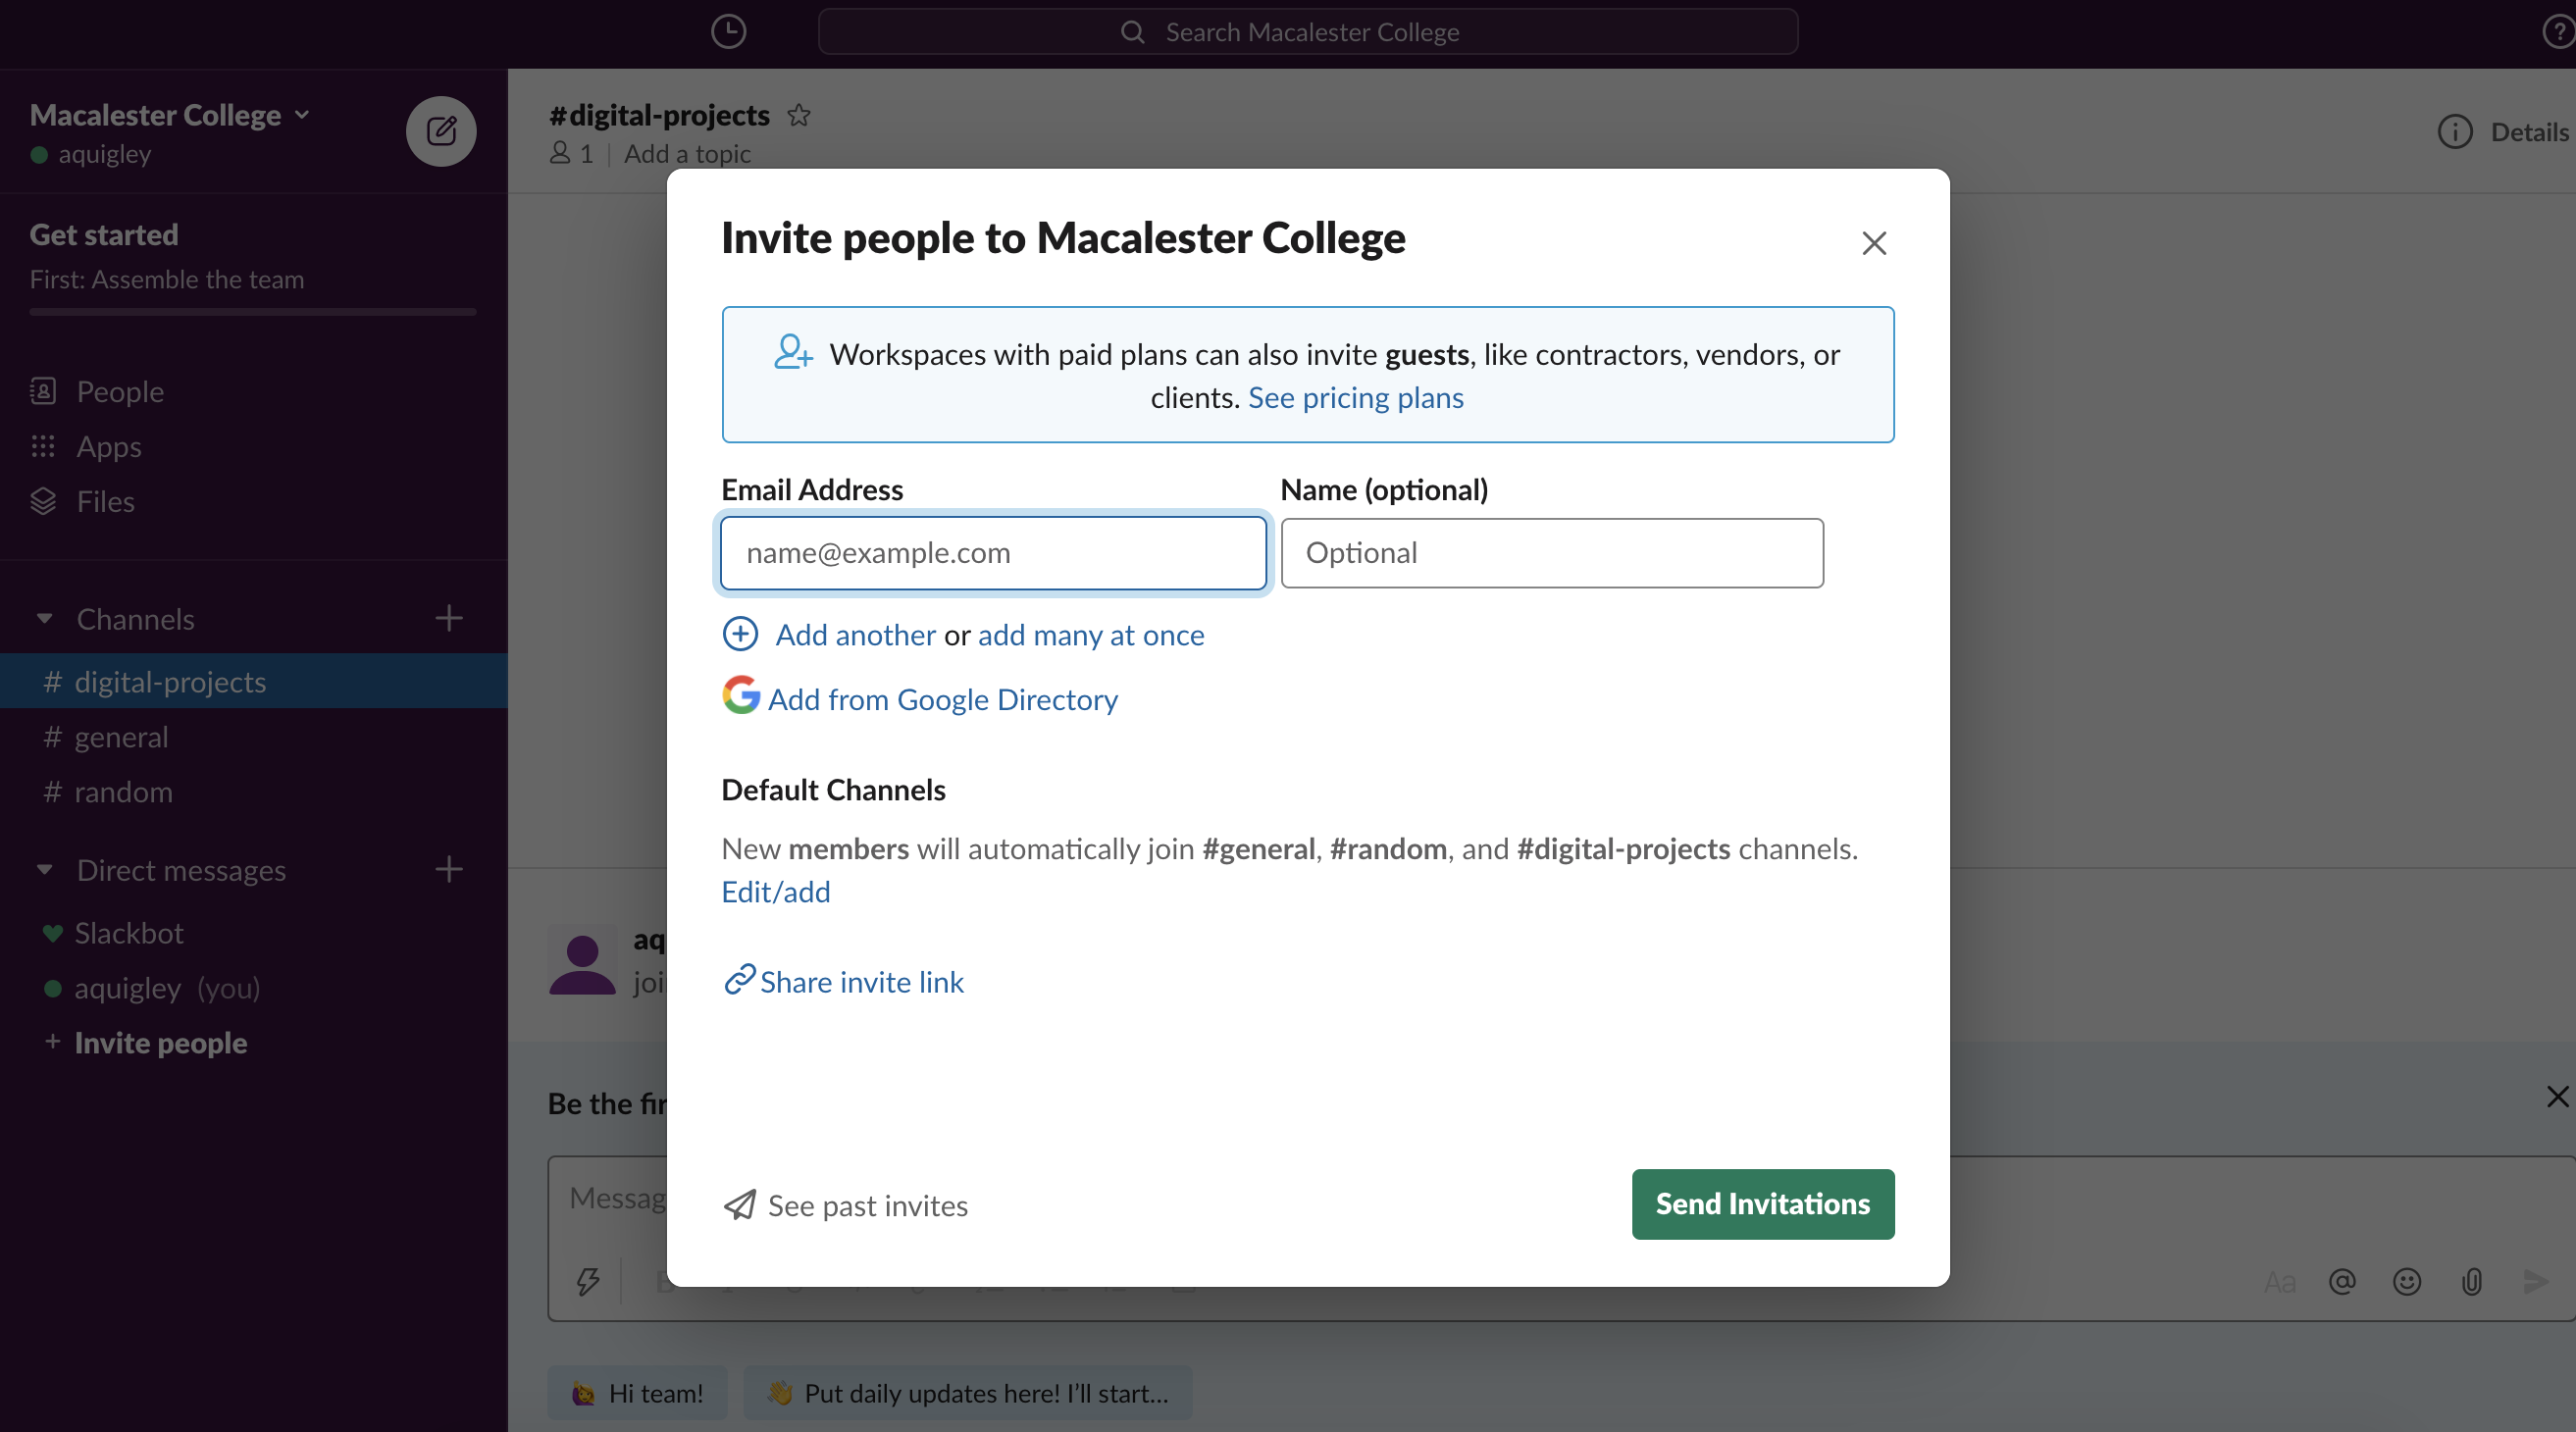
- Now I’m going to go ahead and invite collaborators to the workspace by clicking on “Invite people.”
- In the next screen, you will start adding the email addresses of collaborators to your workspace.
- Your collaborators will receive an email that looks something like this.

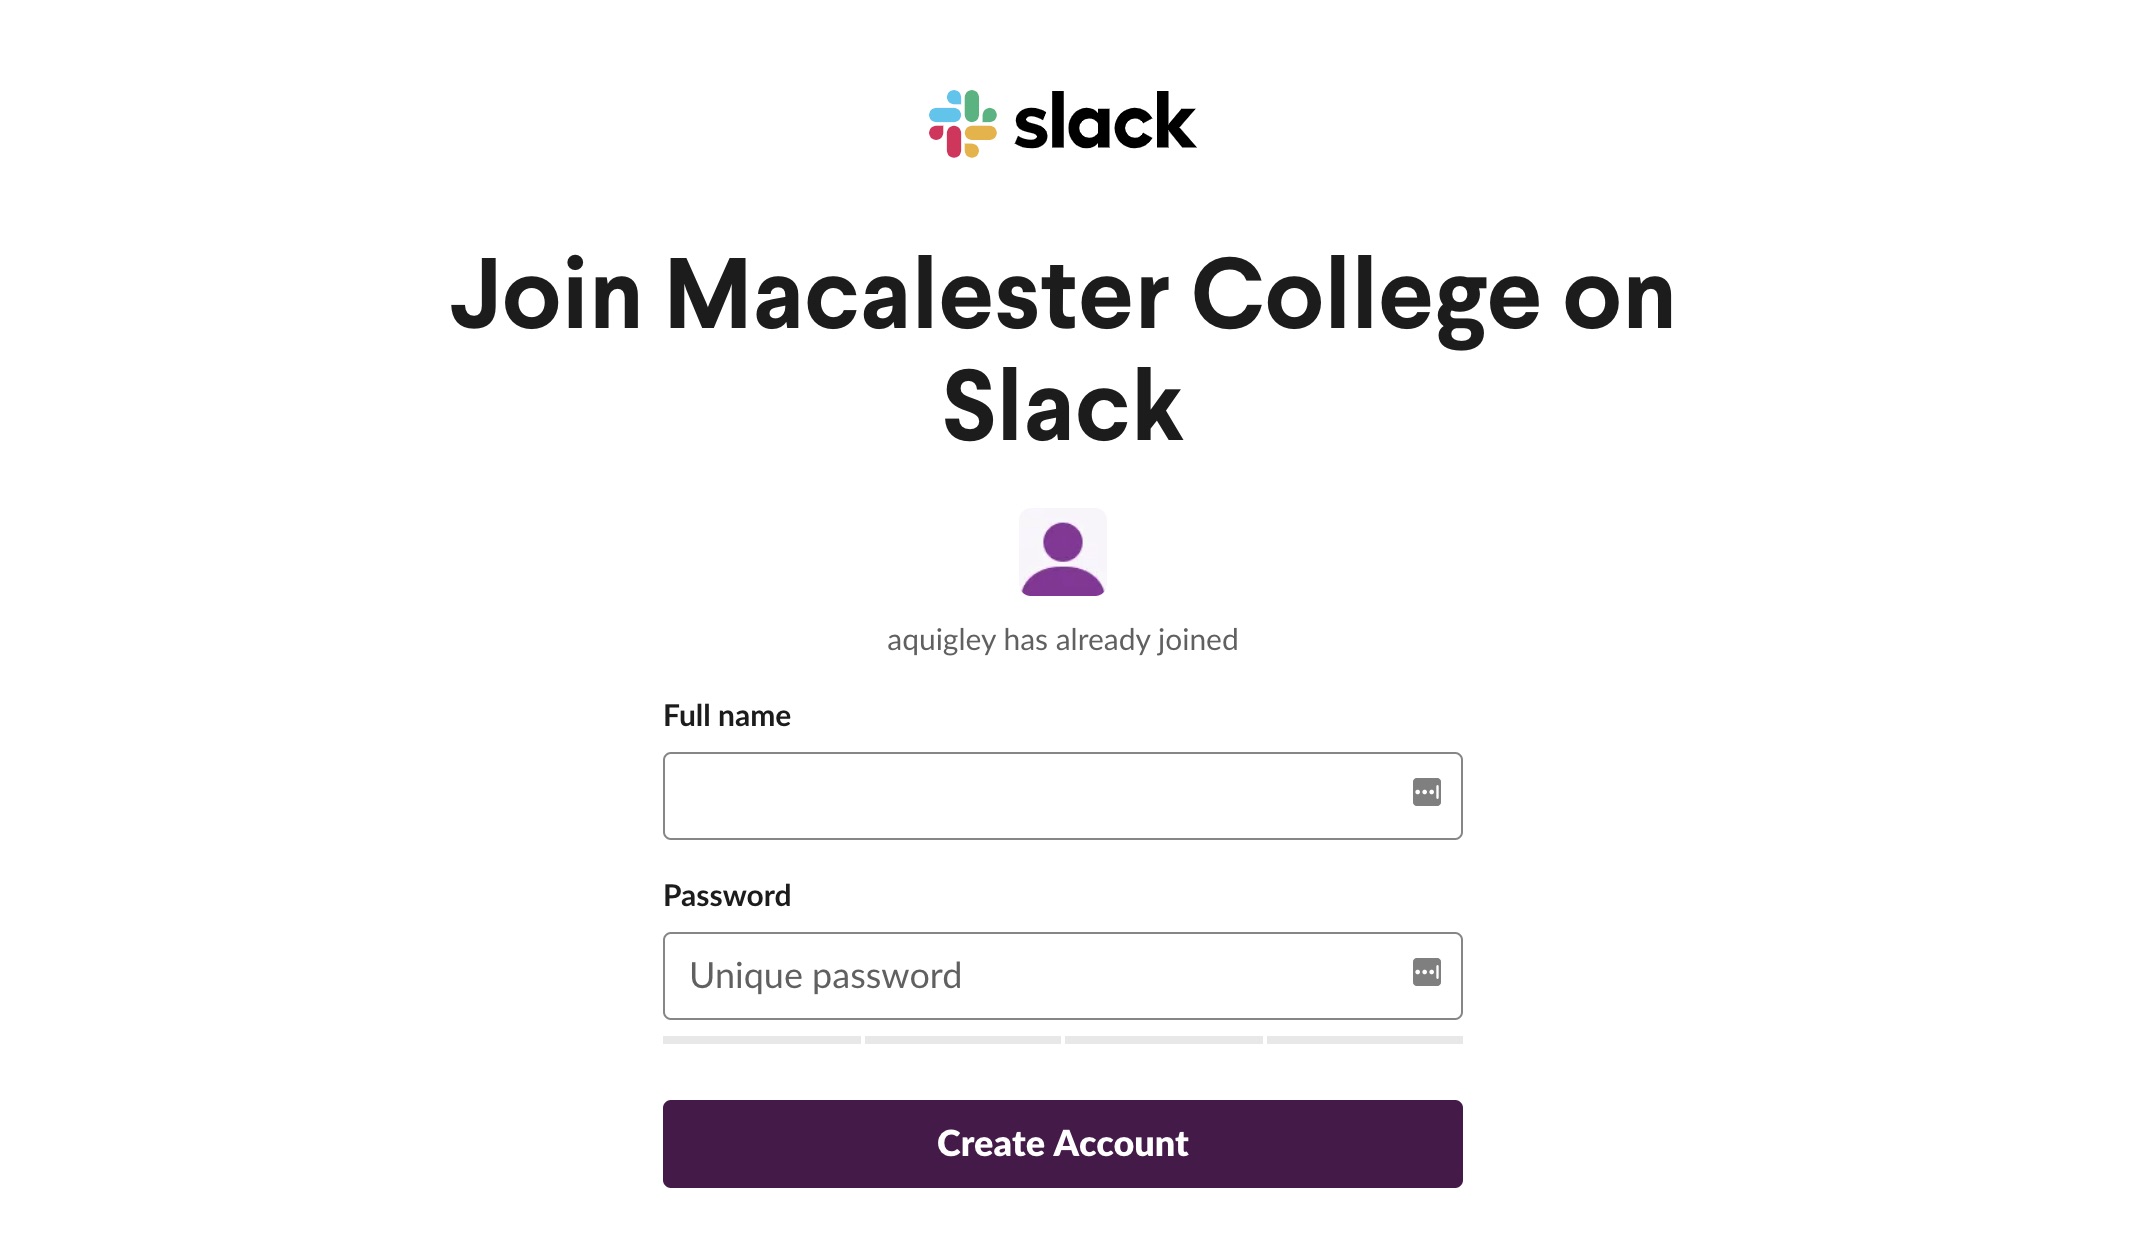
- When they click on “Join Now,” they will fill in the following information in order to securely access the workspace.
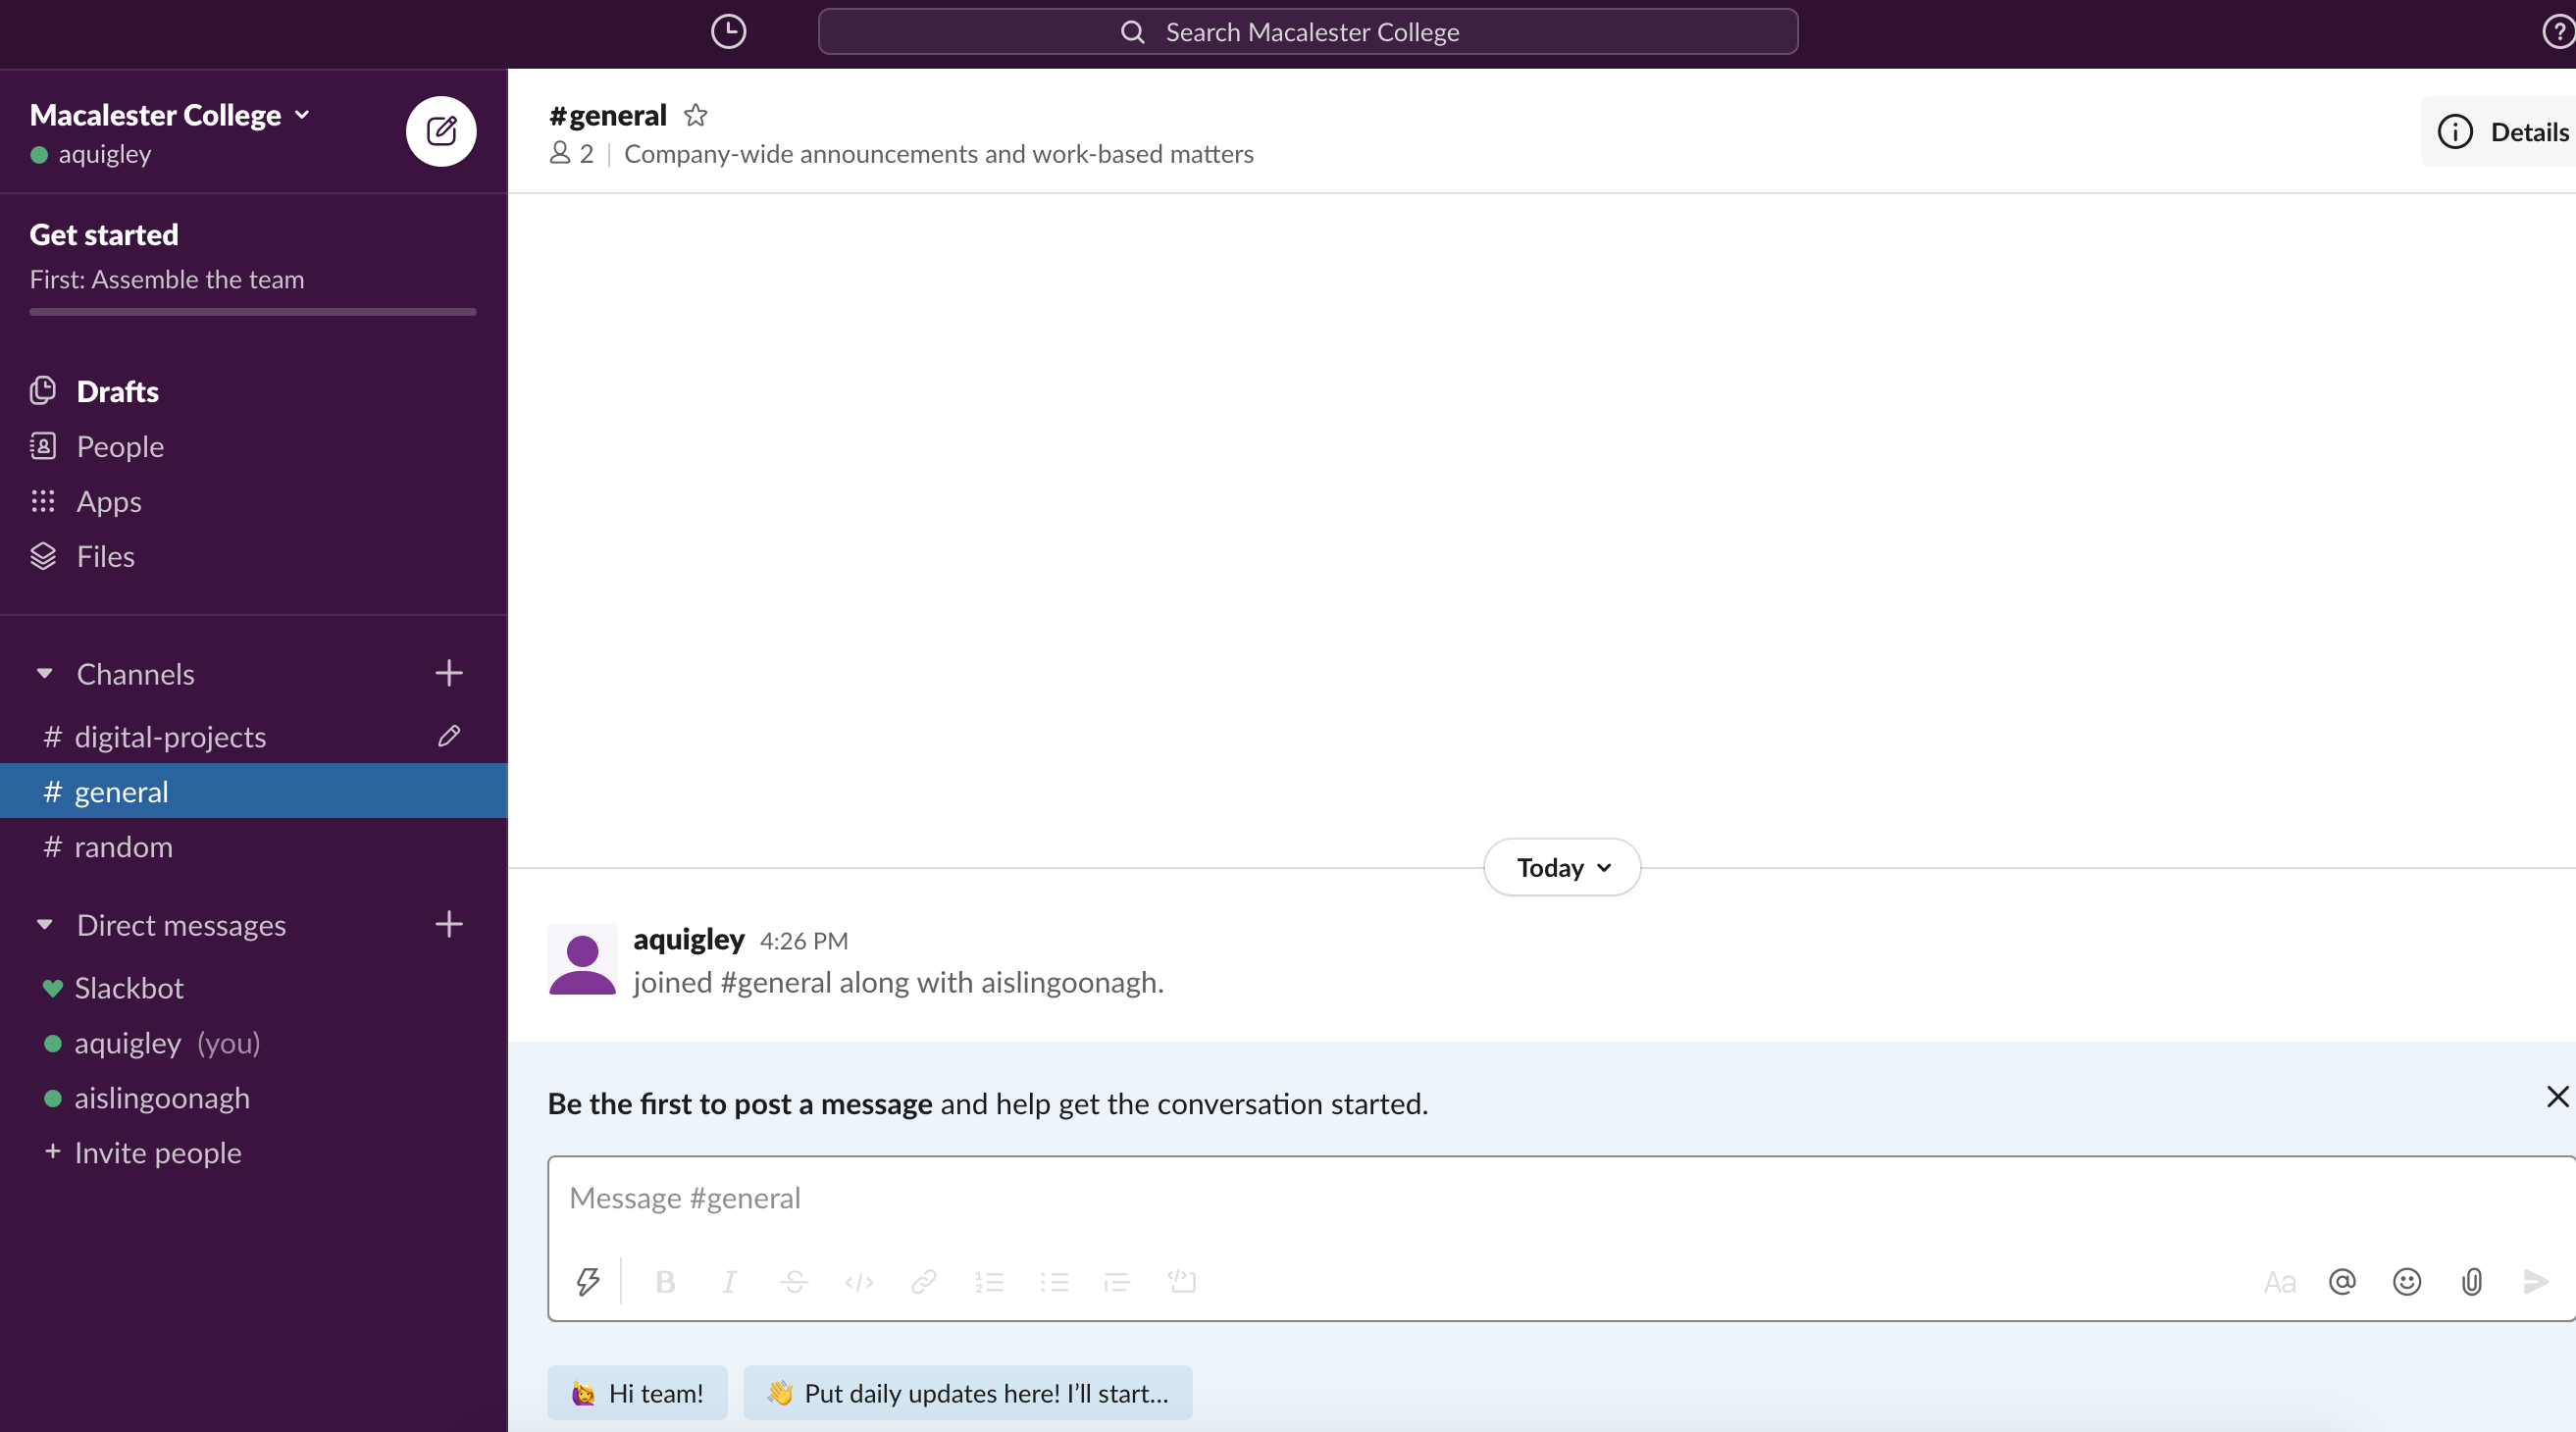
- Once your teammates have created their accounts, you will see that their name is now listed under “Direct Messages” and the circle next to their name will appear green when they are active in the workspace. So, you’ll see that “aislingoonagh,” my other self (!), is now on the workspace. This means that I can send private direct messages to this team member by clicking on their name. They can also now contribute to discussion, etc.
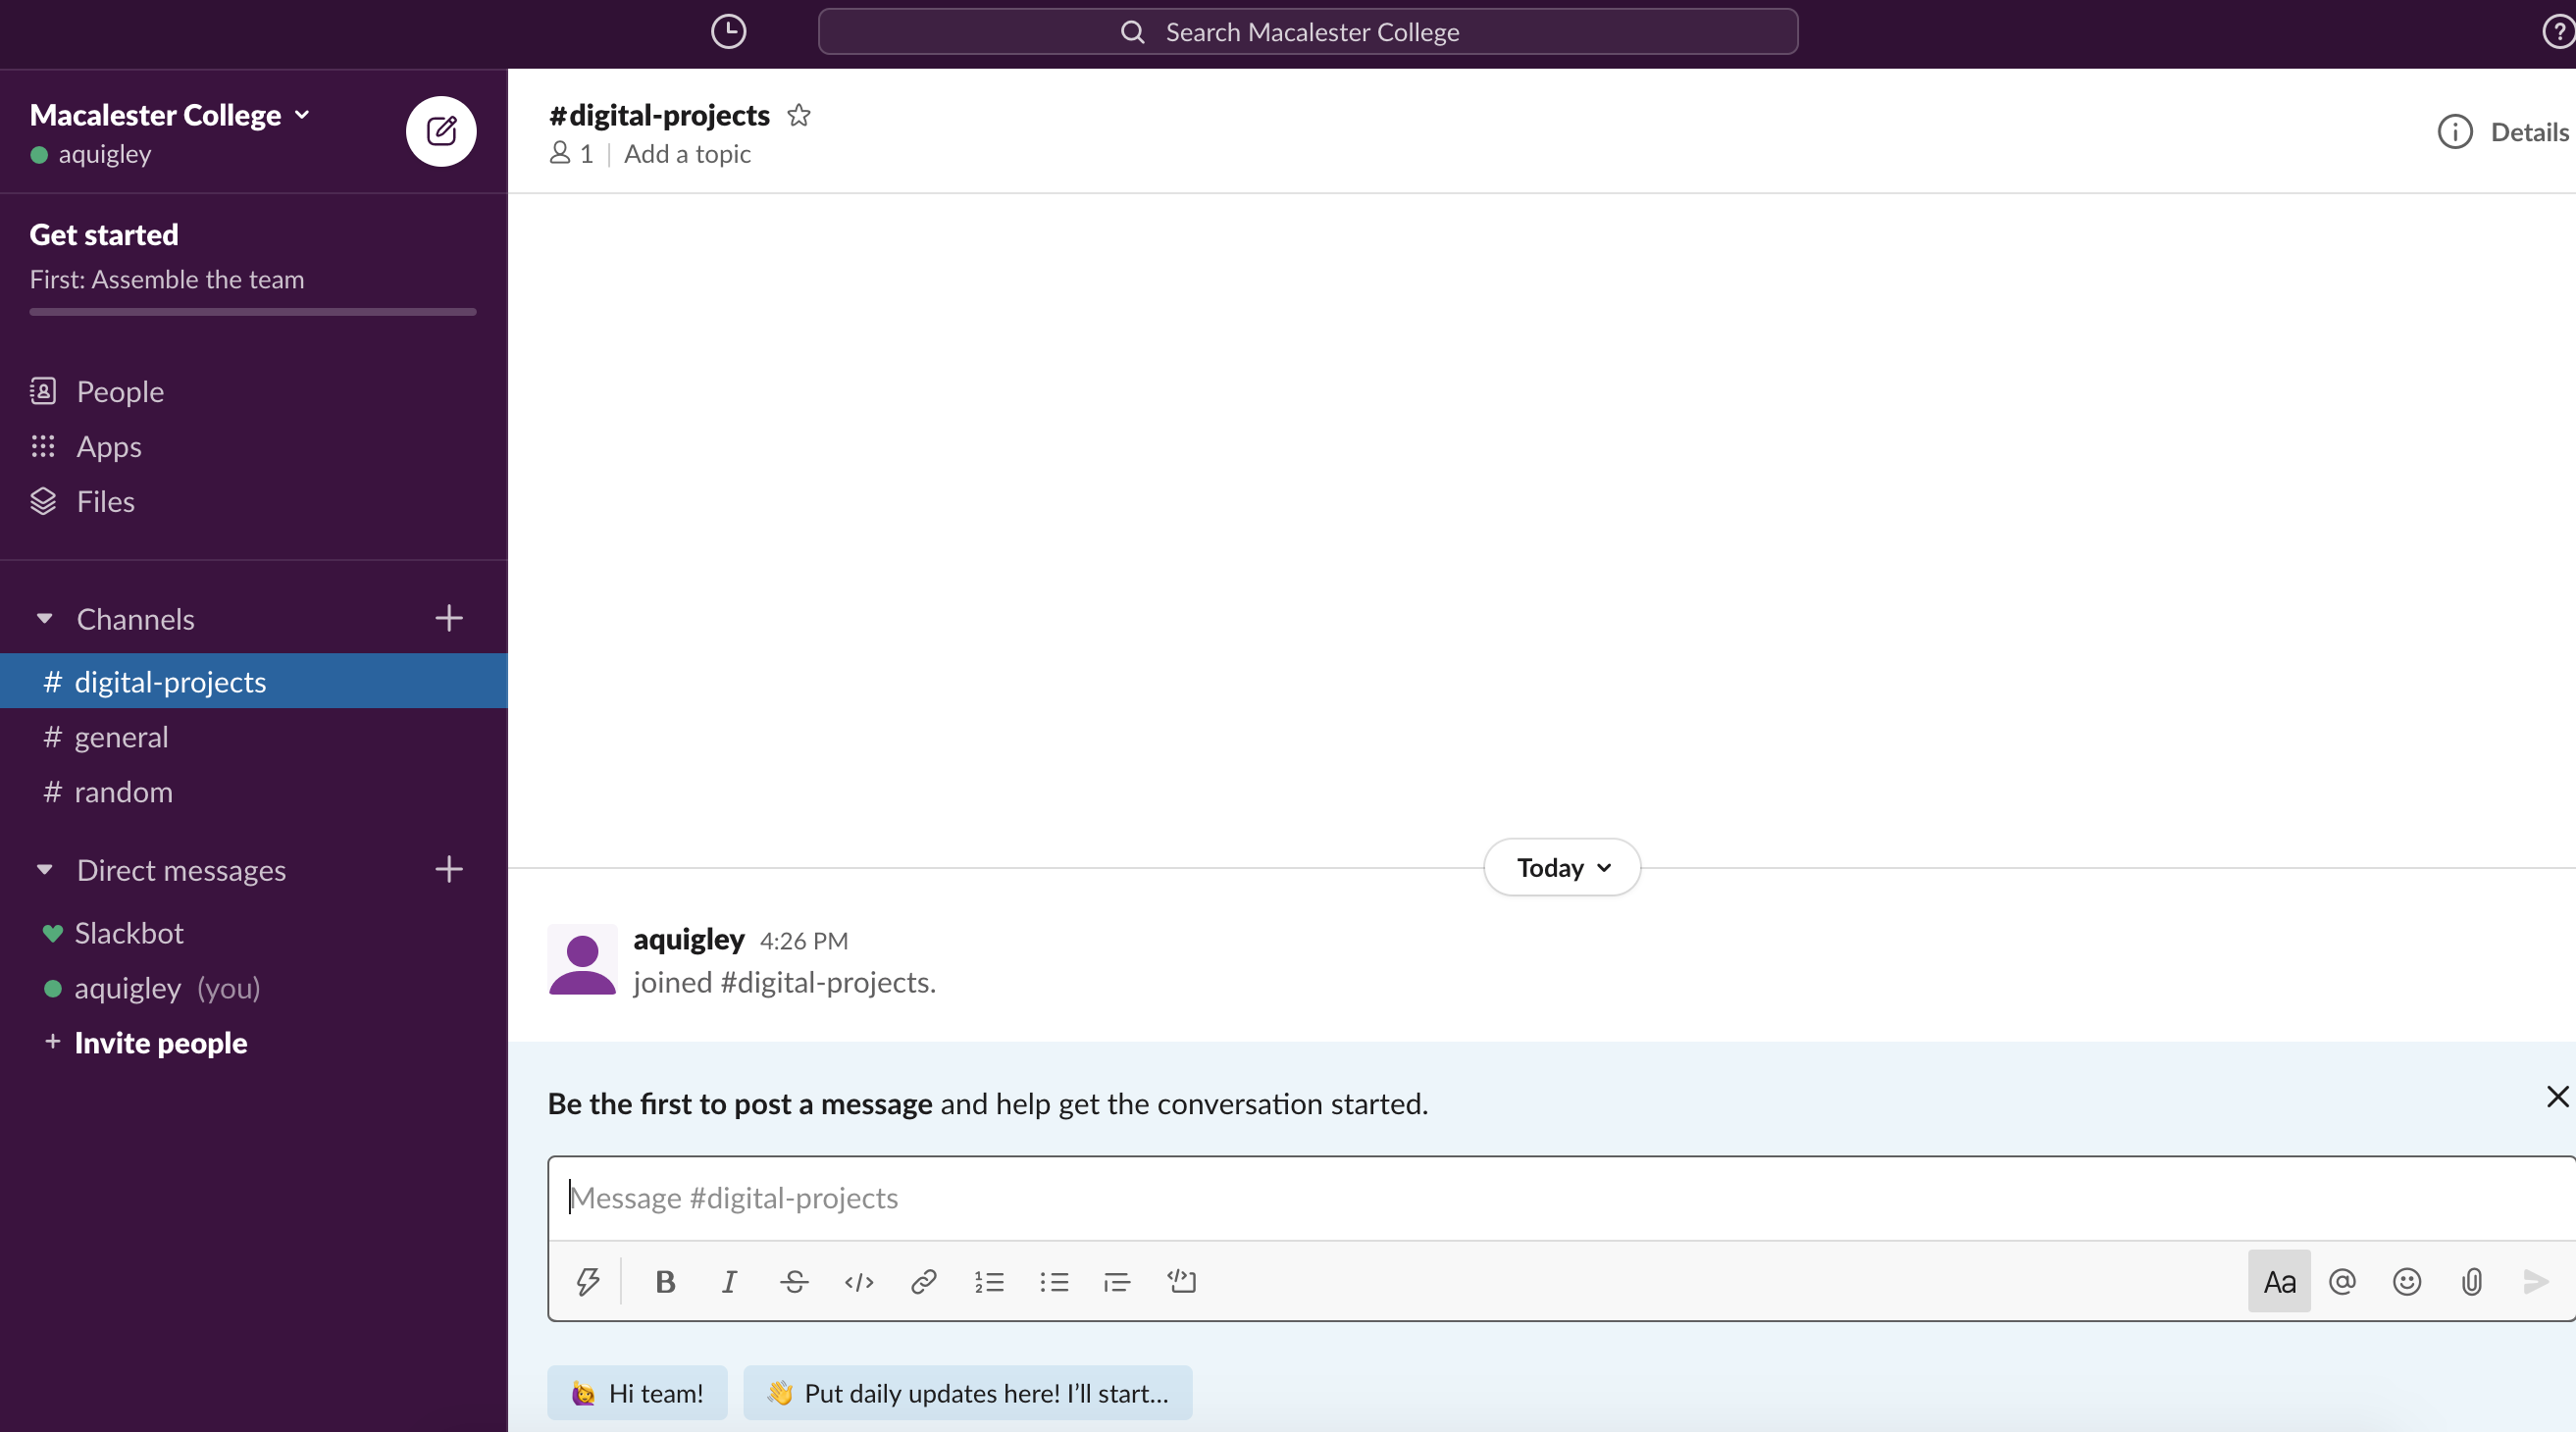
Step 4: Editing Channels
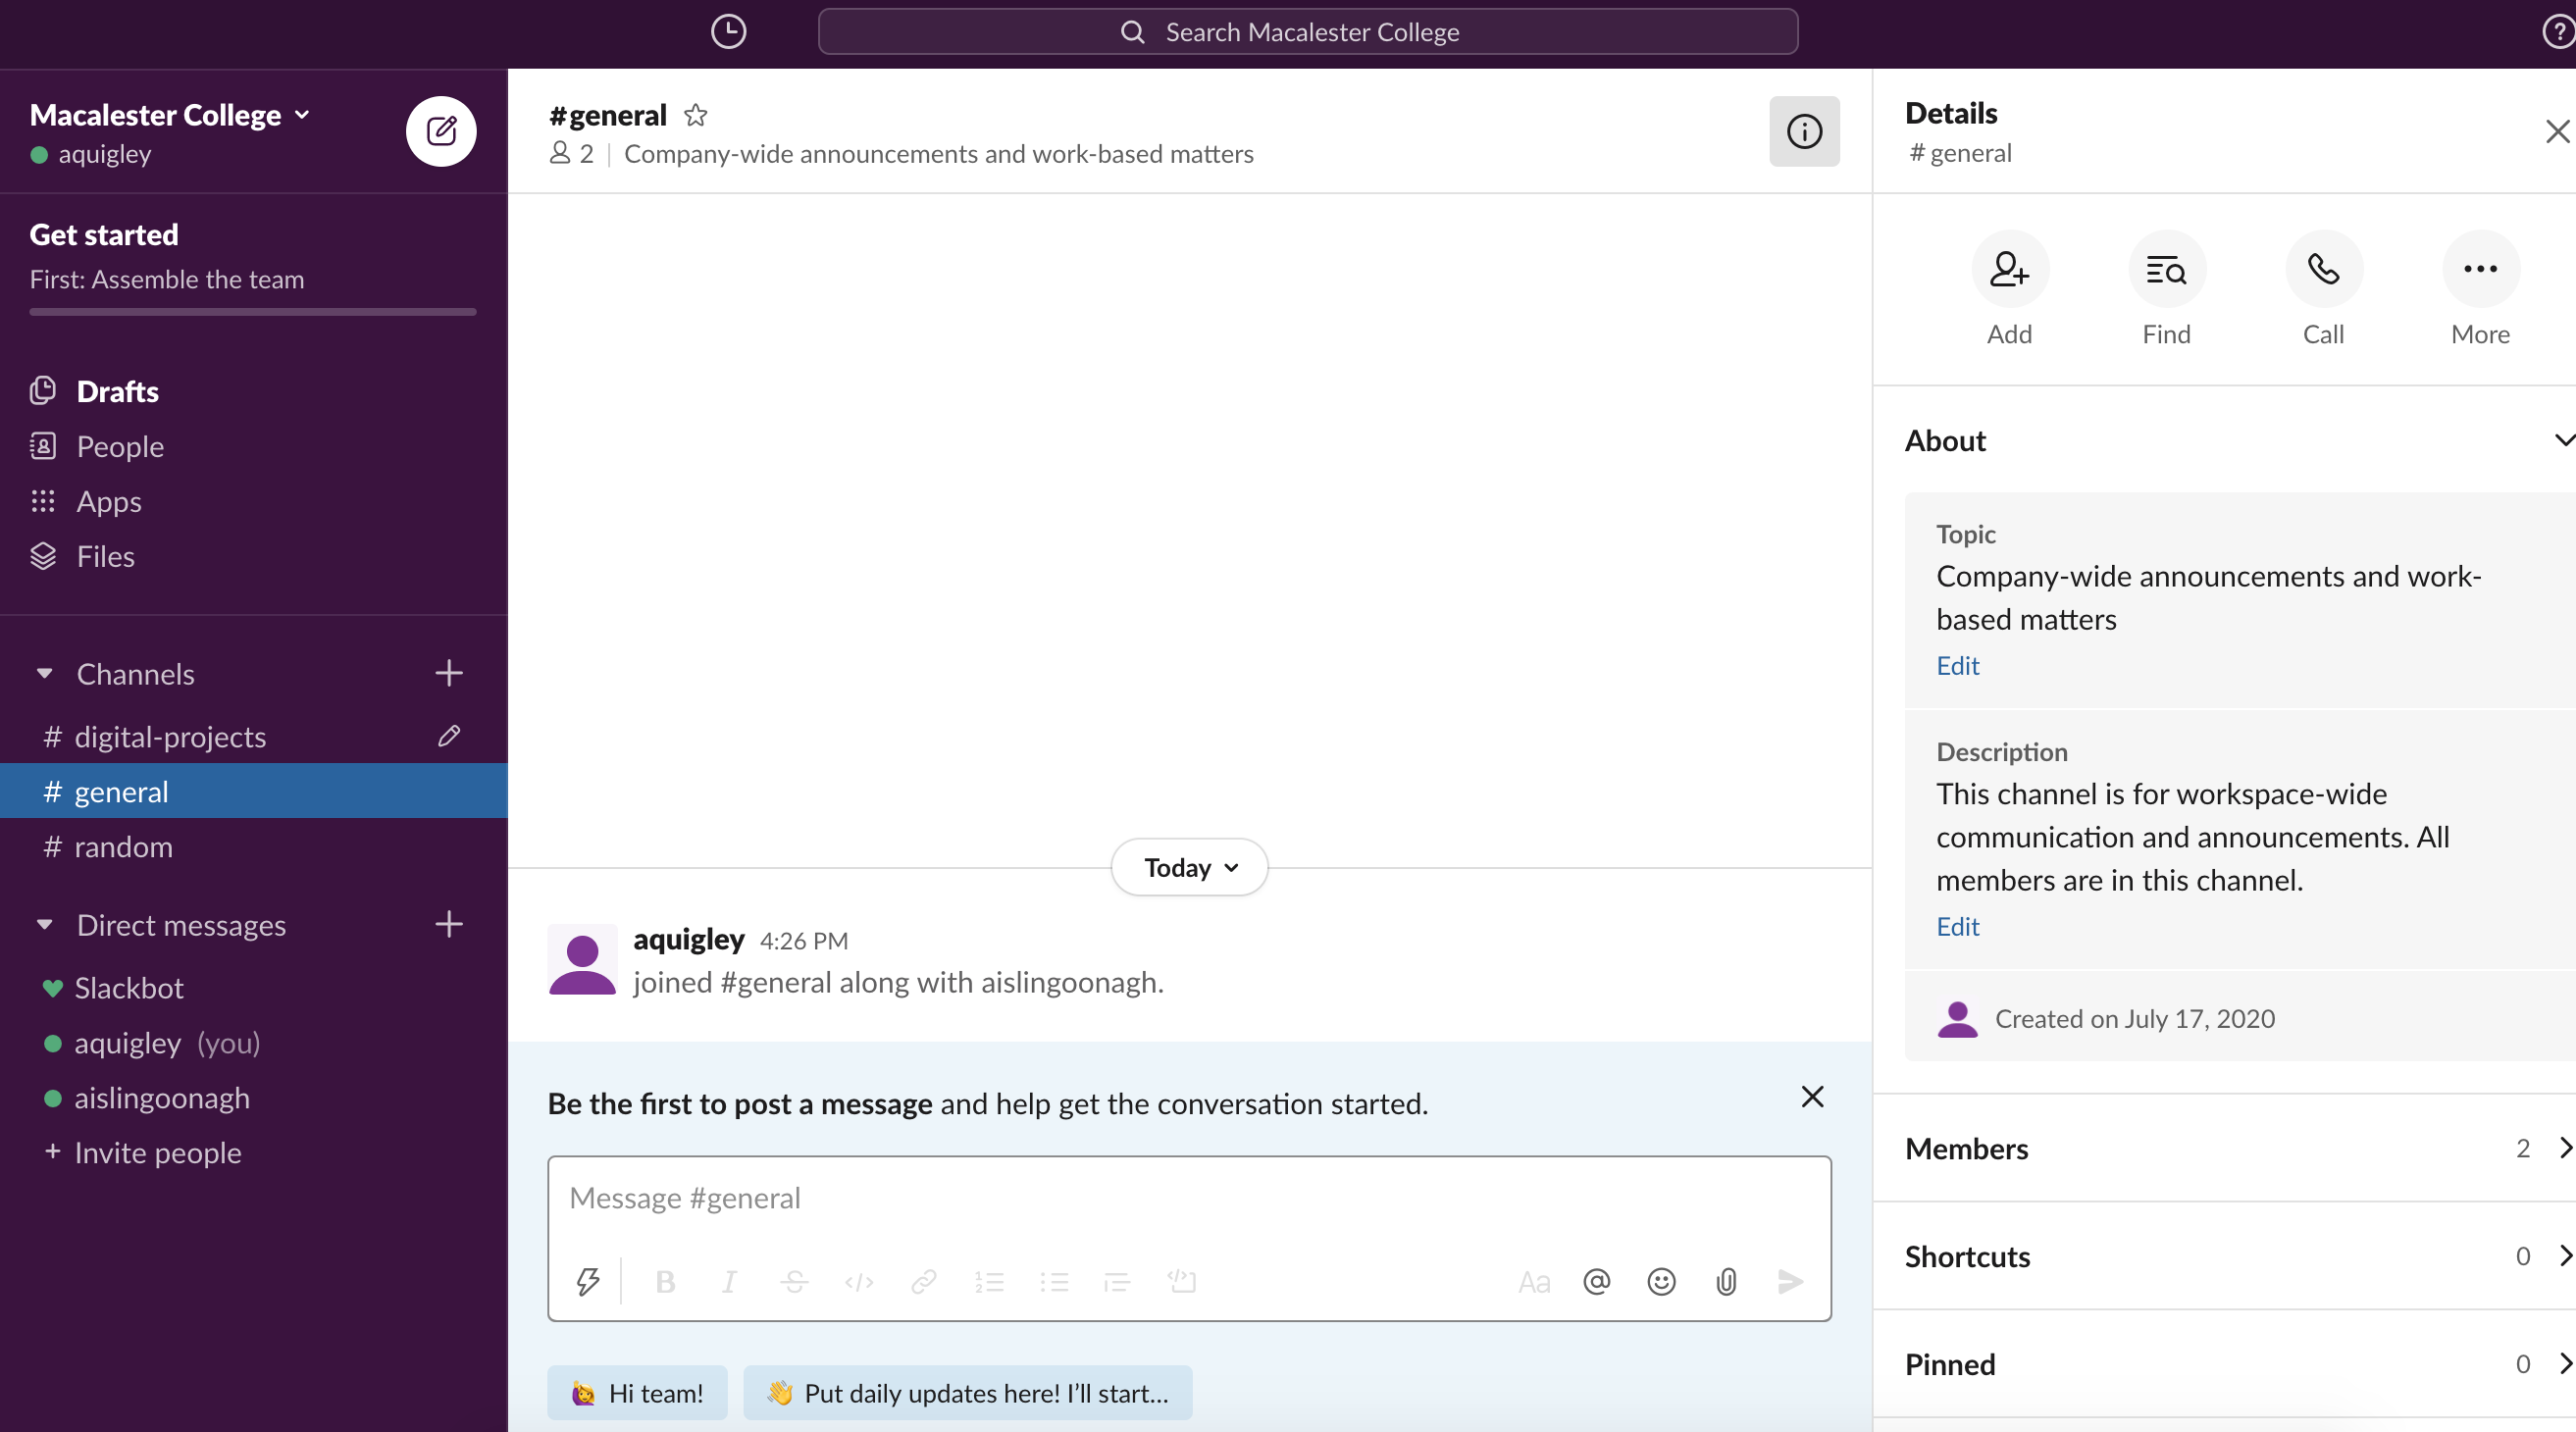
- You may have noticed that your workspace was pre-populated with three channels: the channel generated by your answer to the welcome section, a “general” channel and a “random” channel. These latter two channels come with every Slack workspace. You can rename channels and edit their descriptions, access settings, etc. Let’s go into “general” and see what we can do. Click on the “Details” button in the right-hand corner of the screen.
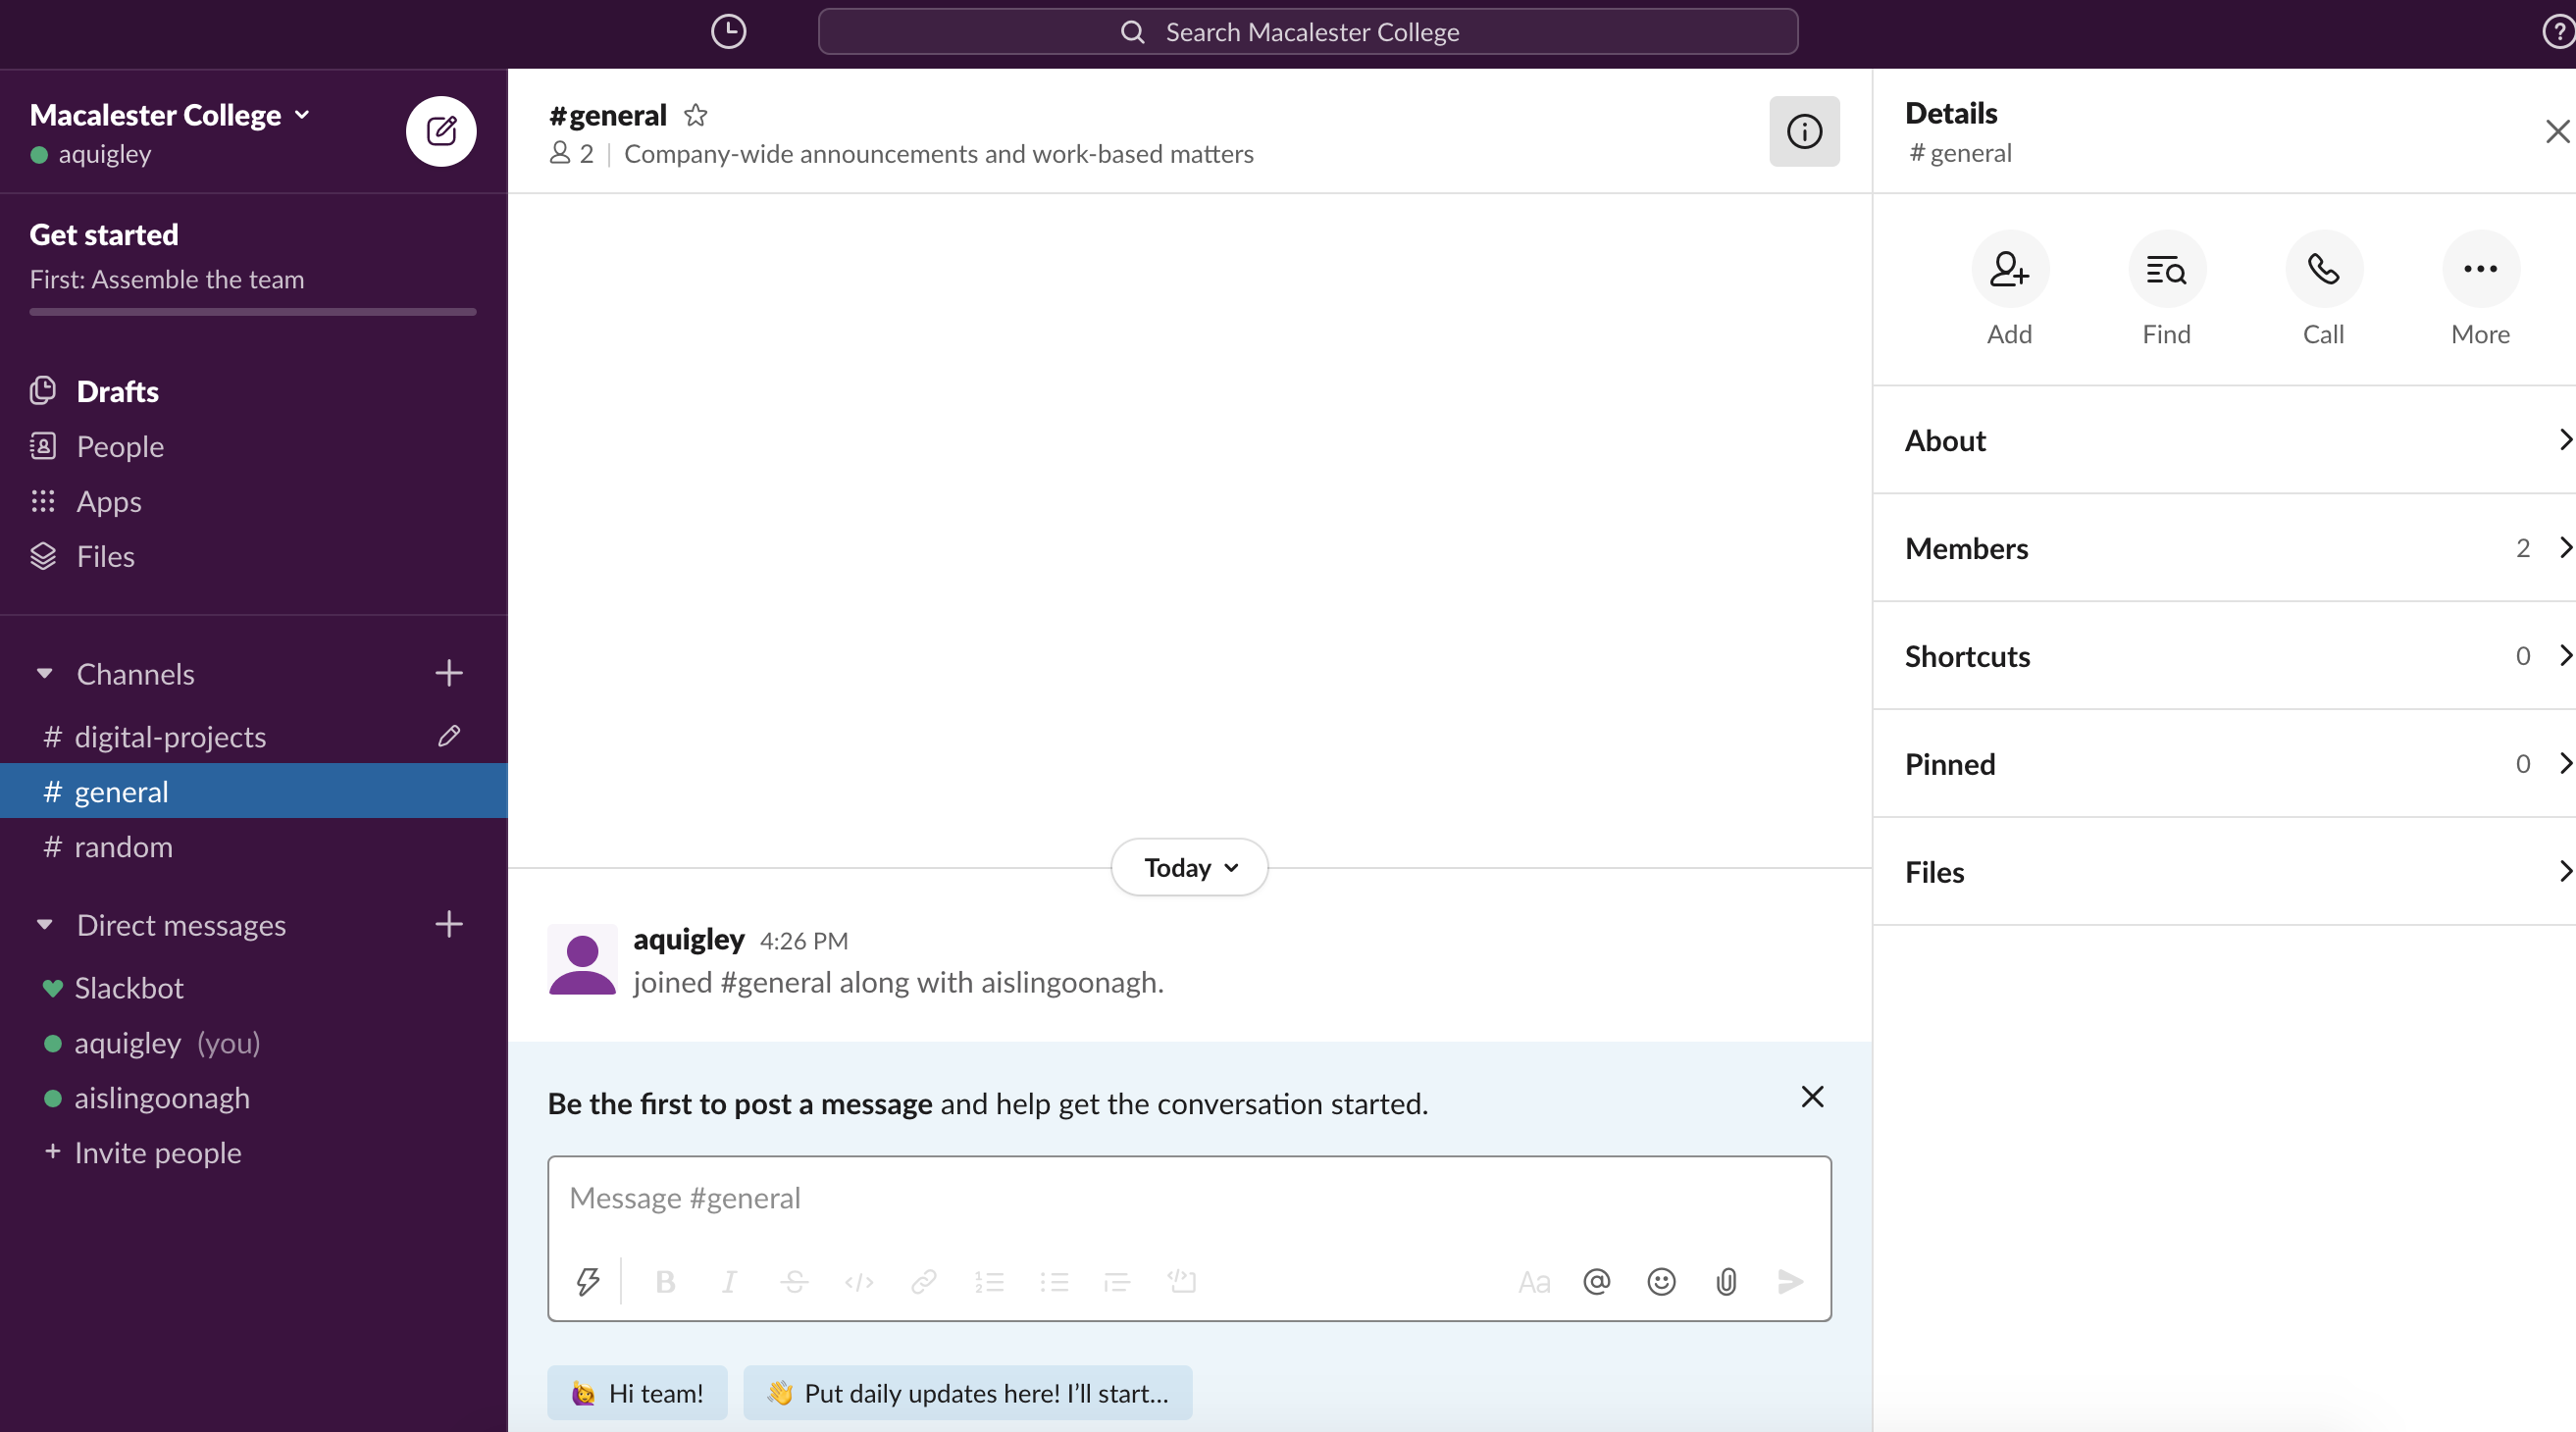
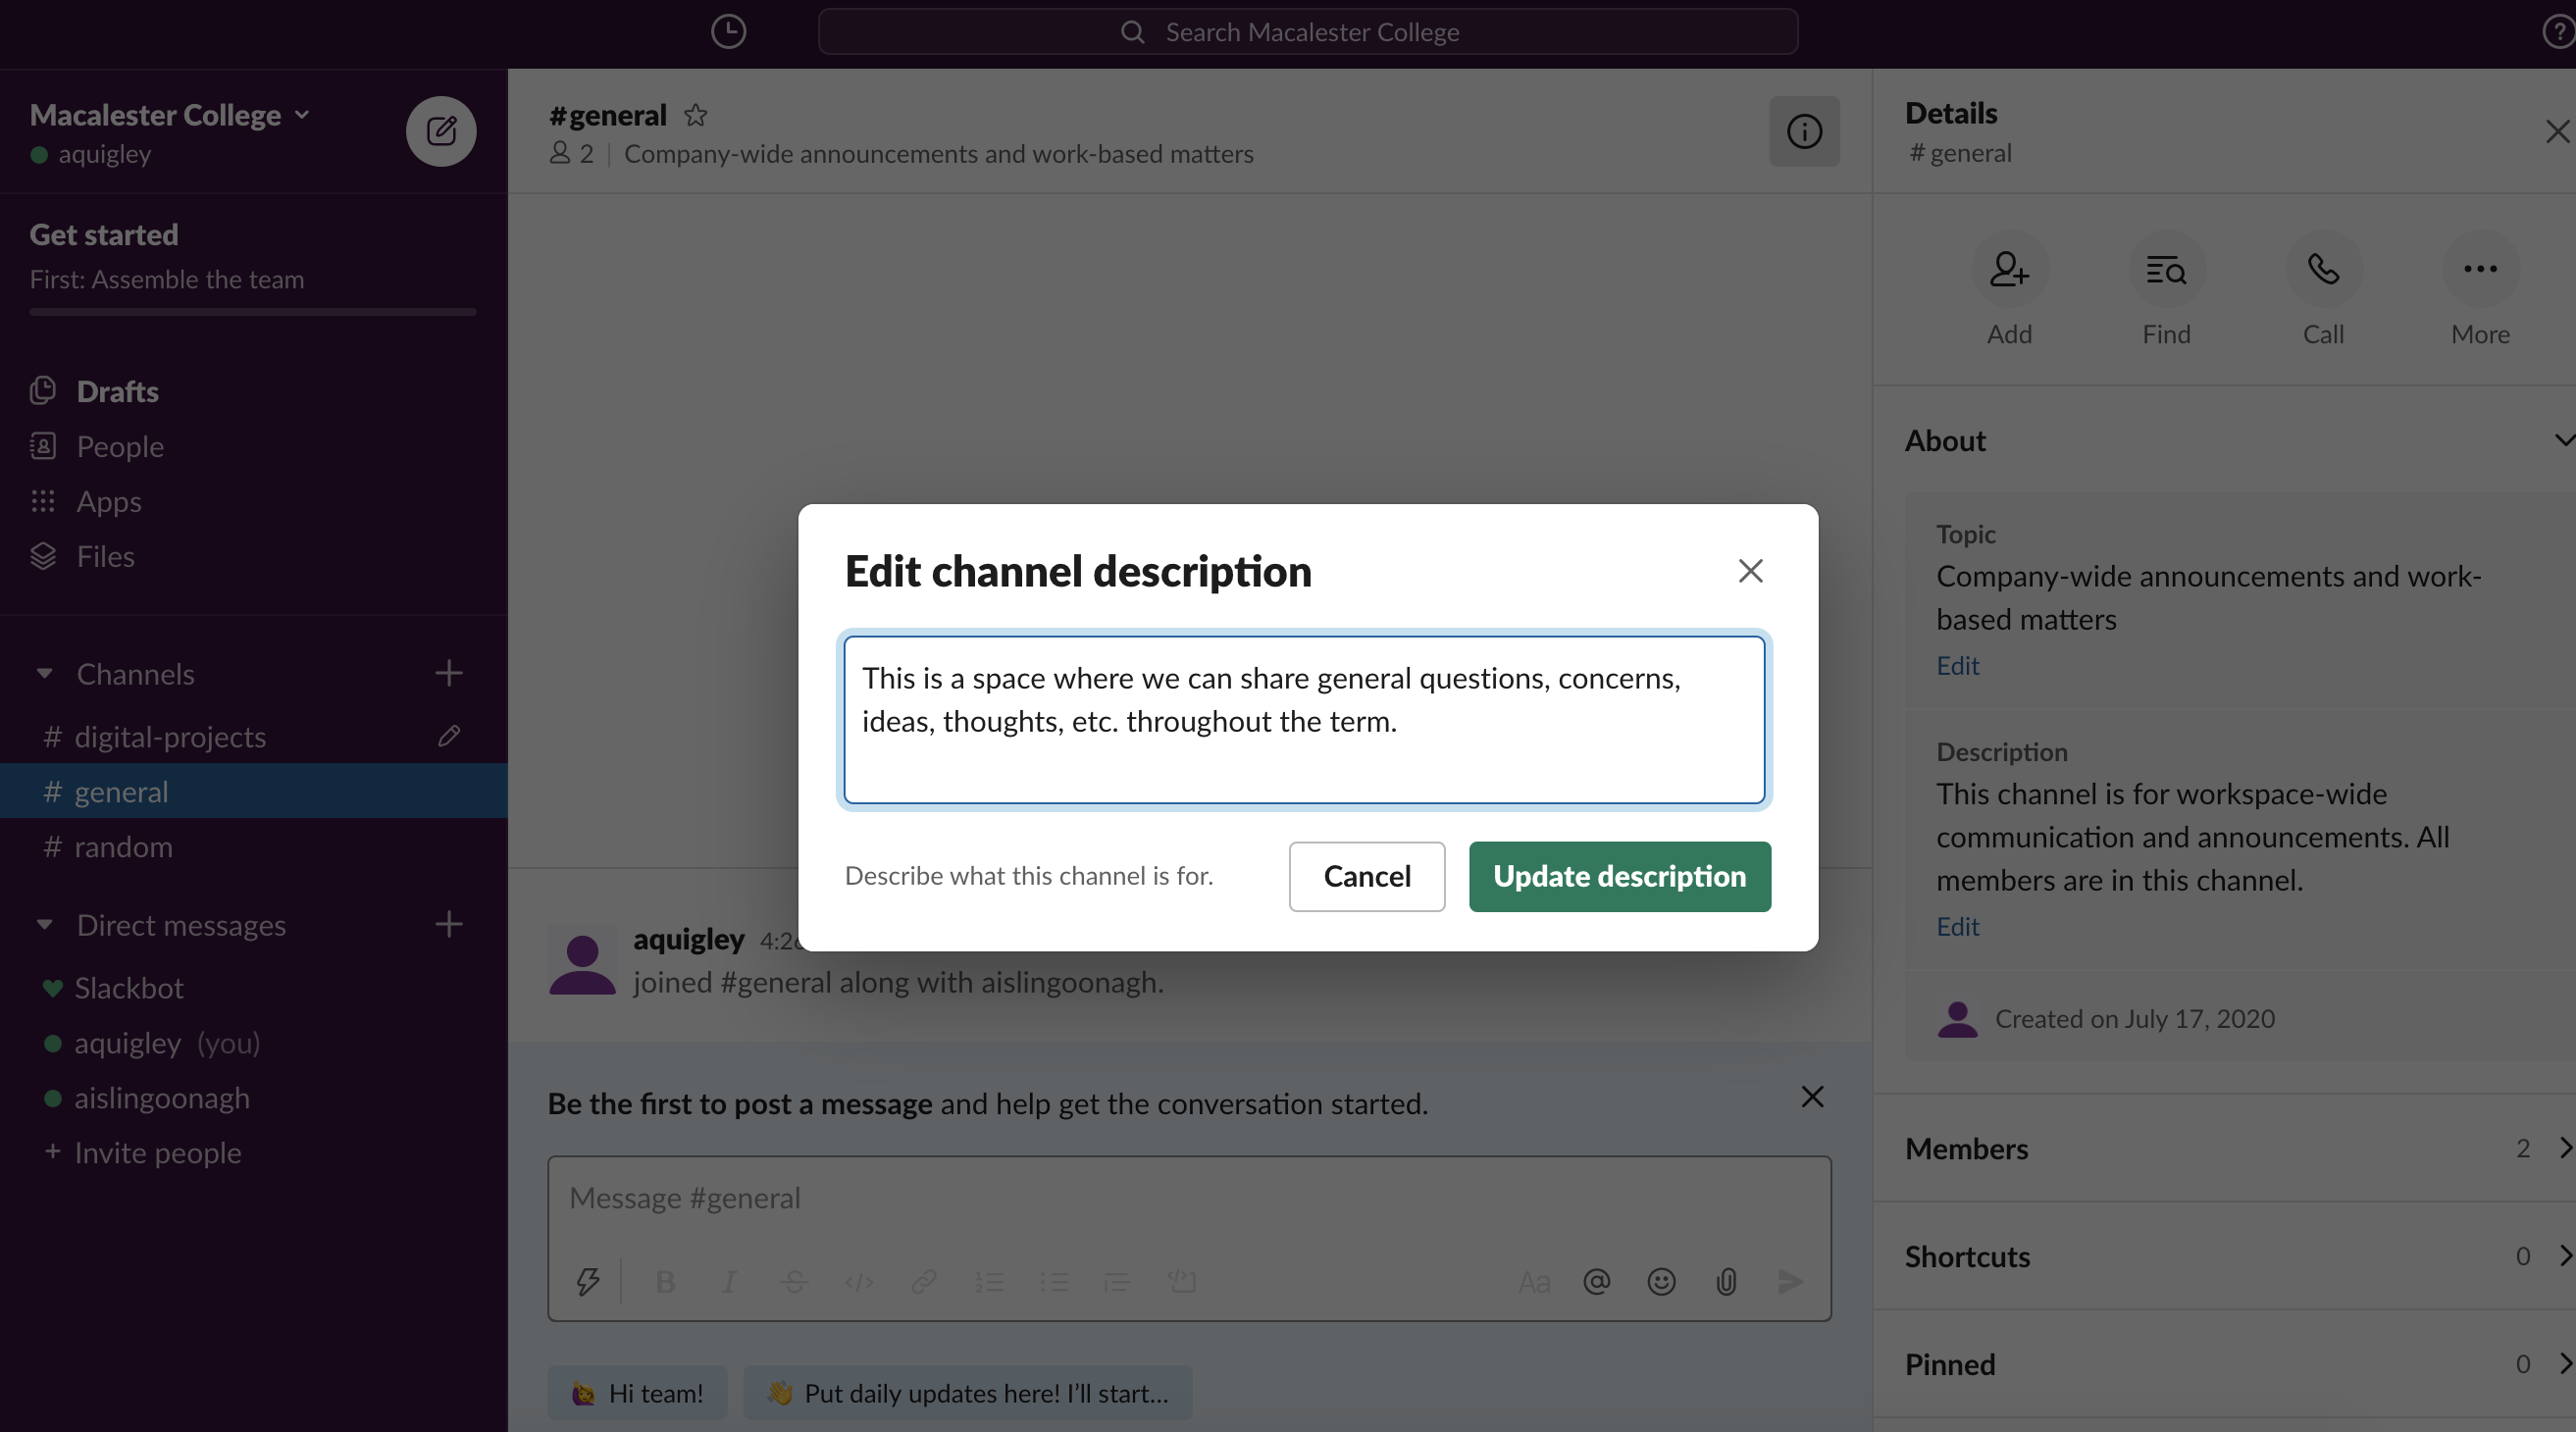
- When I click on the “About” arrow, I can view the current channel topic and description. If I click on “Edit,” I can change these to suit my team’s needs.
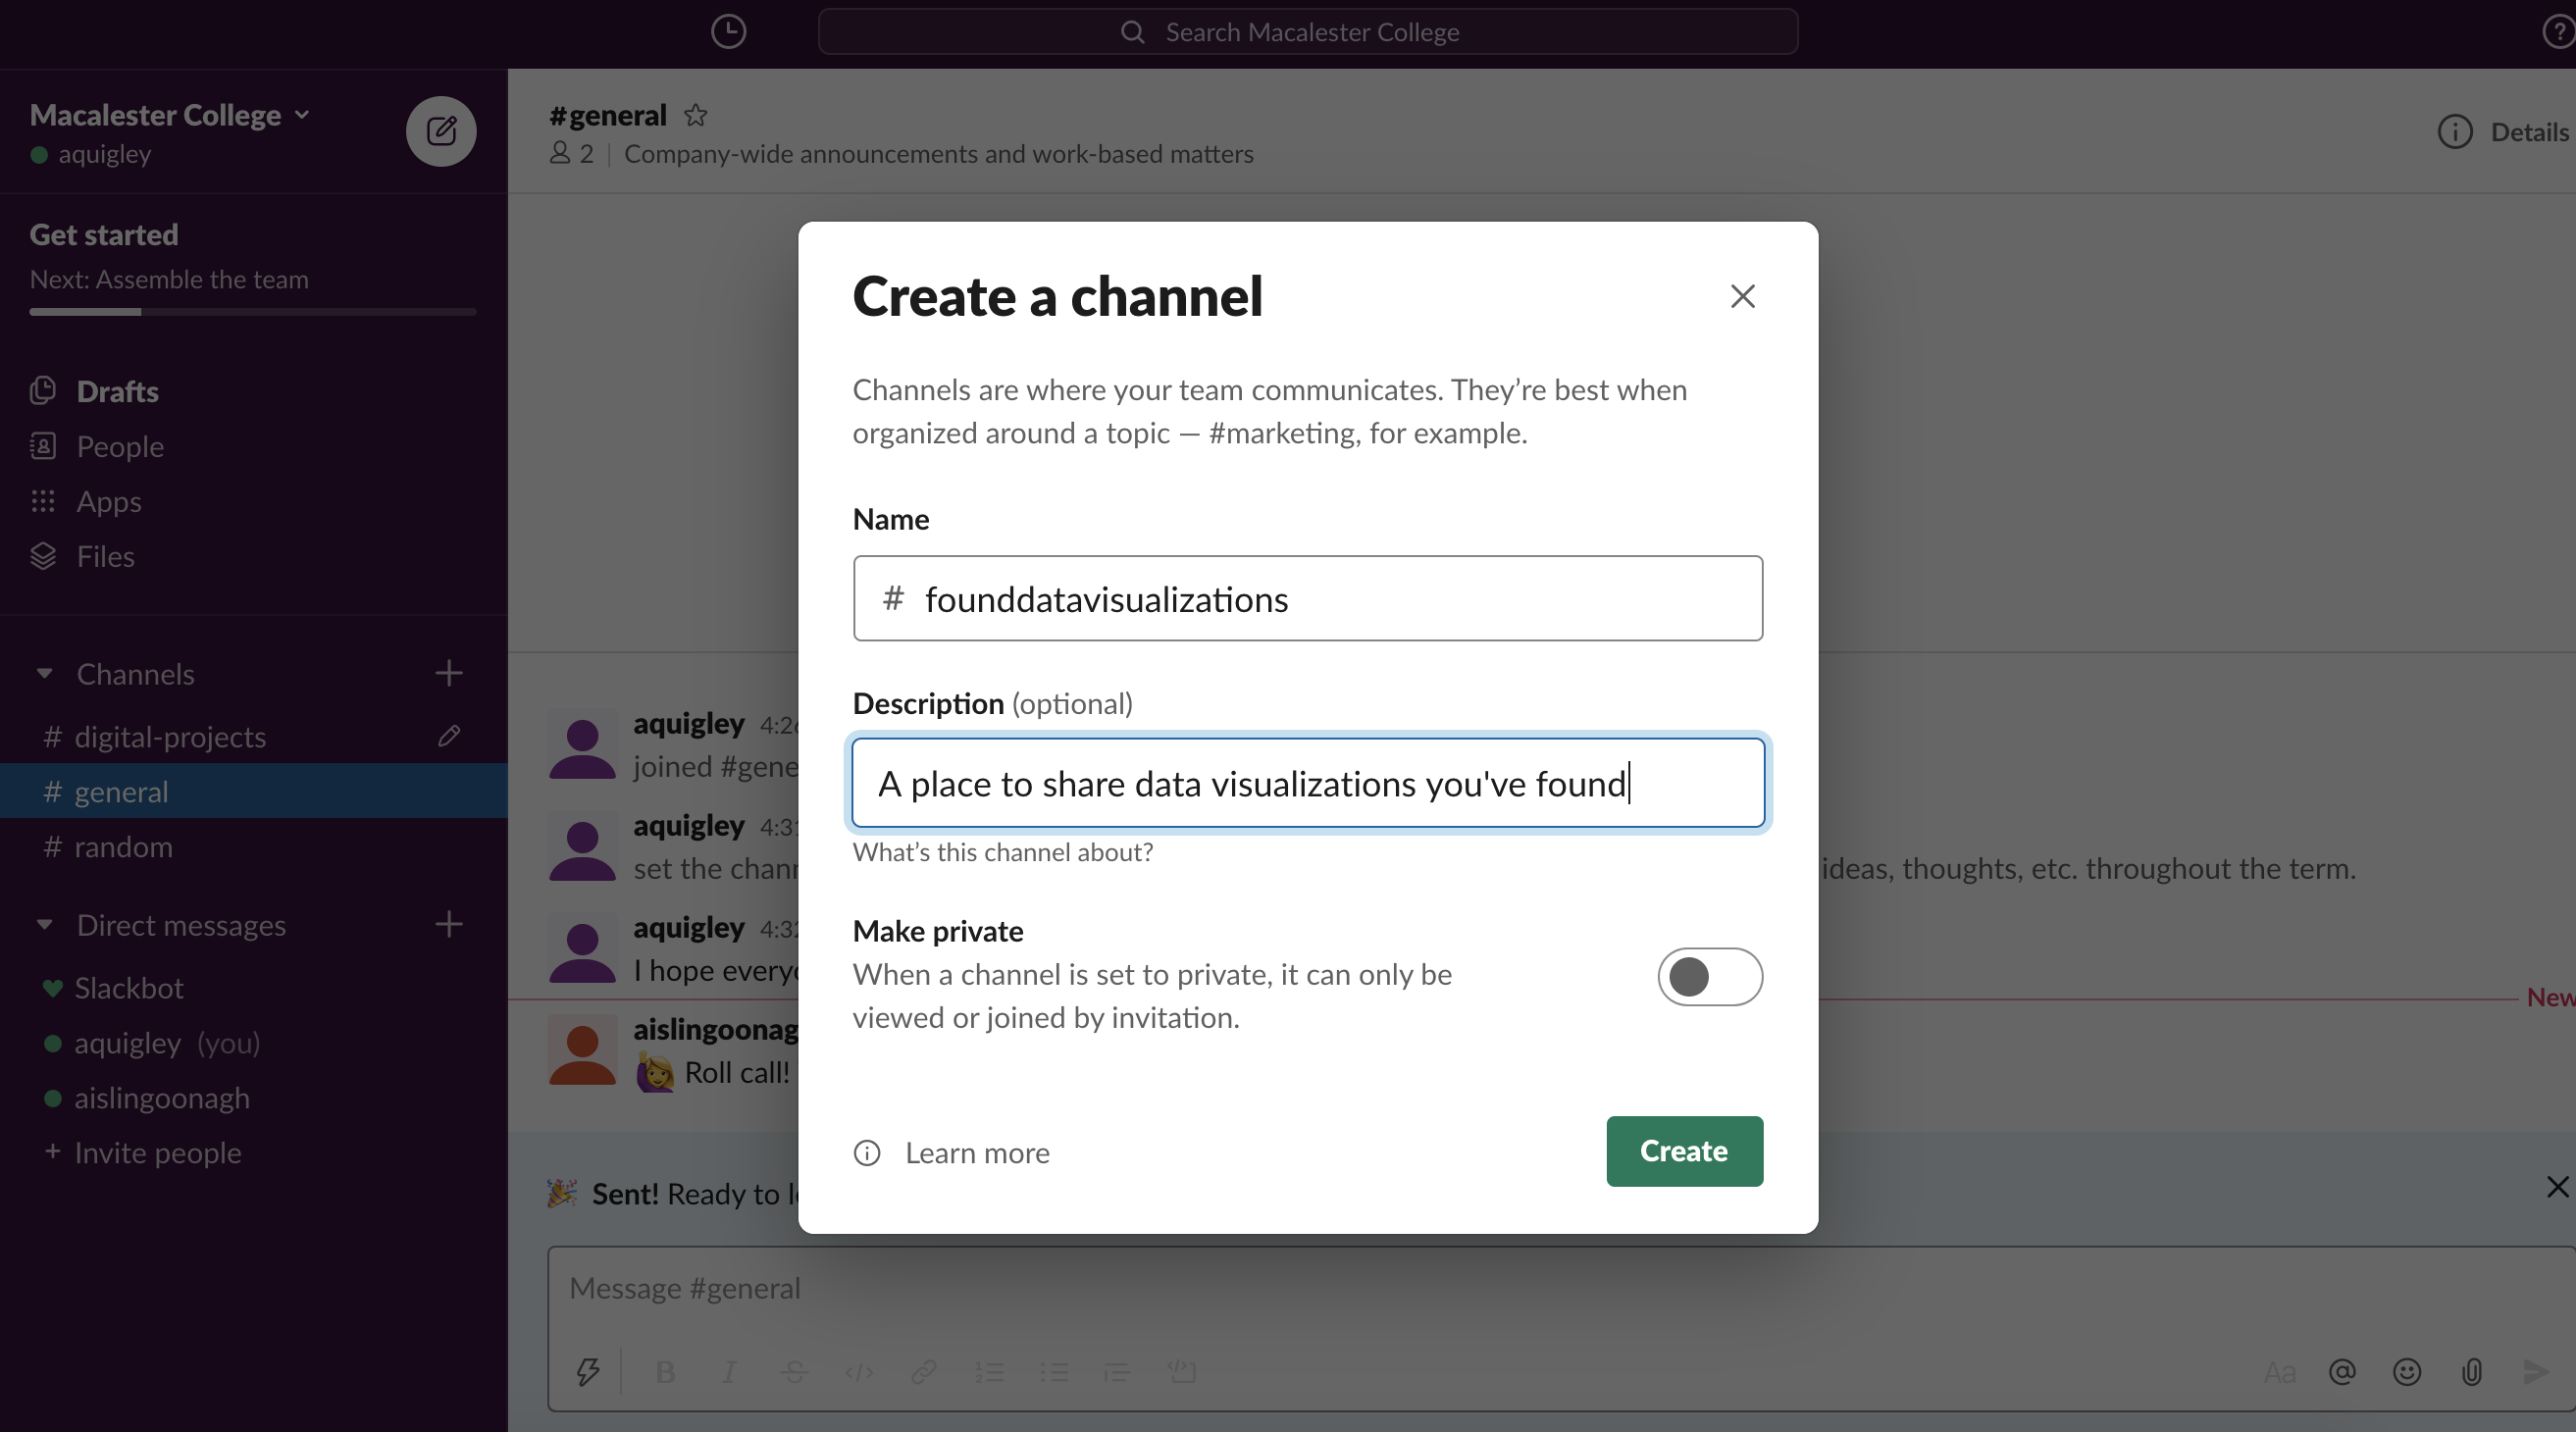
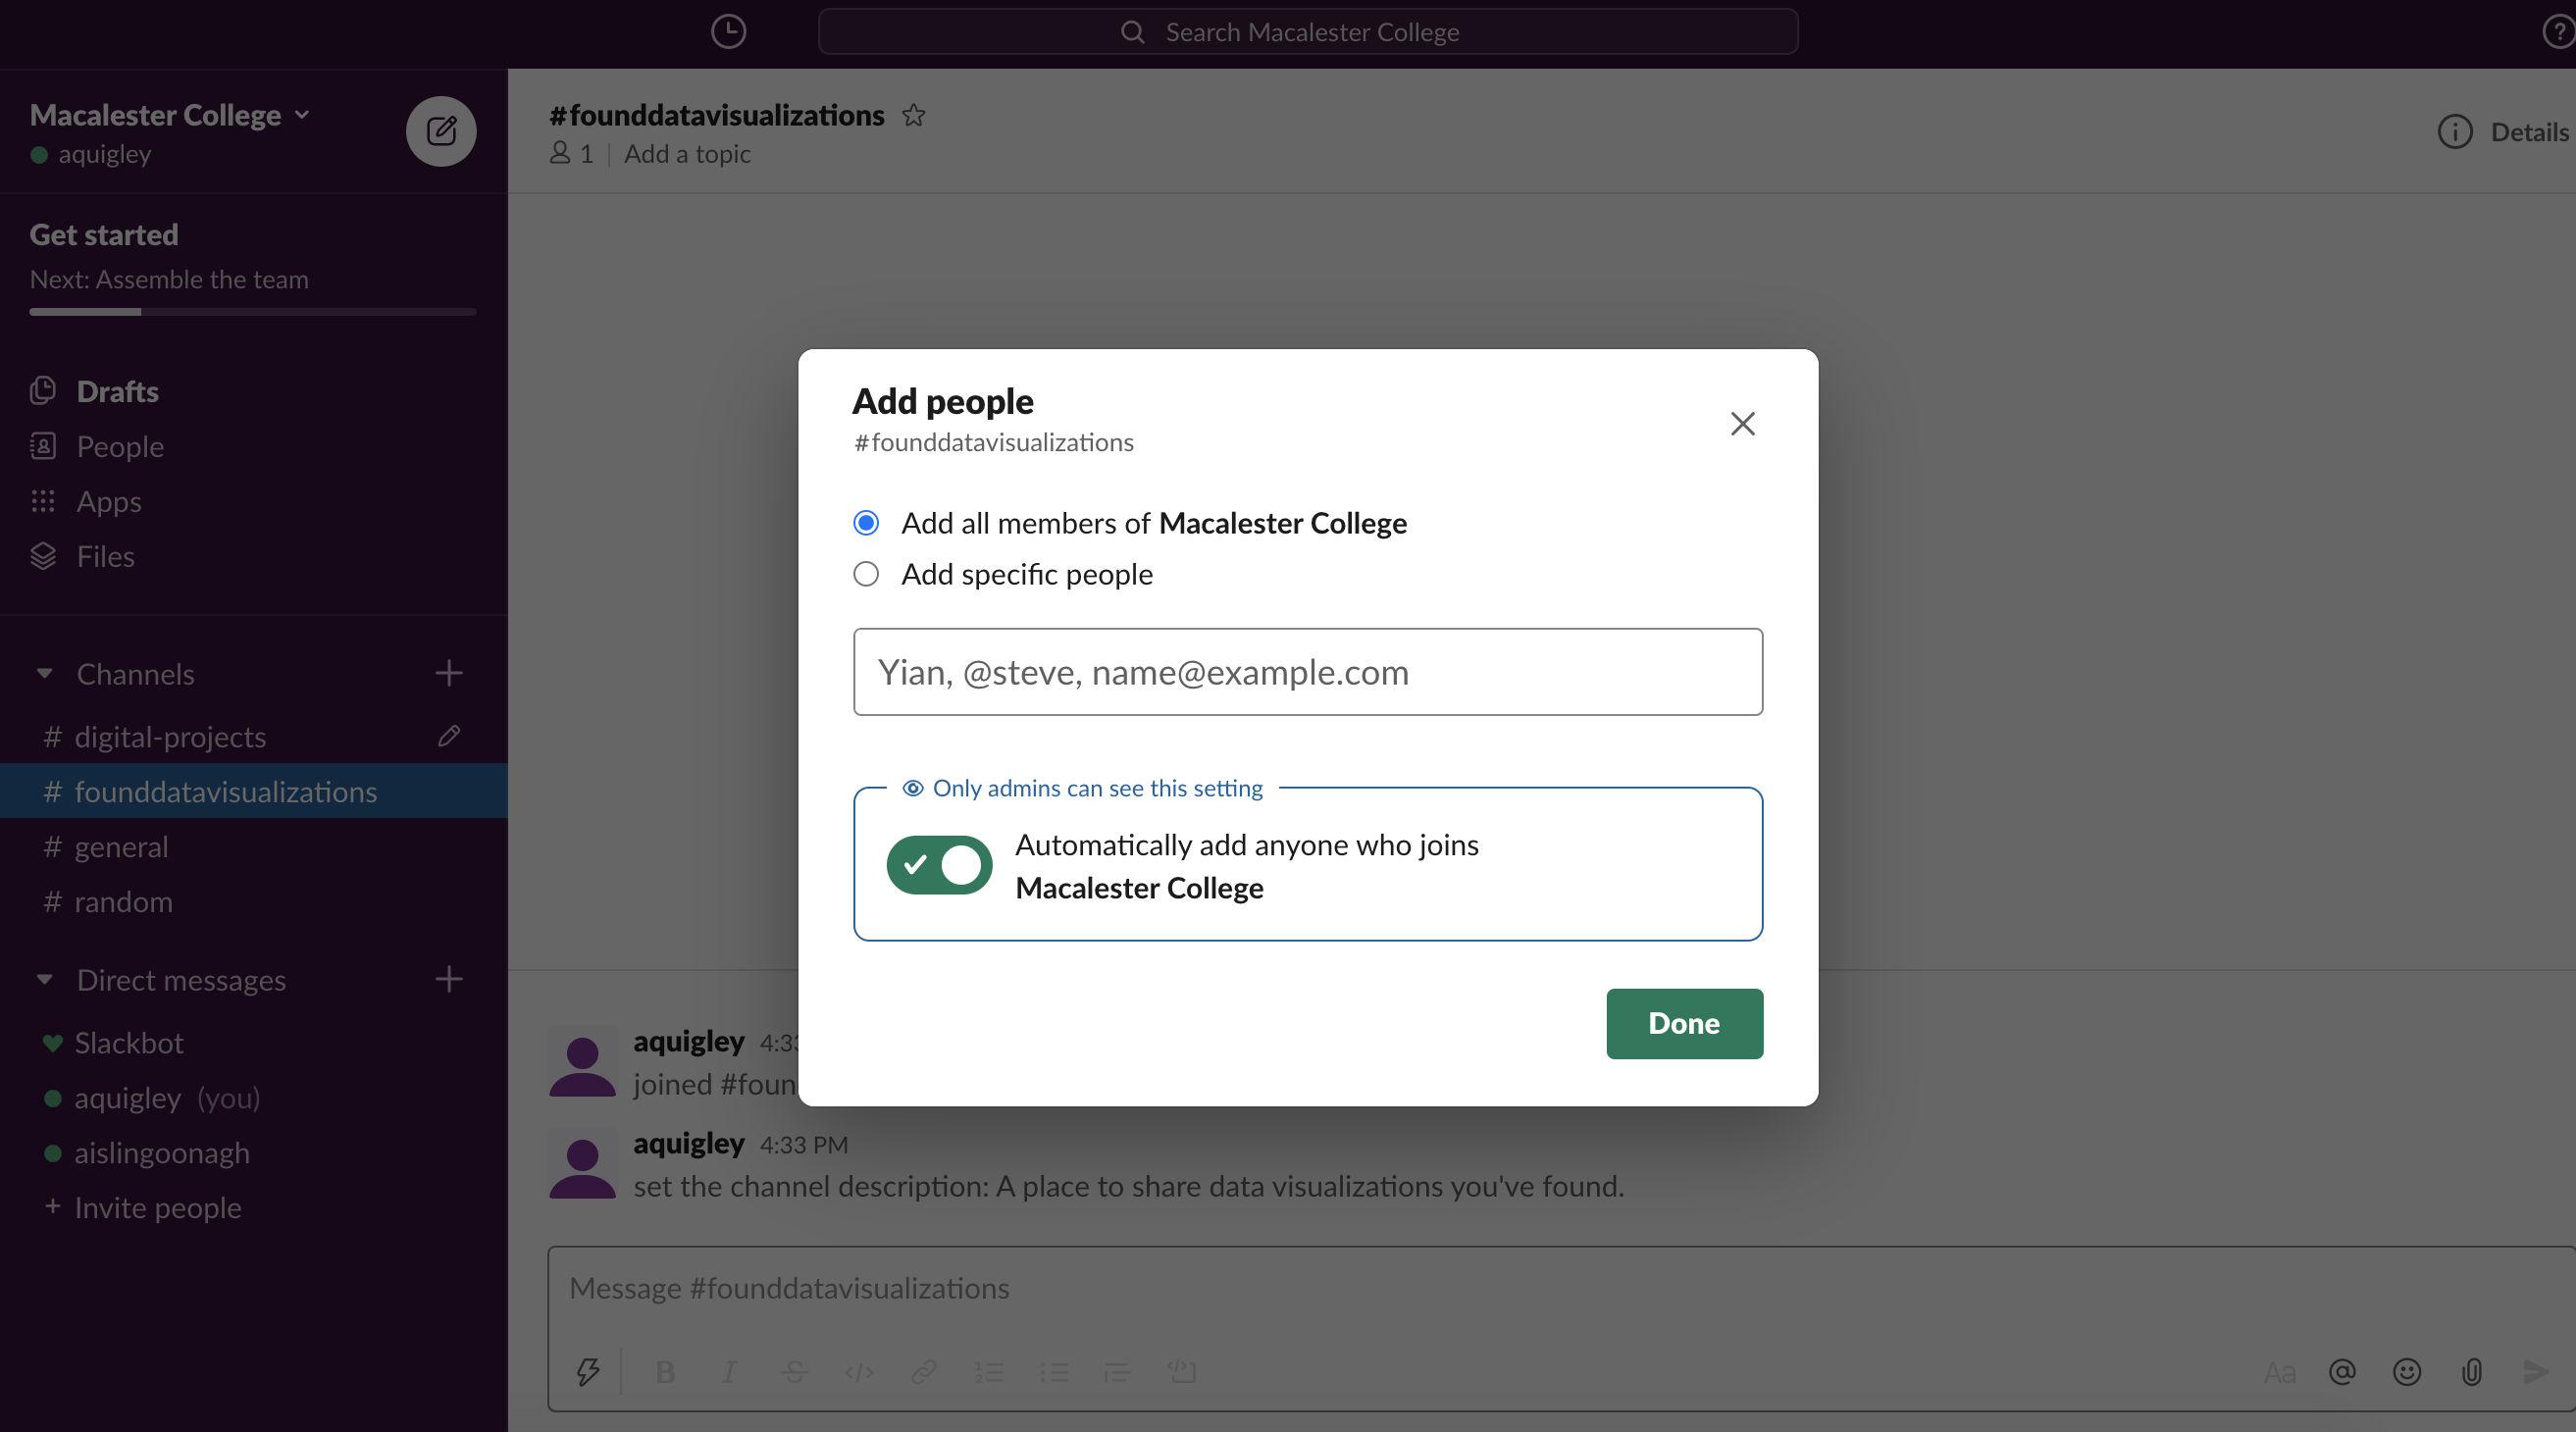
- You can also create this description right from the start for channels that you create on your own by clicking on the “+” button next to “Channels.” For example, I was prompted to provide the title and description of this channel once I added it, and was also asked whether I want all members of this workspace to automatically join this channel. If you’d like some channels to be private, or accessible only to a few teammates (or for small groups), you can also do that here.
- Okay, you’re all set to start having conversations in Slack!