Swipe.to Presentations with Polls
Swipe.to is a tool for creating online presentations that can include embedded polls. For example, this presentation was used during an information session about the Digital Liberal Arts (DLA) at Macalester in September 2019. The presentation incorporates text, hyperlinks, uploaded images, and a poll.
The steps below walk you through setting up an account and creating a presentation with an embedded poll.
Note: Macalester does not have an institutional Swipe.to account. The features highlighted below are available with a free account.
Step 1: Setting up an account
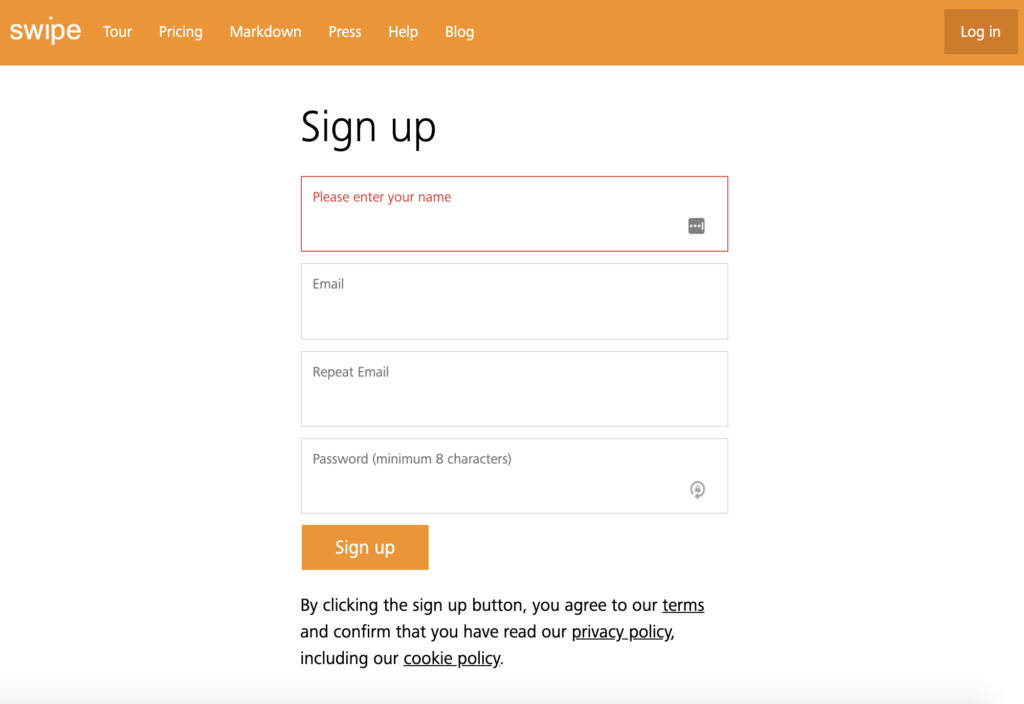
- Go to https://www.swipe.to/.
- Click on the “Sign up for free” button.
- Fill in your name and email, and create a password.
- Swipe.to will ask if you are using the tool for Education, Business, or Other, and then ask about your role and institution.
Step 2: Create a presentation
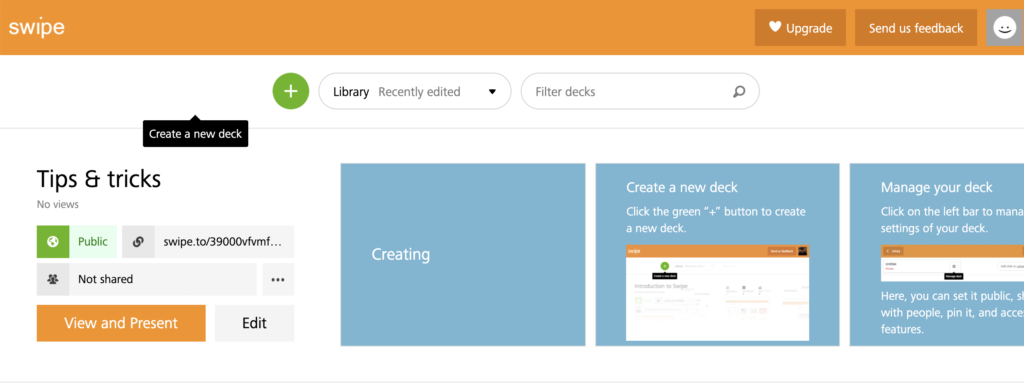
- Swipe.to refers to presentations as “decks.” To create a new deck, click on the green circle with the “+” sign.
Step 3: Changing the title of the presentation
- This page looks a little daunting, but we will go through it carefully.
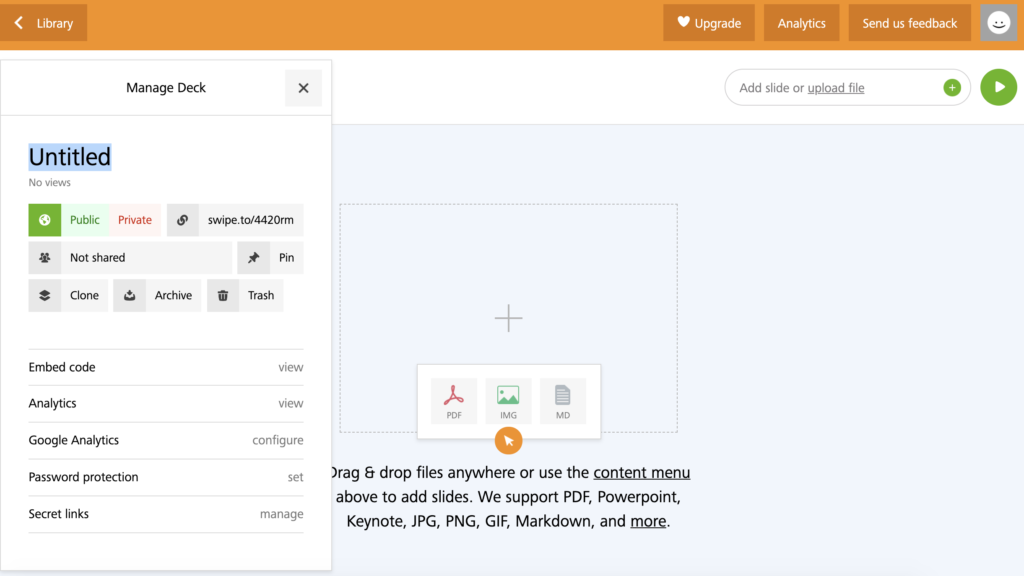
- Click on the “Untitled” button at the top left.
- The menu will expand to show a range of options.
- Here, you can change the title of the slideshow, make it public or private, share the slideshow link, or even “Clone” or copy the presentation if you decide to use this as a template for future presentations.
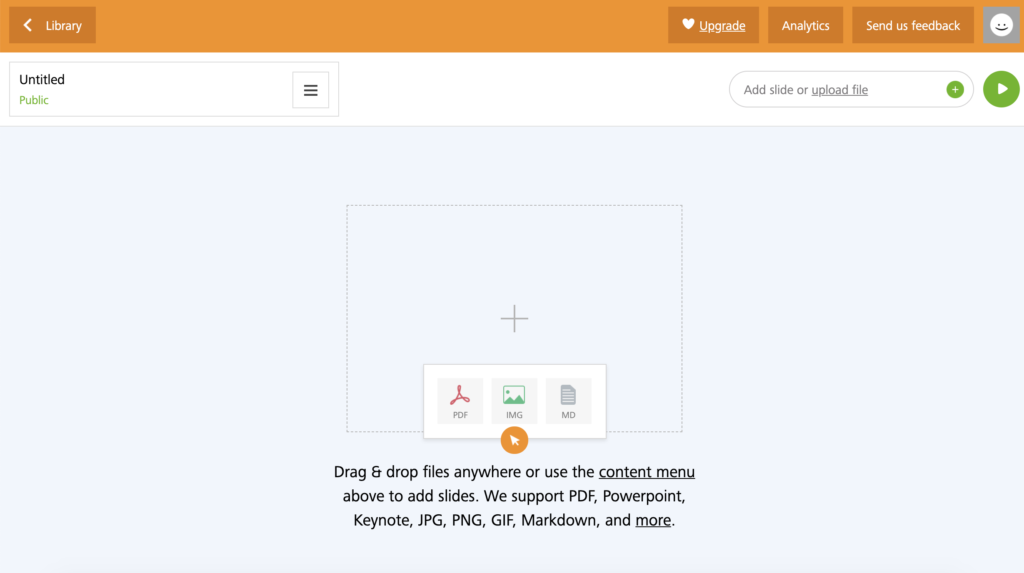
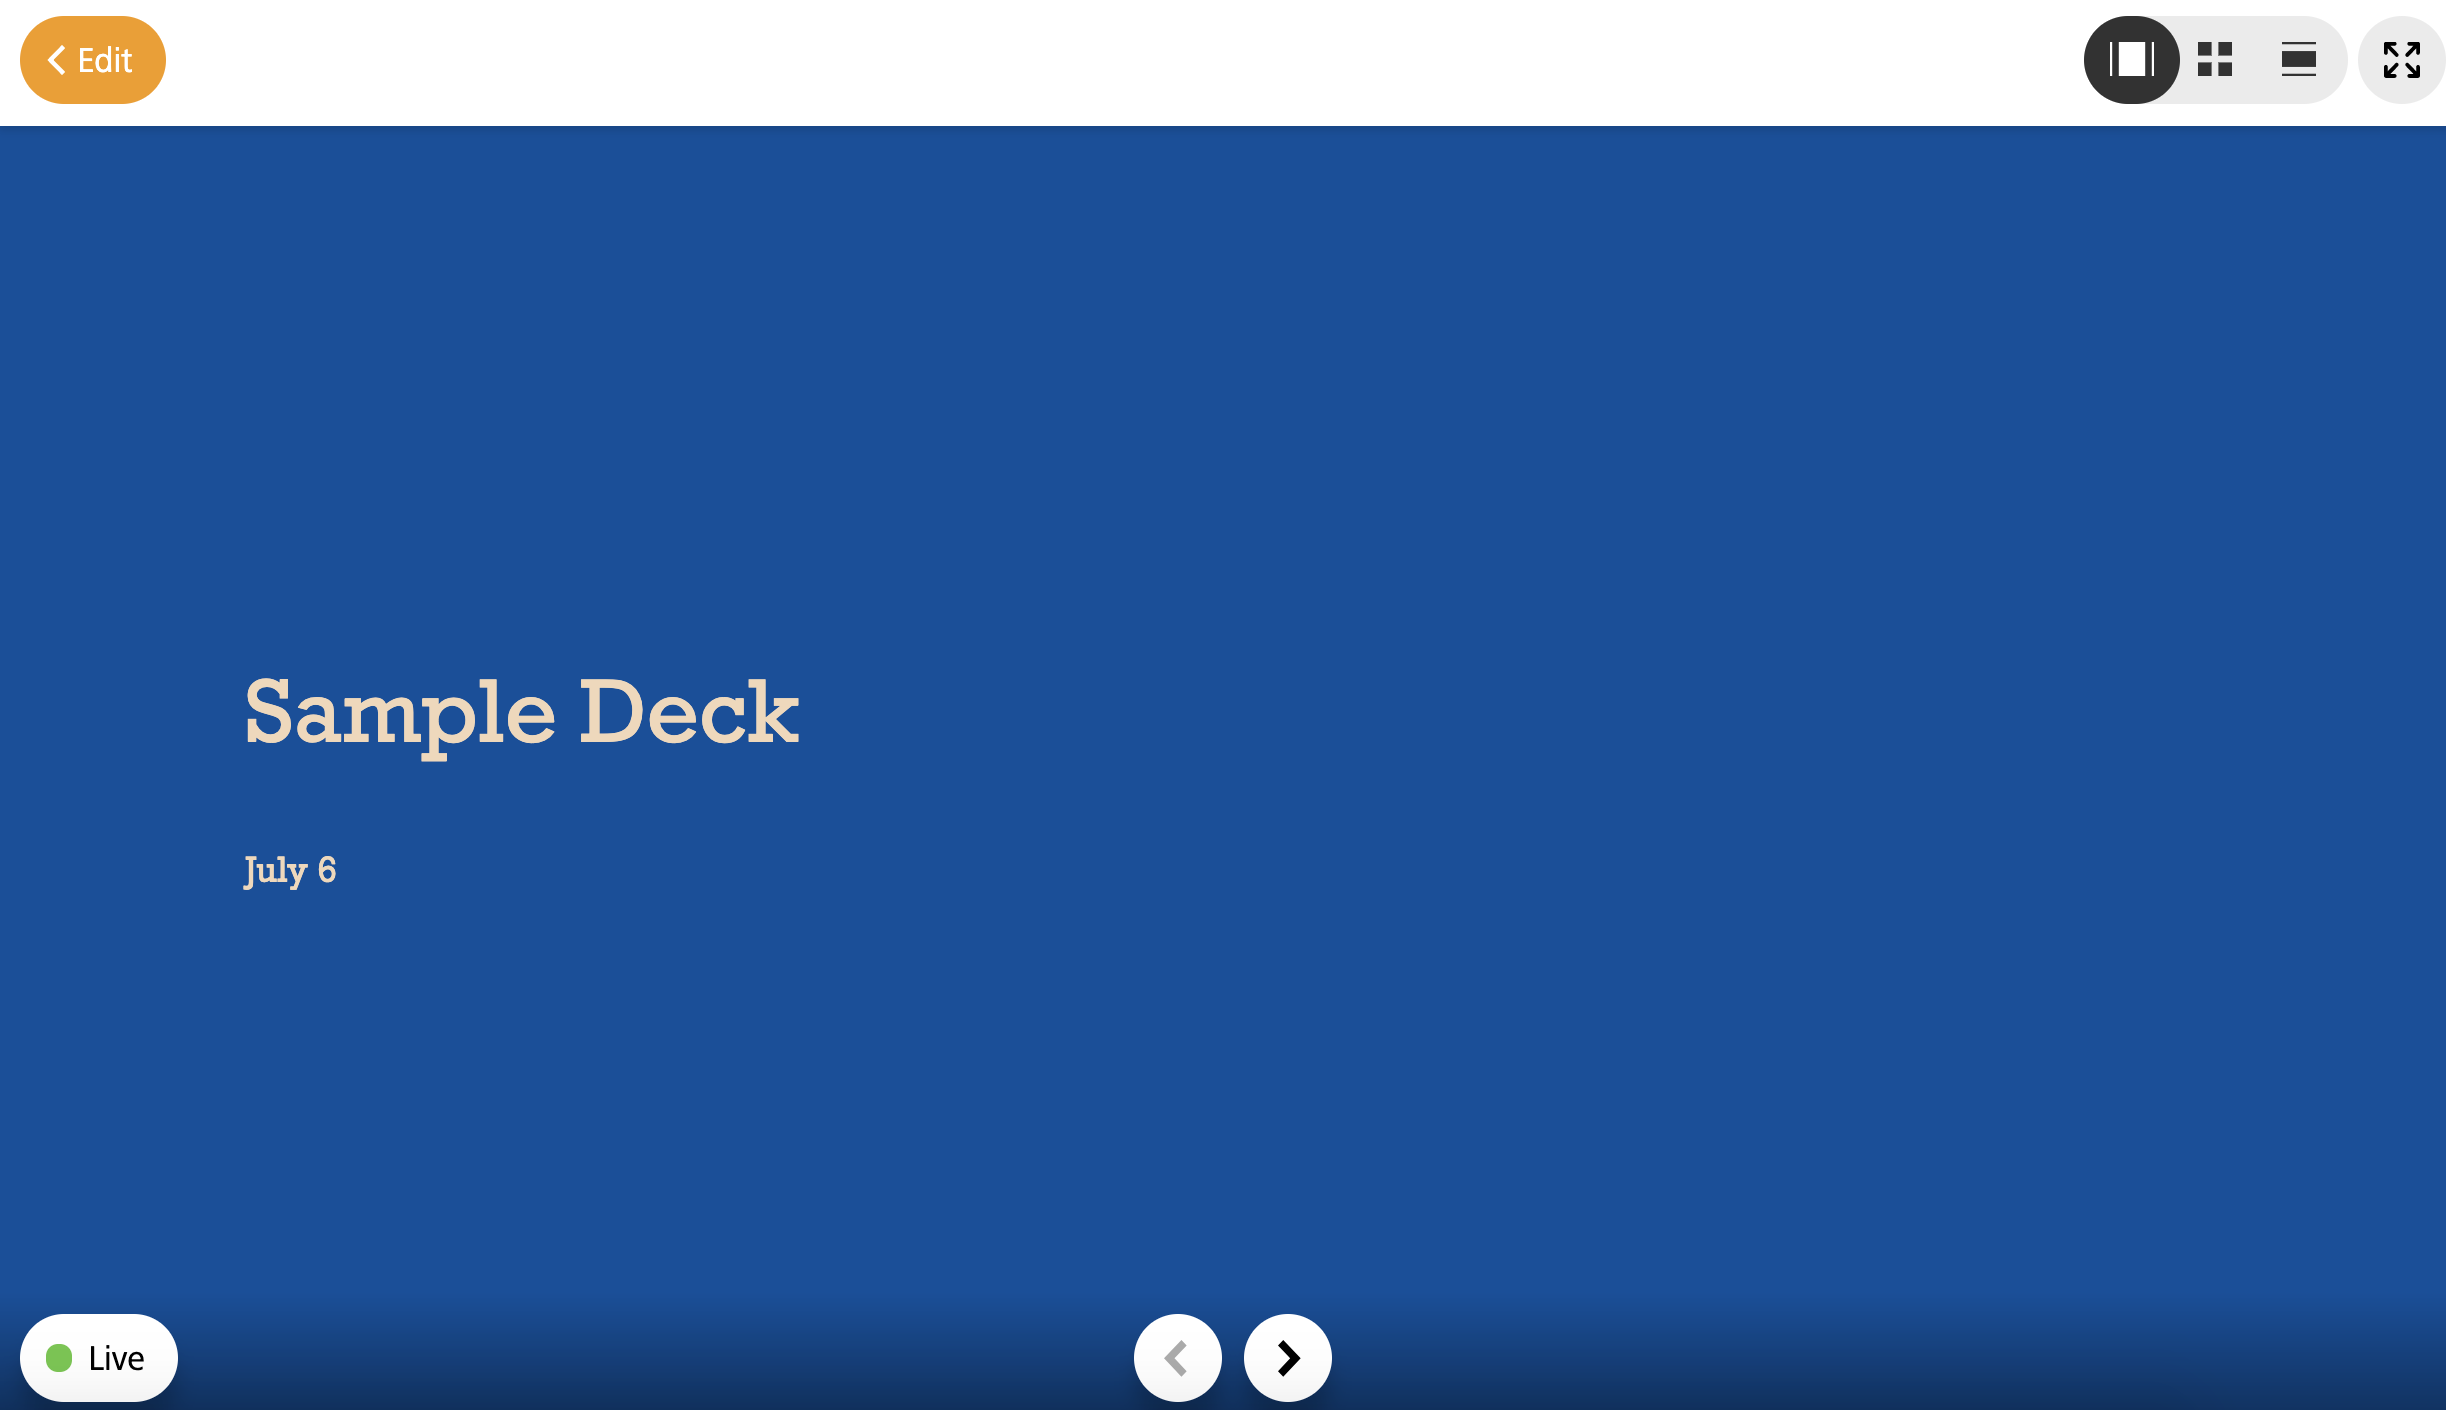
Step 4: Add an intro slide to the presentation
Now that you’ve updated your title and set your show to public or private (you can also change these settings at any time), we will add a slide to the deck.
- You will see a button at the top right of the page that says “Add slide or upload file.” Swipe.to allows users to add slides and insert text using Markdown, a lightweight markup language, and upload images and PDFs. There are other options as well, but for the purposes of this tutorial we’ll focus on adding one text slide and a poll.
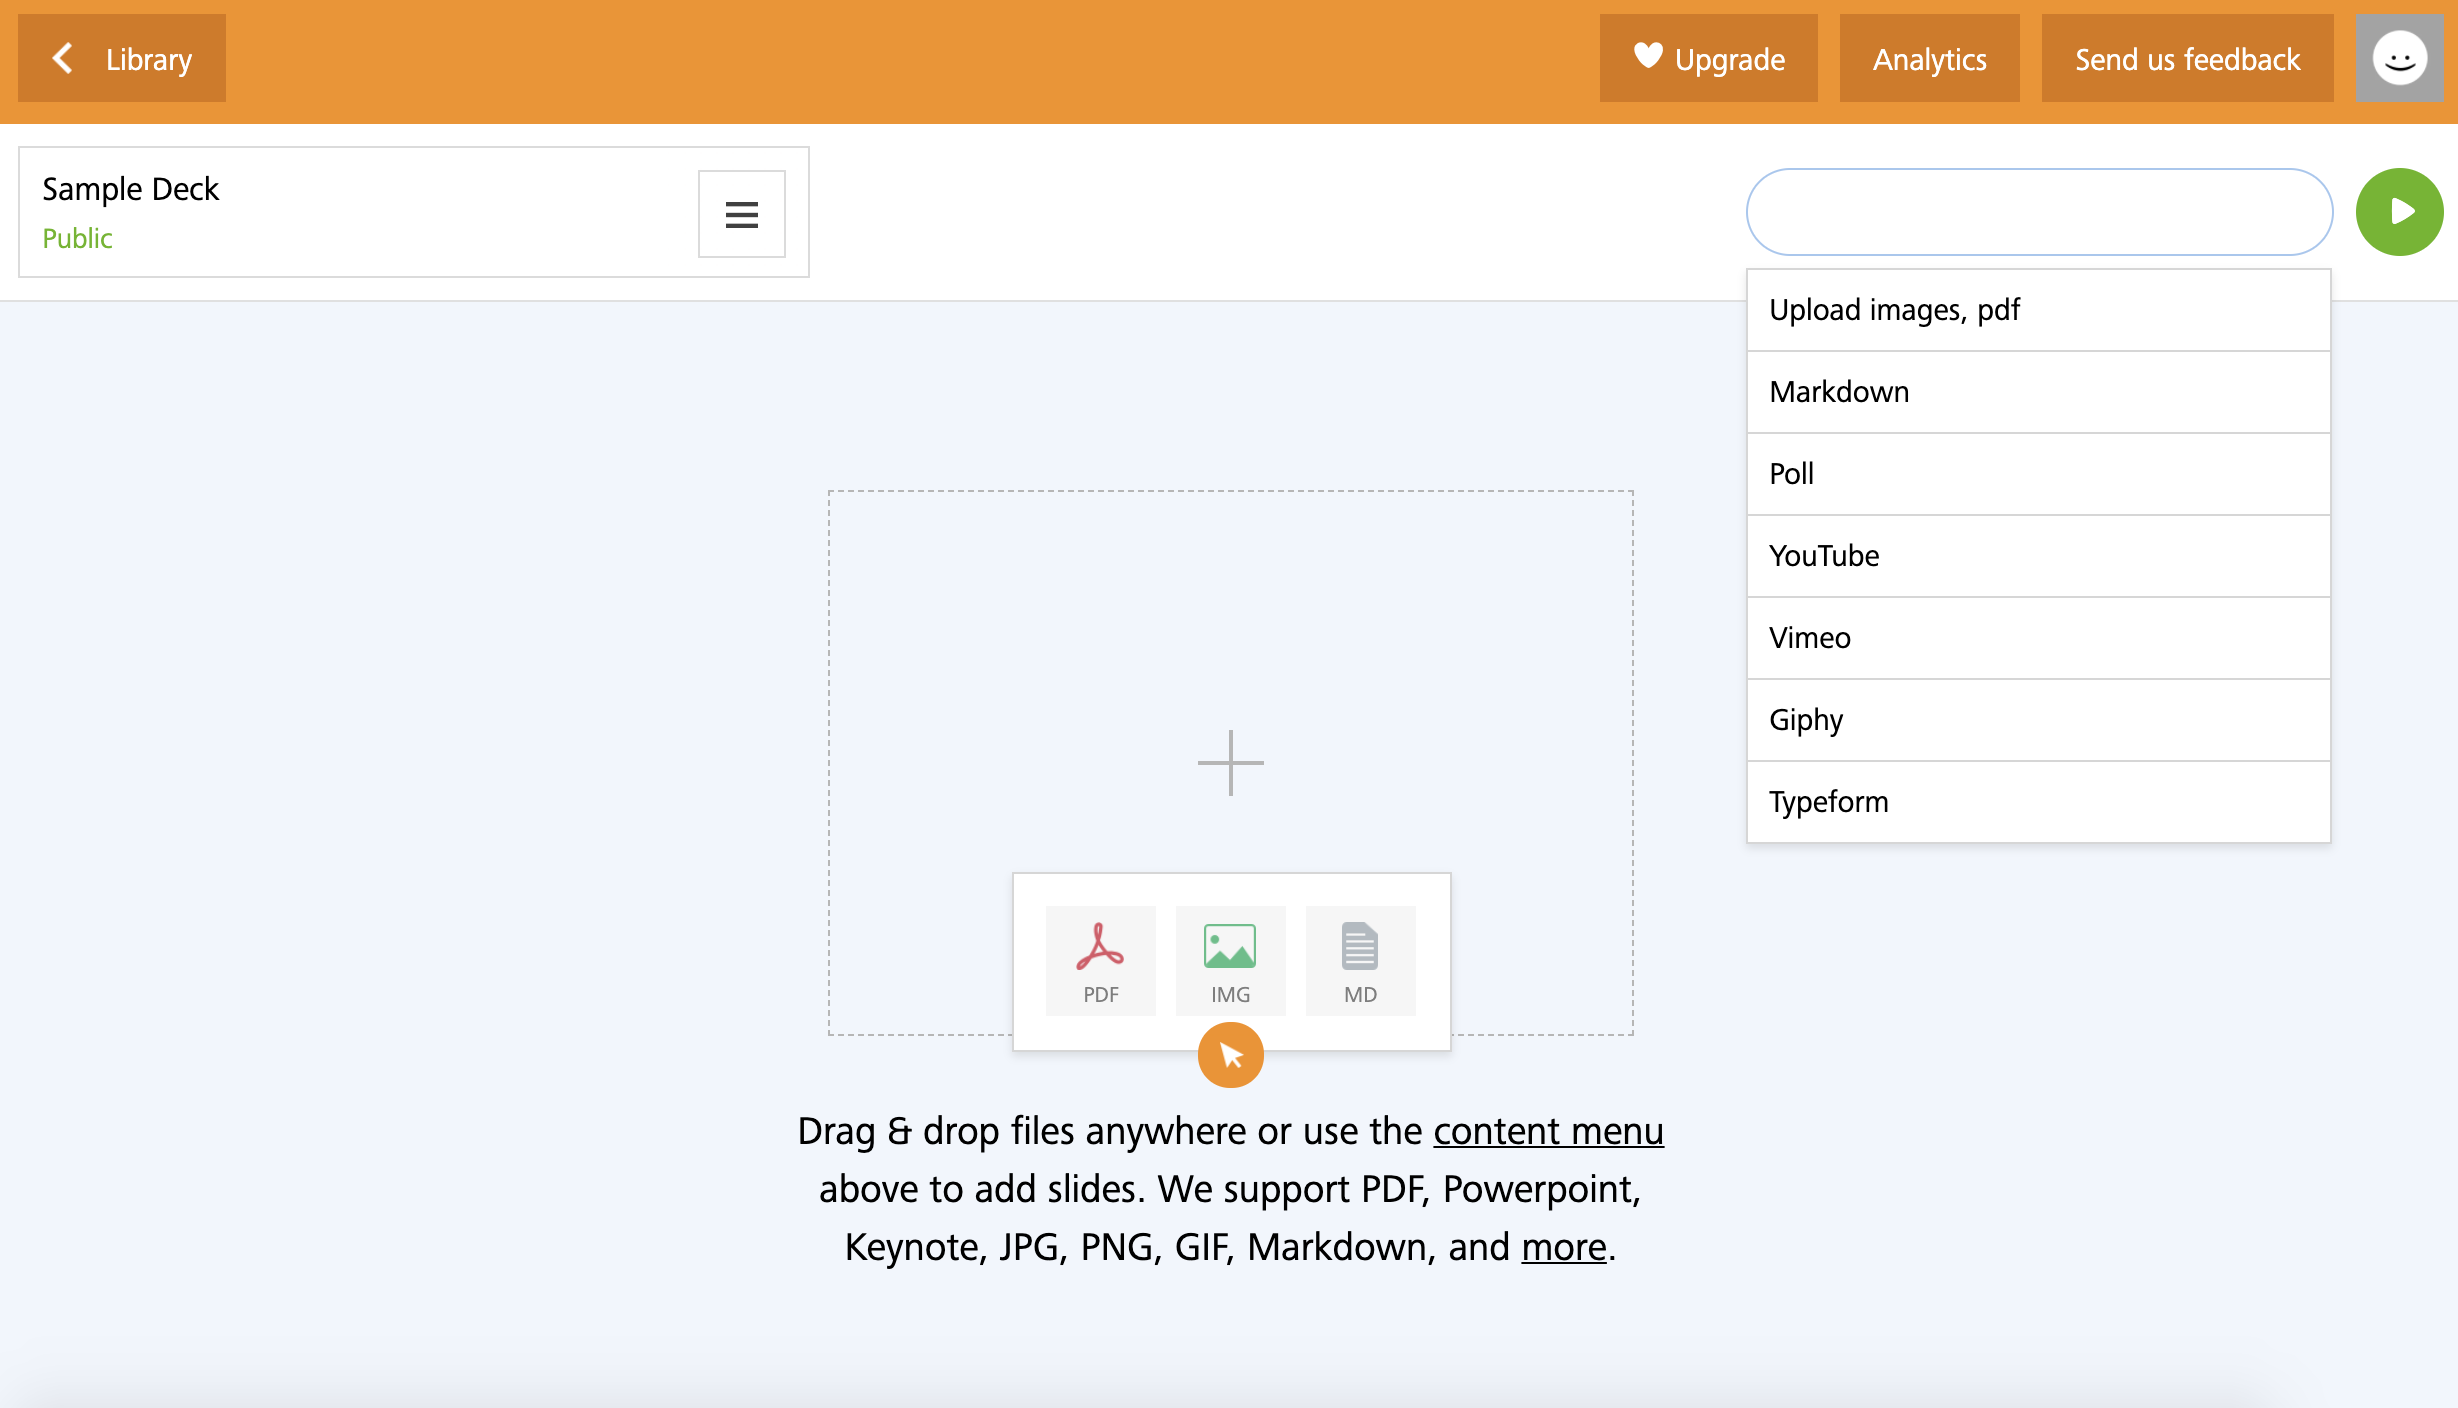
- To add a text slide, click on “Markdown” from the dropdown menu.
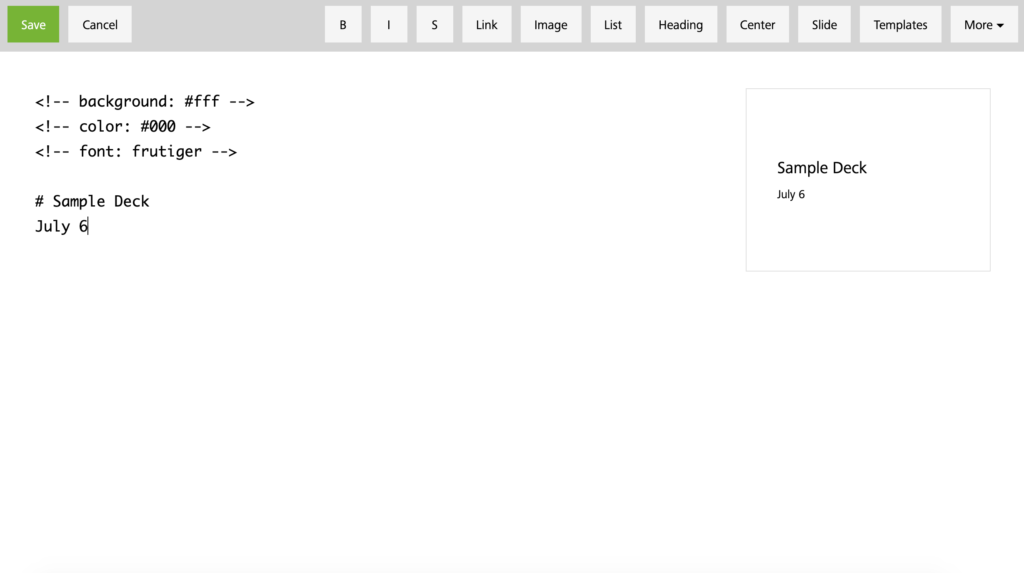
- The screen should now look like this:

- For now, ignore all of the code except for the immediately recognizable elements: “Title” and “Subtitle.”
- As you can see in the next image, my edits to the text on the left are now reflected in the little square preview box on the right.
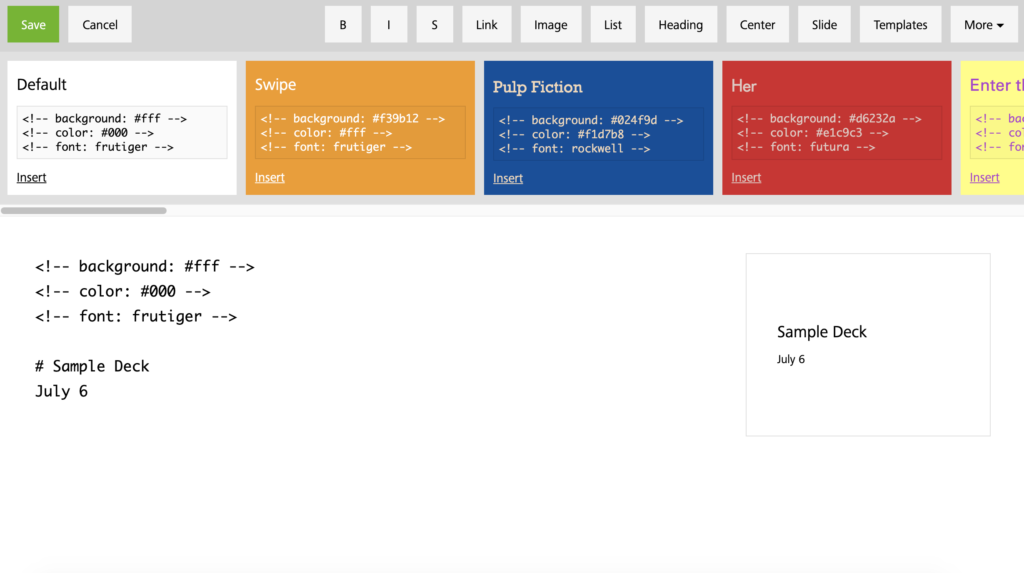
Step 4: Change the template (Optional)
Swipe.to has pre-populated a number of templates to demonstrate how you can change the color, size, and type of the font, and the slide background. It also offers code snippets for italicizing text, adding bulleted lists, and more.
- Click on the “Template” button at the top of the screen.
- You can select any of these options and customize them as you please. I selected the “Pulp Fiction” template for now. Click “Save” when you’re done with your edits.
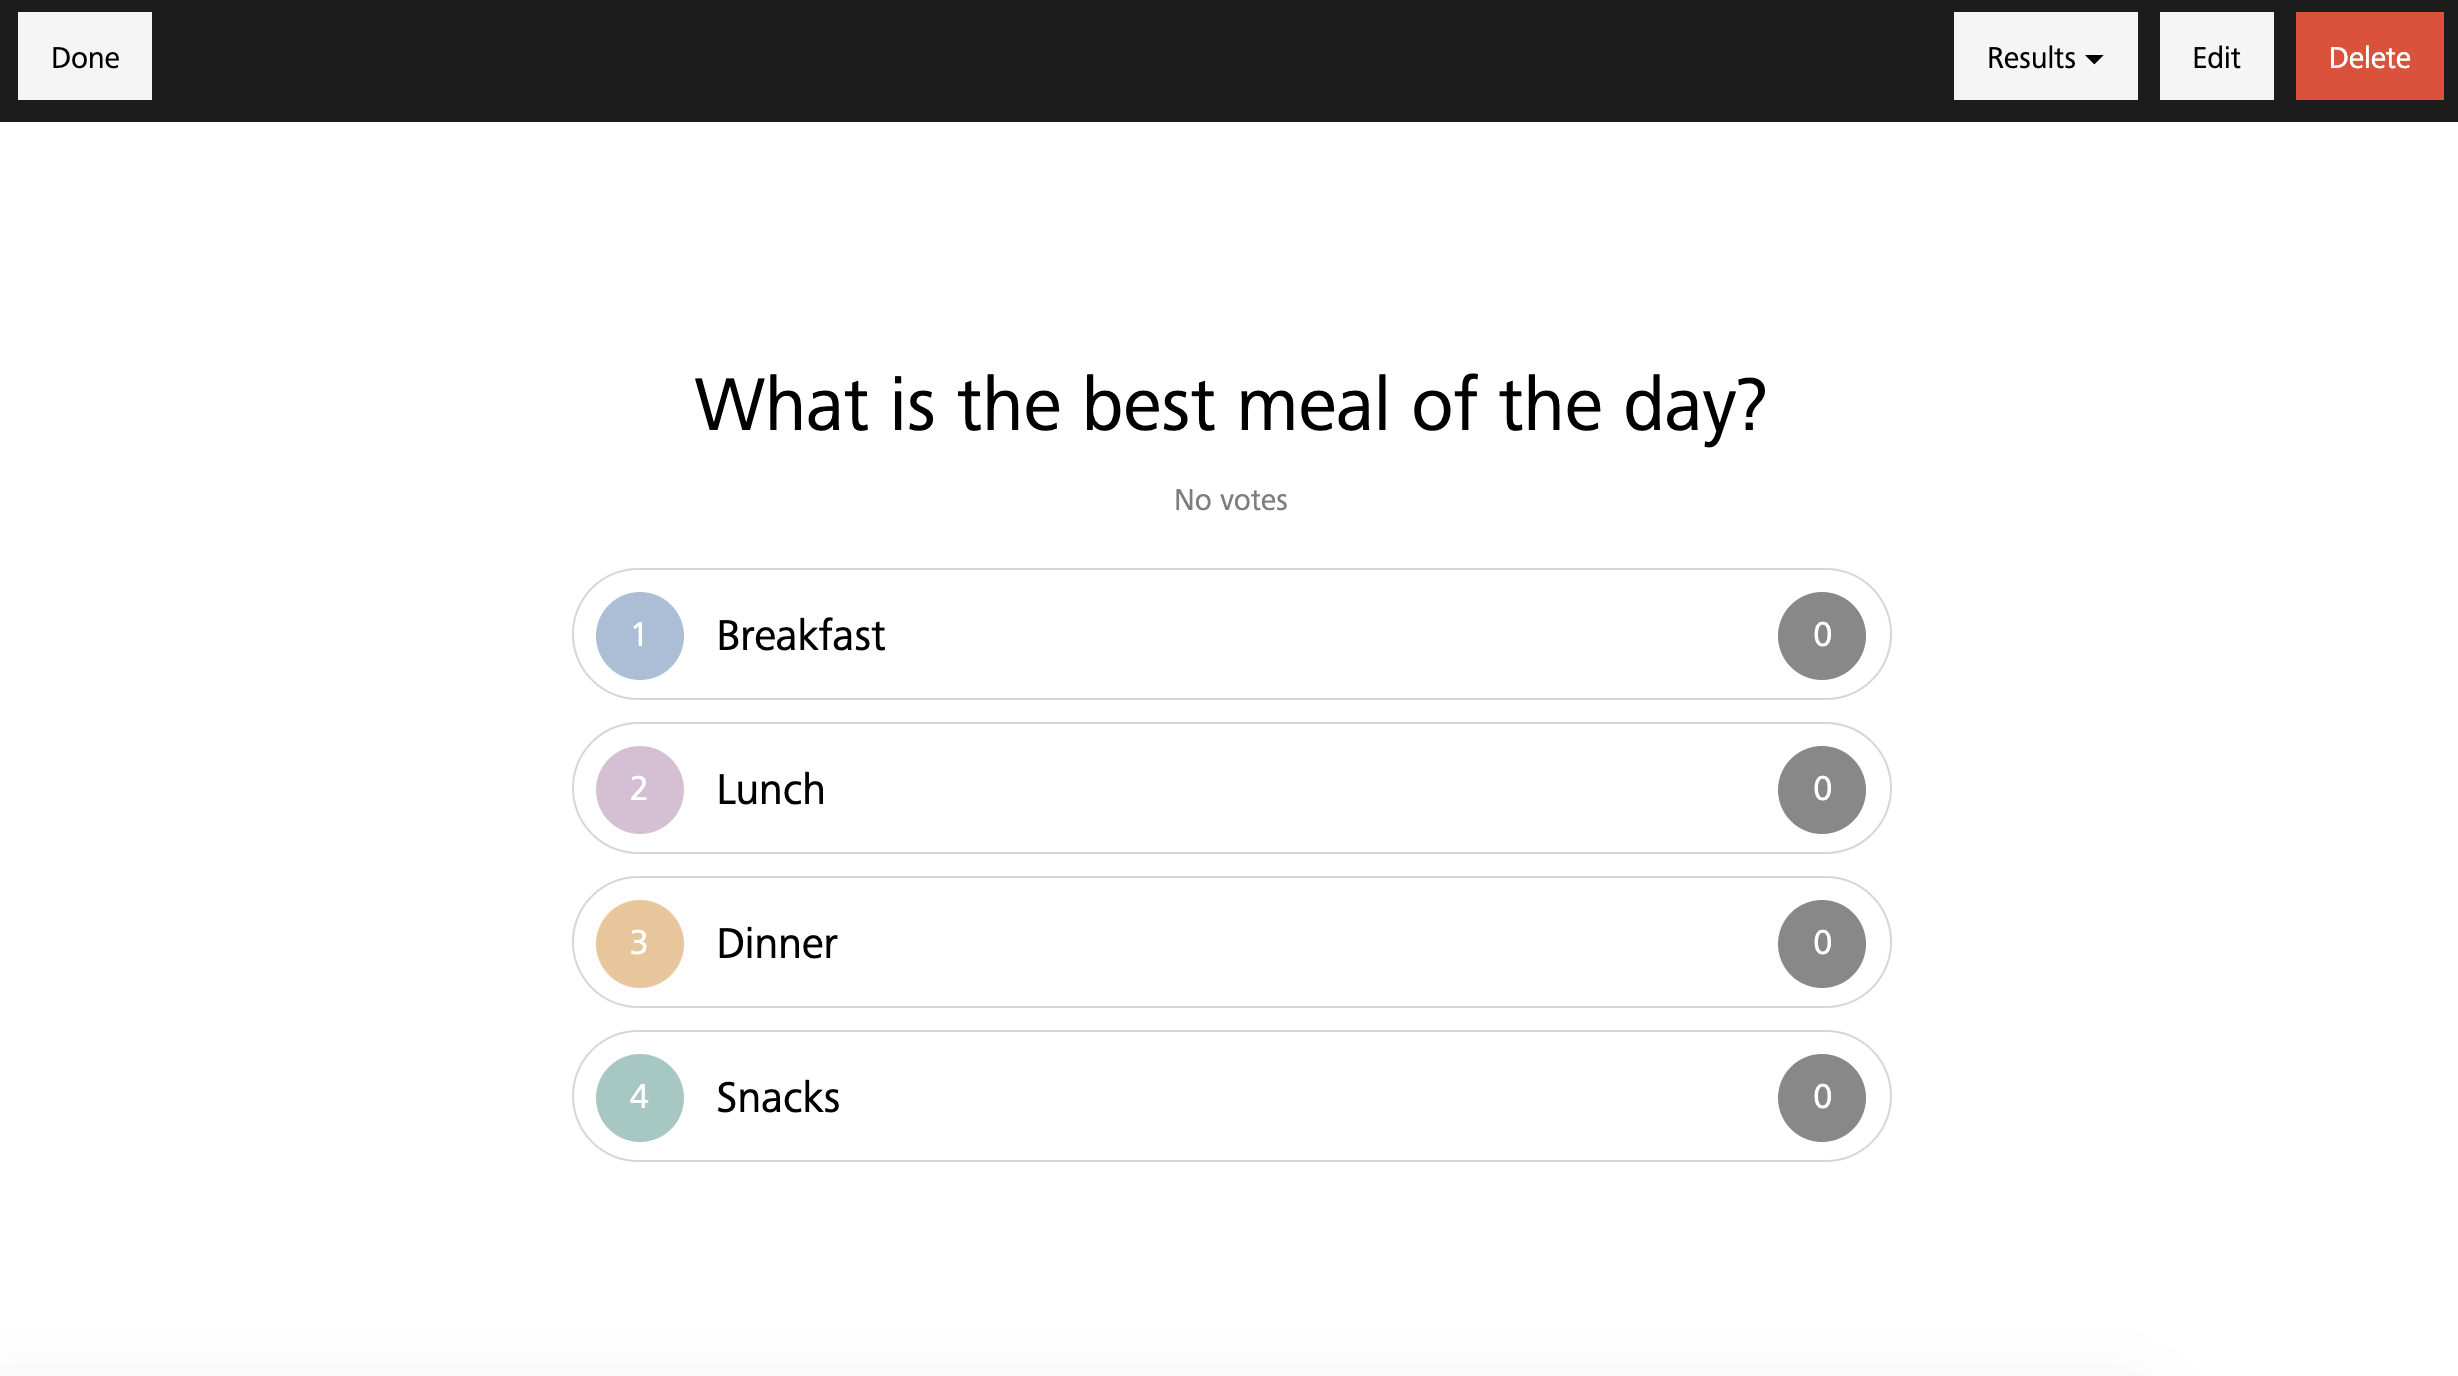
Step 5: Add a poll to the presentation
- Just as we did with the previous slide, we will select “Add slide or upload file.” Instead of selecting “Markdown,” however, select “Poll.”
- You will be greeted by this screen:
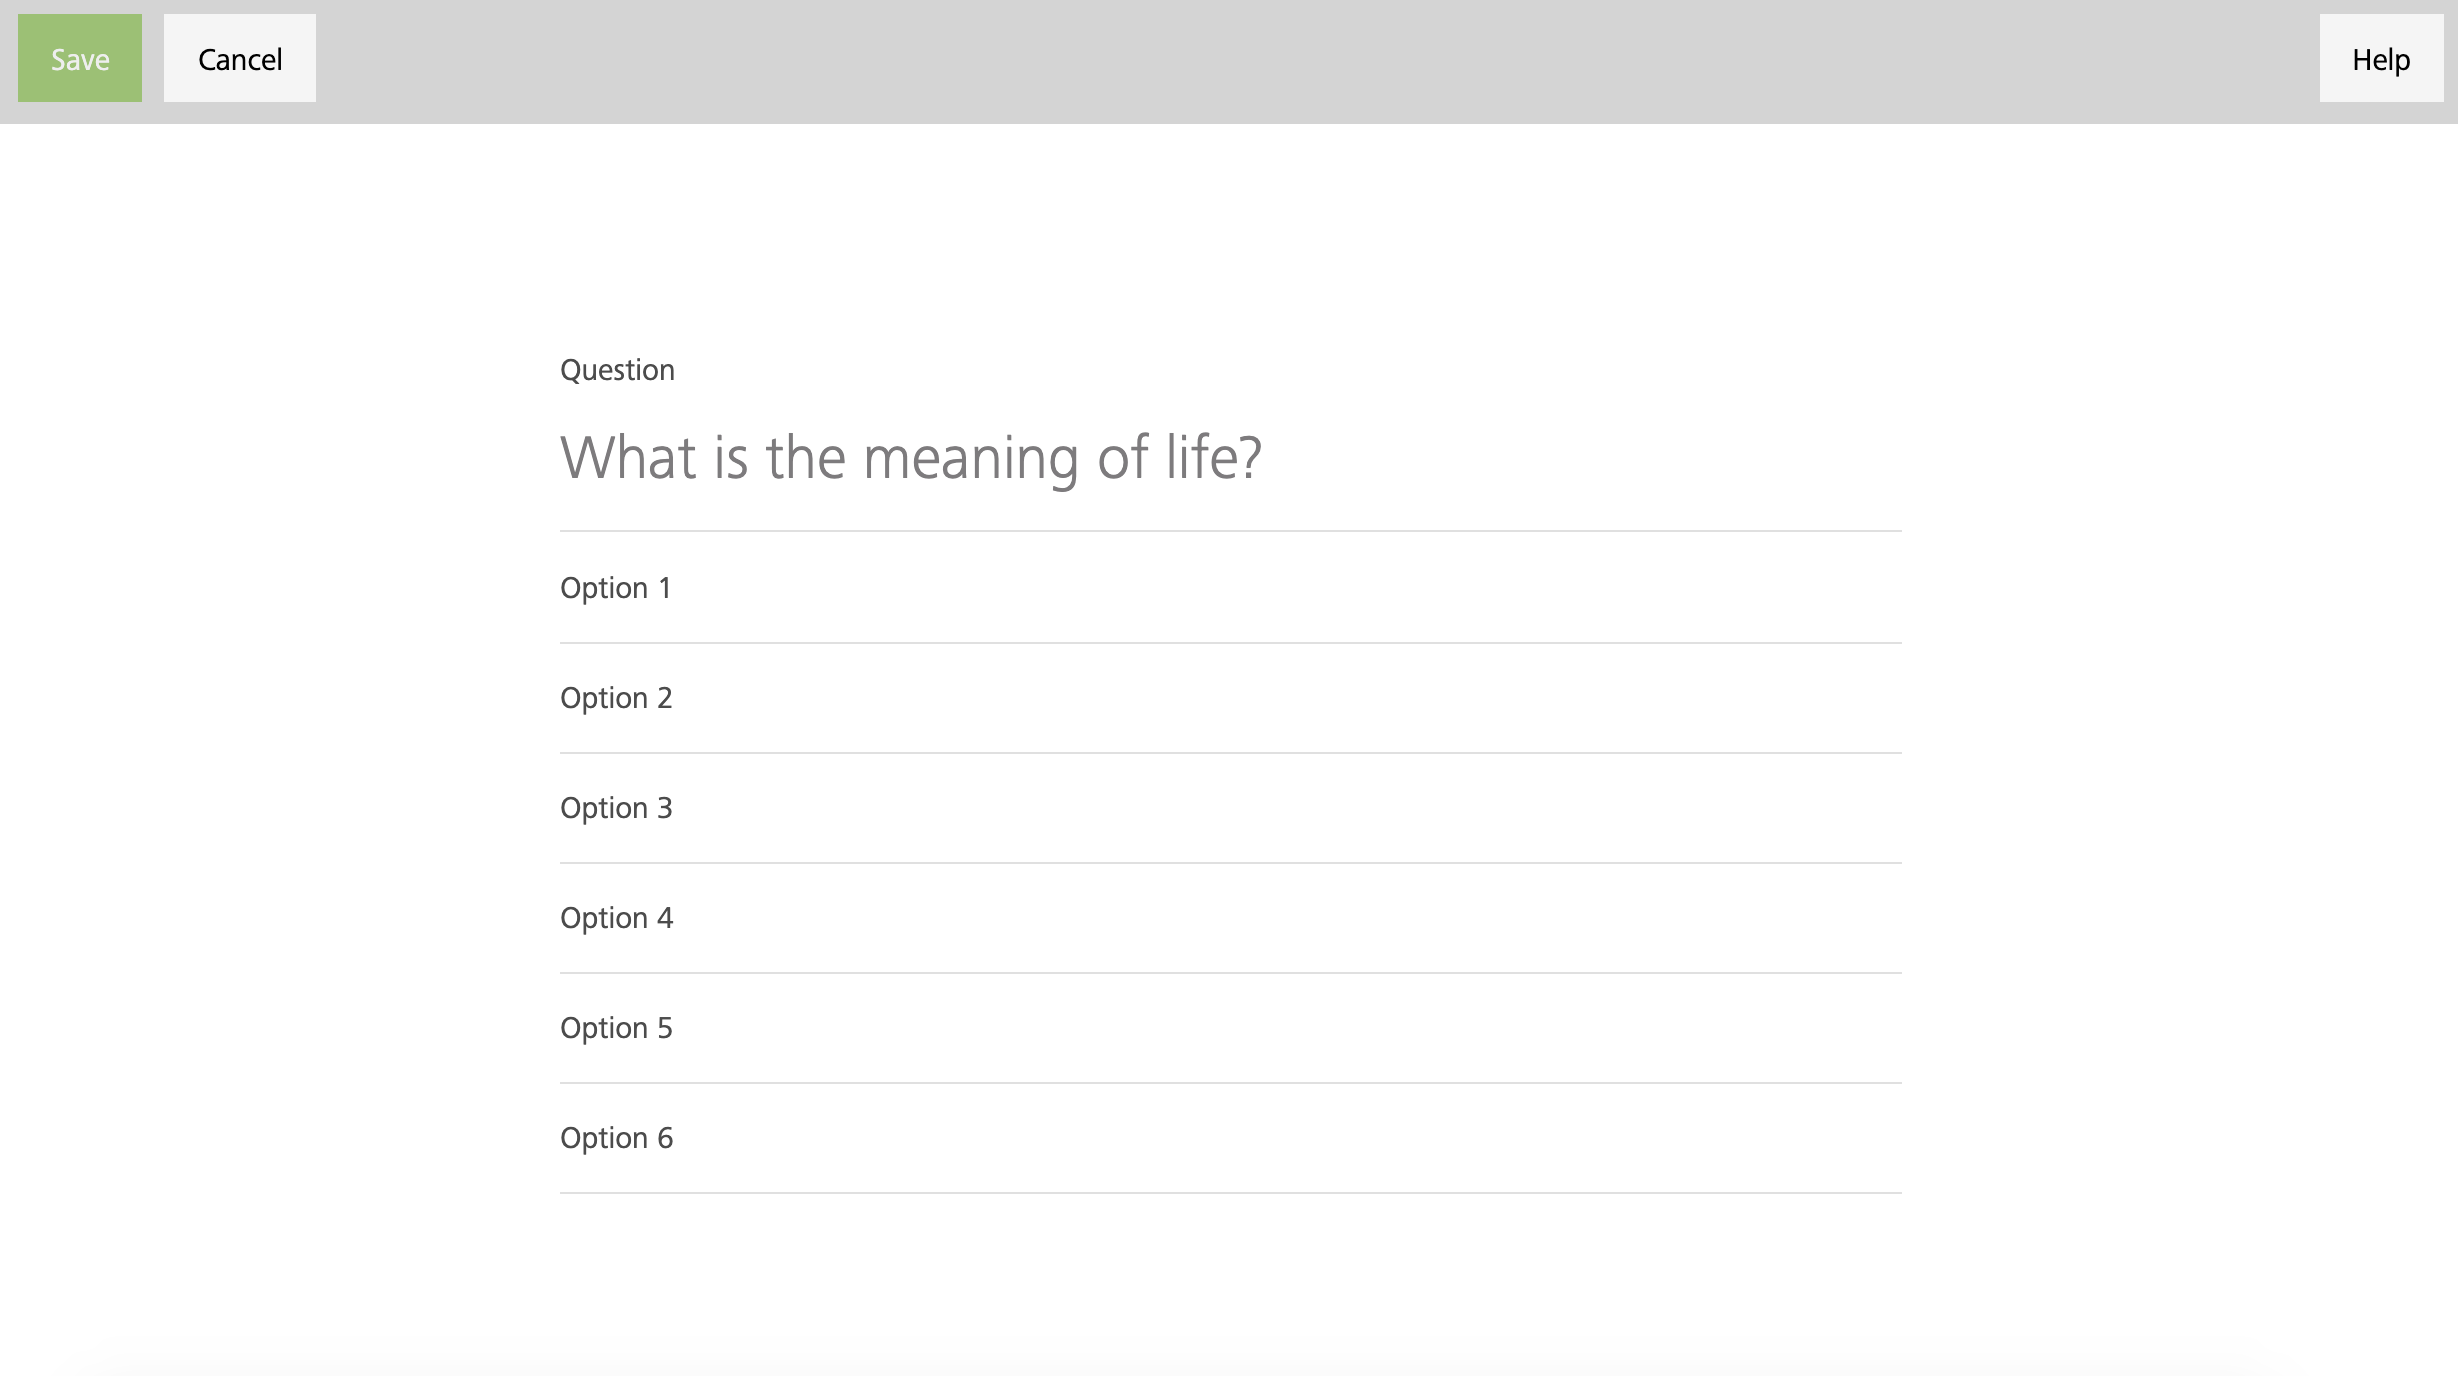
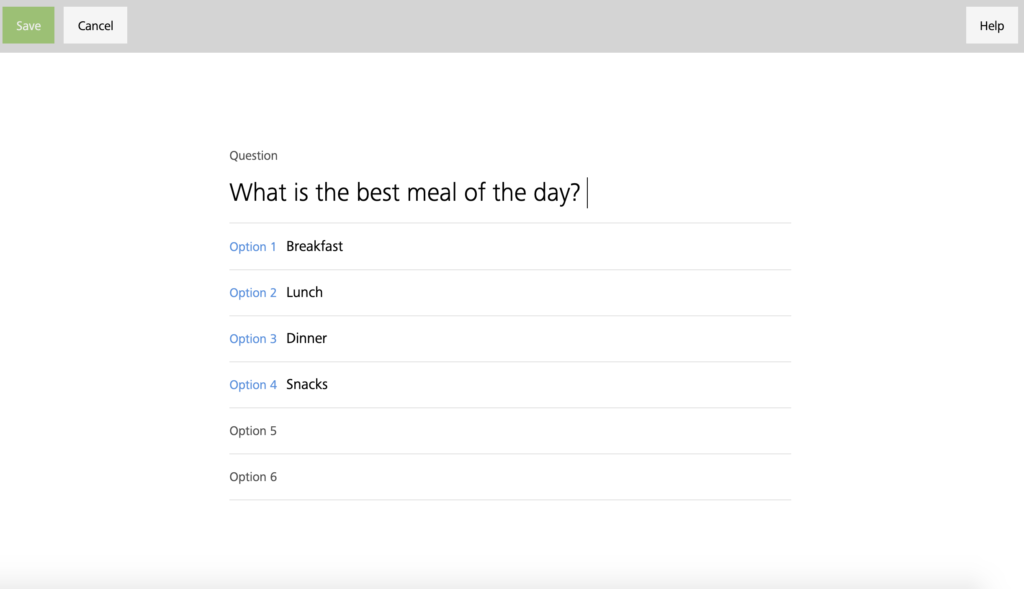
- Fill in your question and answer options by clicking on the sections.
- Click “Save” when you are done.
Step 6: Running your poll
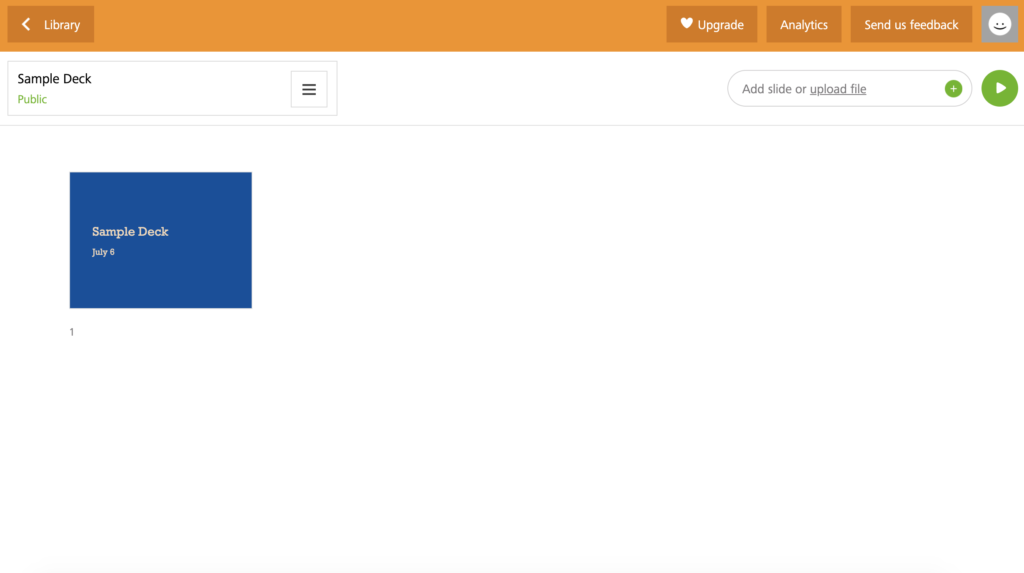
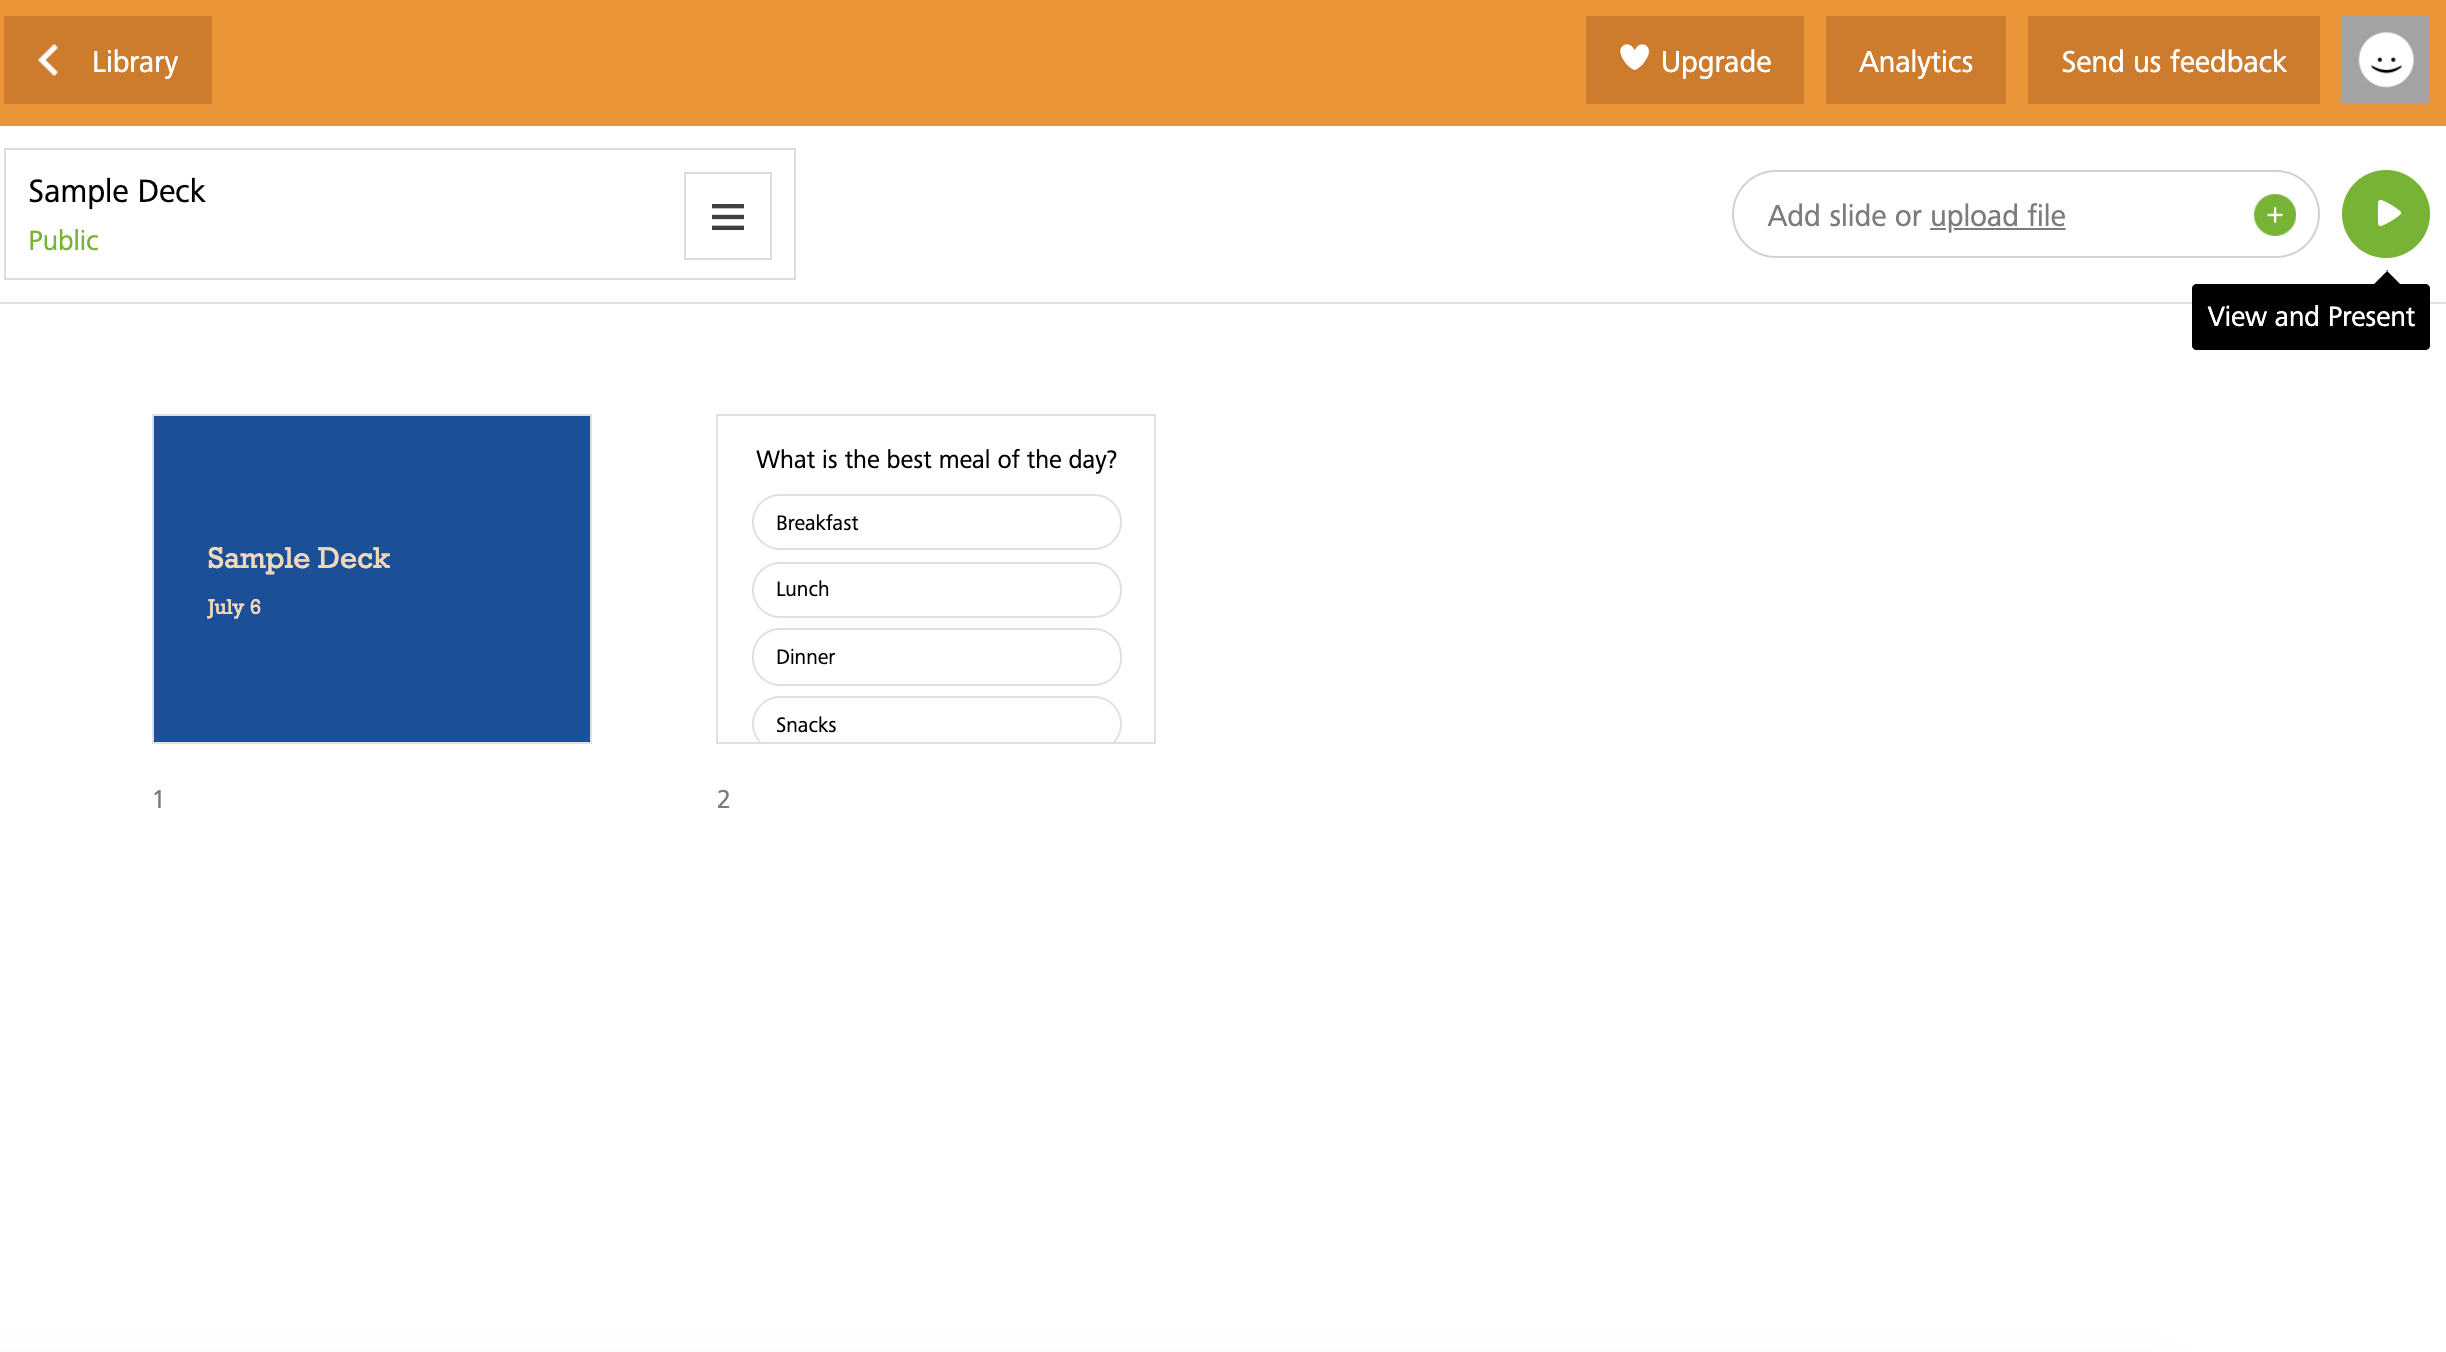
- Now you have two slides in your deck!
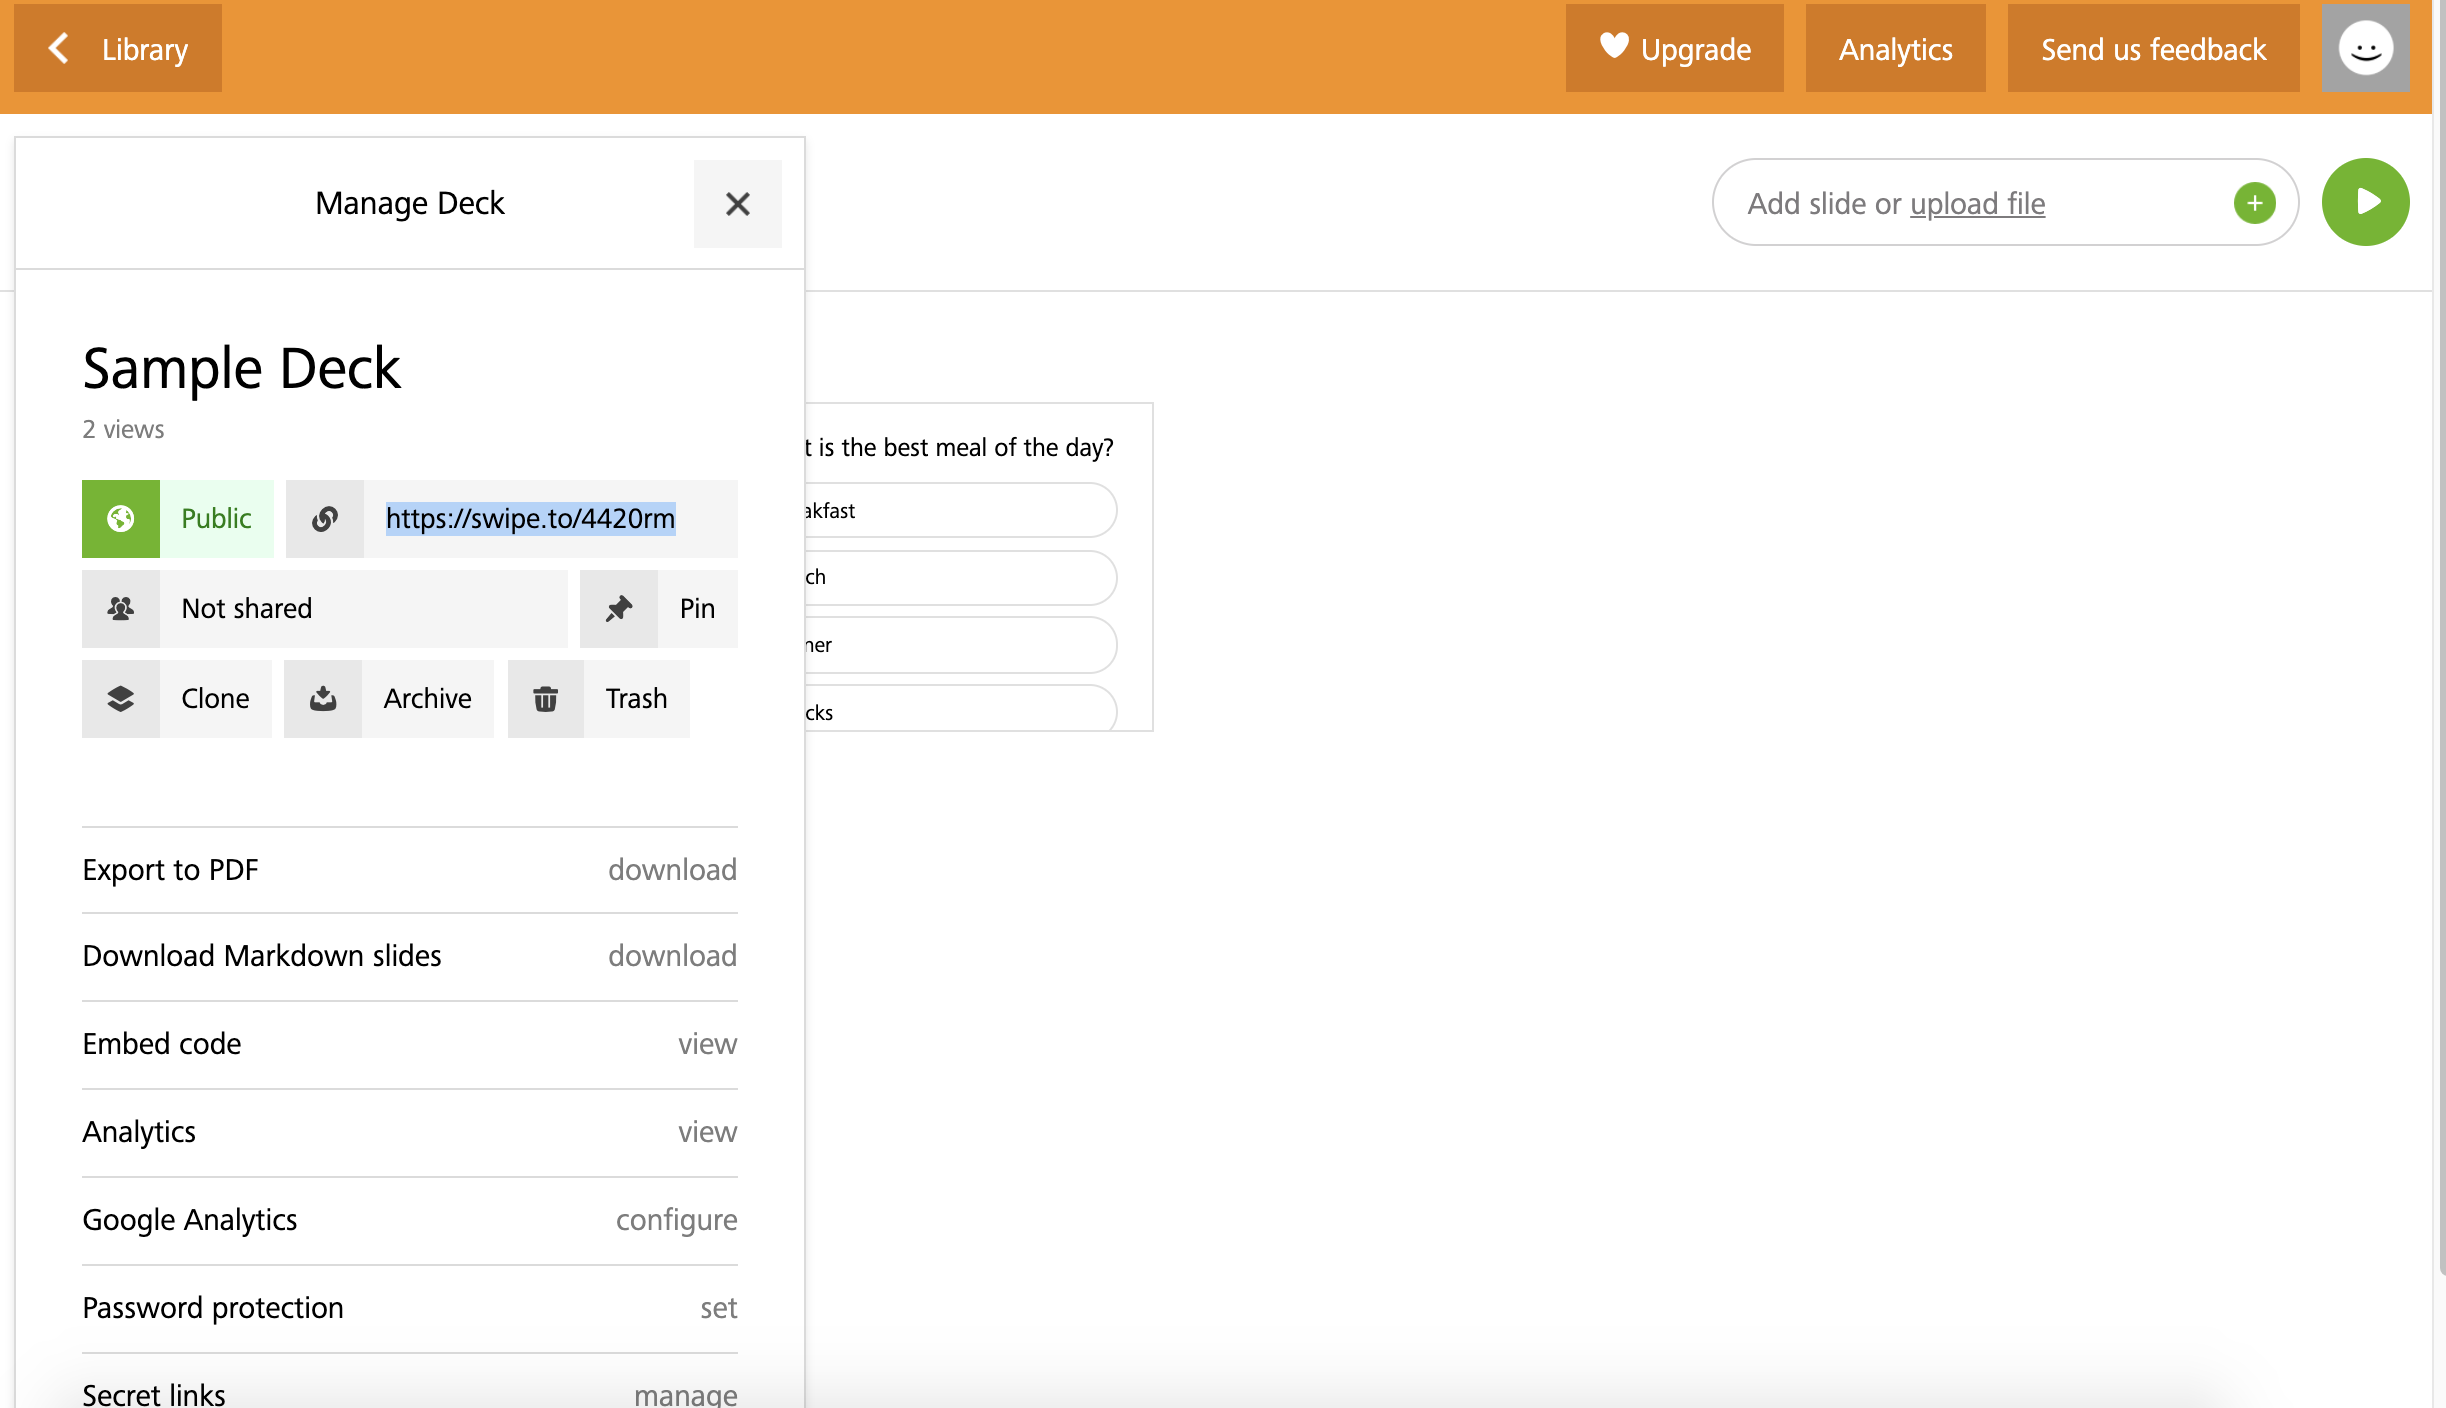
- Share the slide link with your students or meeting participants (over Zoom chat or on the slides themselves, for example). Remember your link is available from the menu that appears when you click on the title of your presentation (highlighted in this image).
- When you’re ready to present, click on the green circle with the play icon that says “View and Present.”
- If you want to see the live results of your poll during class or a meeting, click on “Go Live” at the bottom of the next screen. It will now say that you are “Live.”
- If I click forward to the next slide, I can see my poll.
Once they’ve clicked on the presentation link, participants can vote from any device that is connected to the Internet. This is what voting looks like from the perspective of a participant using a smartphone: 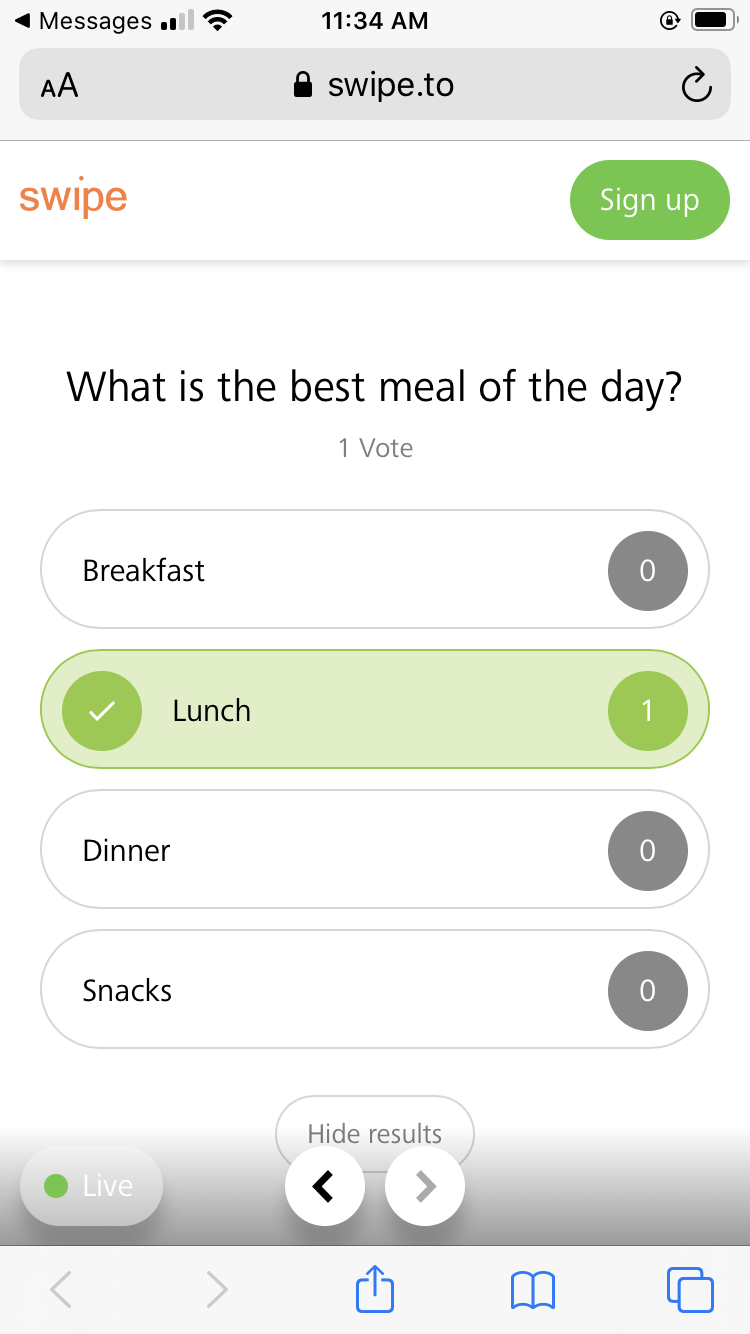
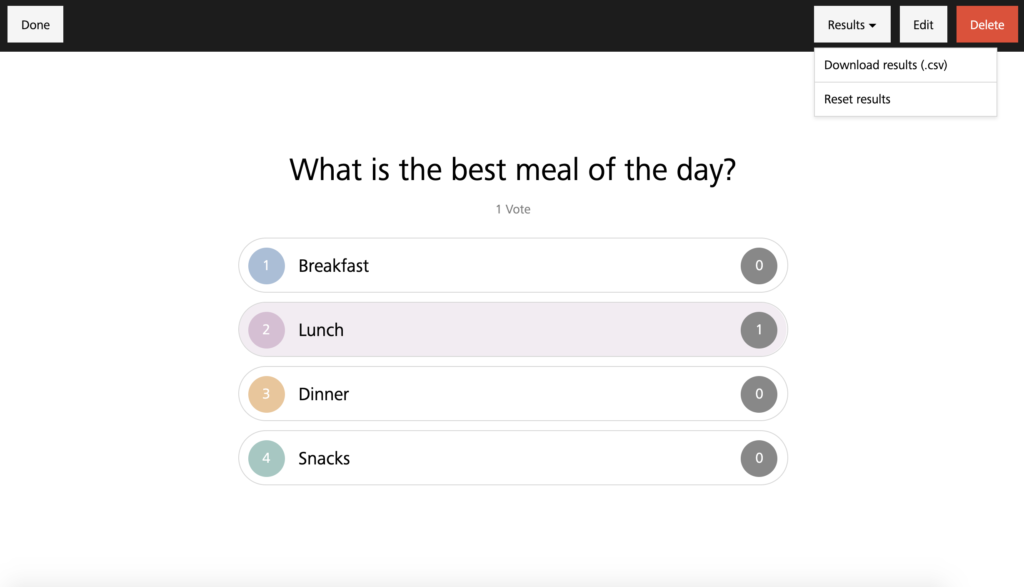
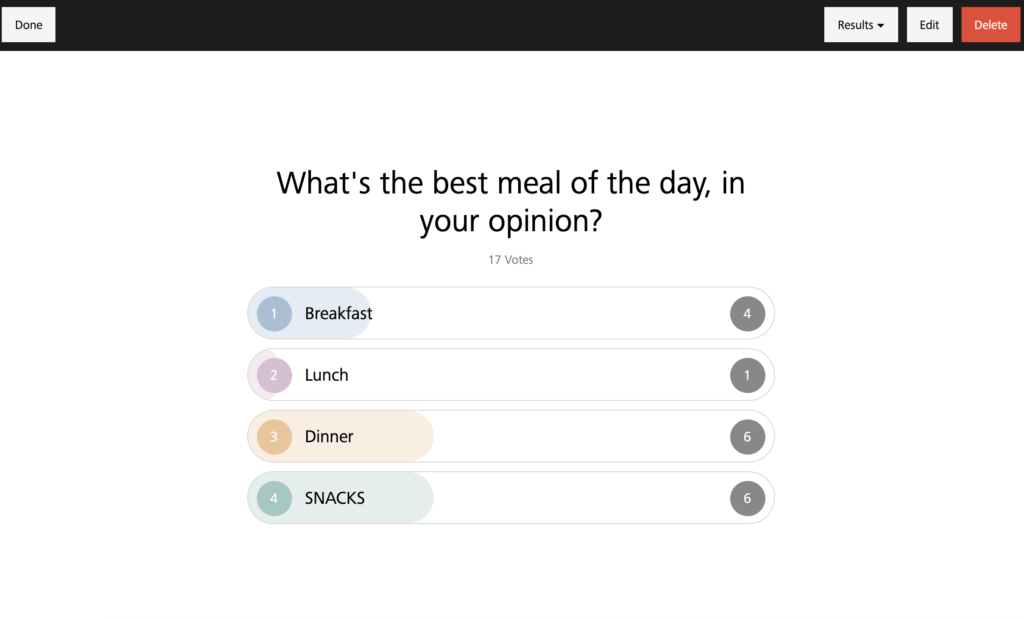
Step 7: Looking at your results
If you are presenting in “Live” mode, your results will show up immediately as the votes come in. This is what an active poll might look like:
- Swipe.to will save this data in your deck unless you reset the poll, but you also have the option of downloading the results. To do this, click on the “Results” button at the top of the page and click on “Download results (.csv).